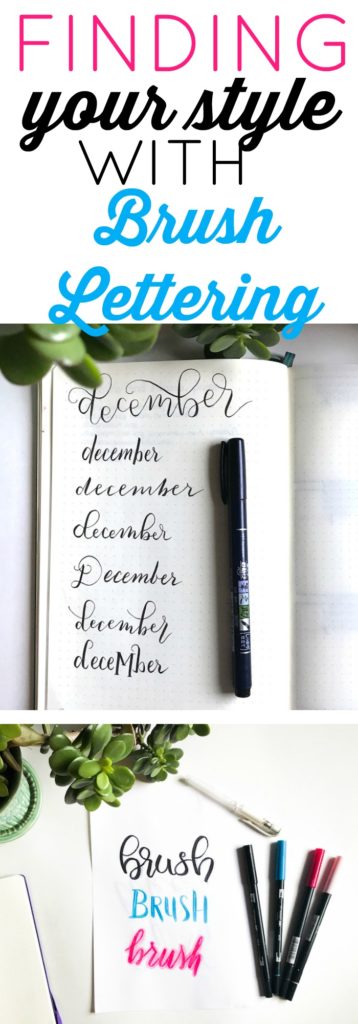
Welcome to the Brush Lettering and Beyond Blog Series. This is Part 5. This post will help you with finding your own style in brush lettering. This is a 5-part series. You can find the rest of the series at the bottom of this post.
*This post may contain affiliate links. Please see my Disclosure for more information.
We’re at the end of this blog series, and while it’s always slightly bittersweet, I’m glad this one was on the short end. I have some BIG projects coming up and I’m doing my best to prioritize my time. But, on top of being a blogger and creator, I’m a mom, fiance (helloooo wedding planning… I’m sorry I’m so far behind), and an online shop owner. Plus, if you didn’t pick up on it, I’m overly ambitious. I constantly have a million ideas and plans going on in my head–hence the bullet journal. And I’m always pushing for more. Don’t say it’s a millennial thing.
But, today’s installment of Brush Lettering and Beyond is going to give you possibly the best and most vague information on brush lettering. It’s not bad. In fact, it’s great, helpful information. Just continue reading to see what I mean.
You’ve learned the basics as well as had the chance to practice some flourishes and bounce lettering. Technically, you’re all set to go out in the world and be great at brush lettering. But, you’re going to want to do it with your own style. Create something new. Elevate your creative mind and break the rules.
So how do you find your own style?
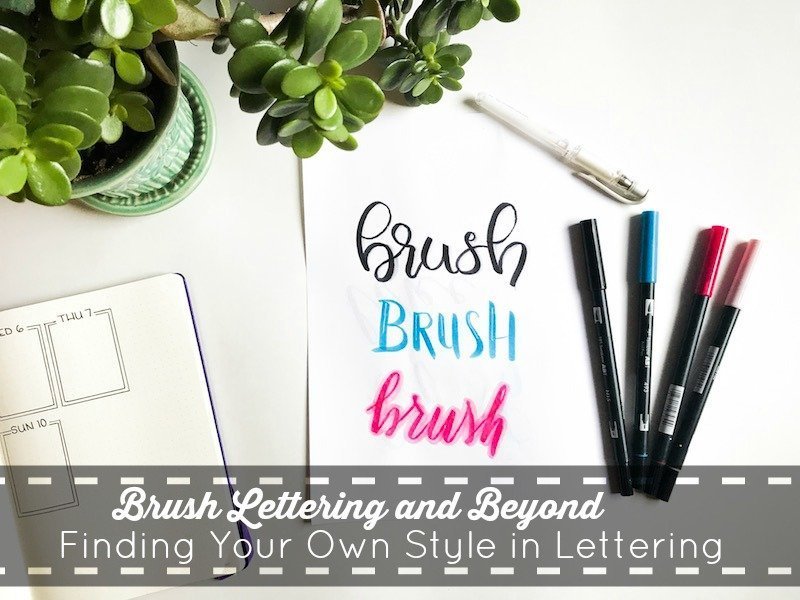
Finding Your Own Style in Brush Lettering
Many of the big-name letterers have a signature style of brush lettering. They have developed a style that is unique and reflects their personality. But how did they do it? How did they come up with their style? I, for one, am still working on finding my style, so I’m not an expert. But, I’ll give you some pointers to head you in the right direction.
Practice
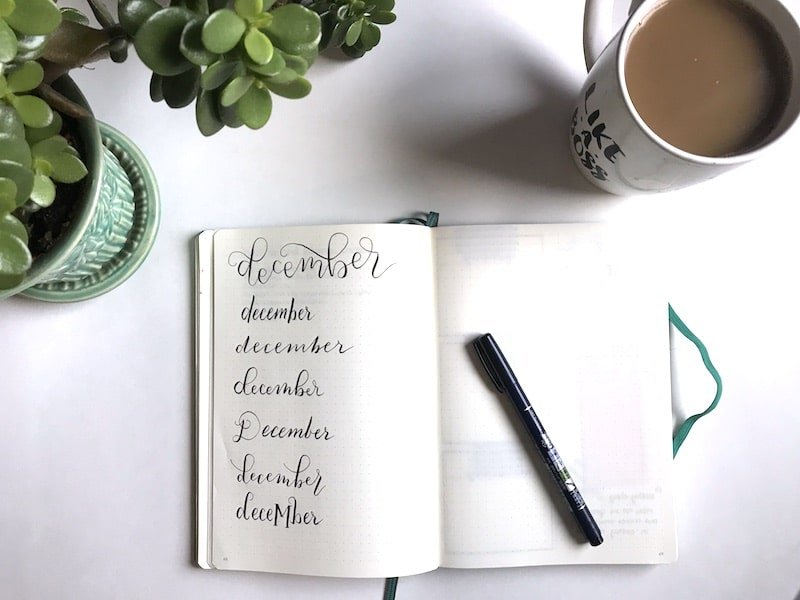
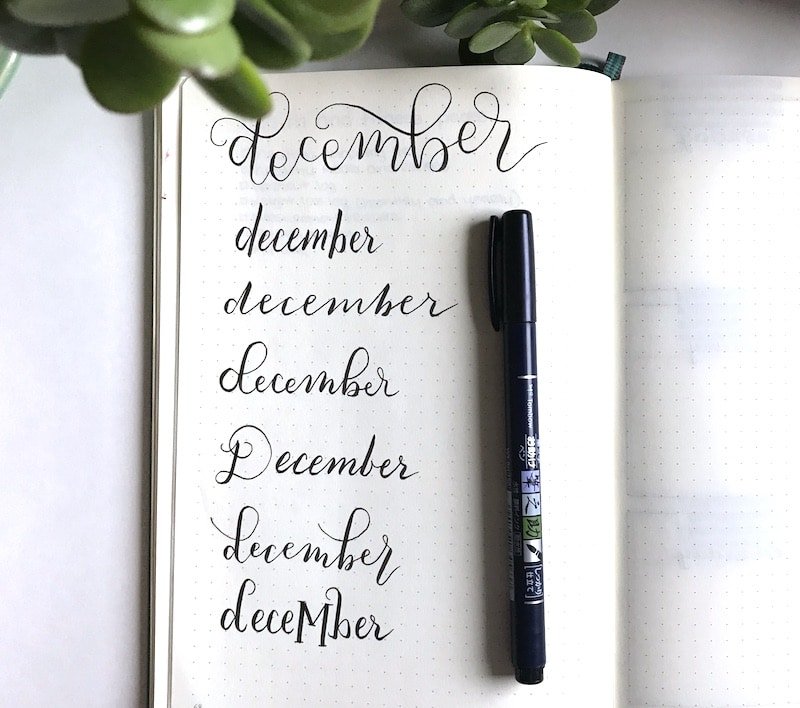
The most significant tip in this post is practice. Practice often and be consistent. This could be in a sketchbook or in your bullet journal. But practice writing words over and over. Write the days of the week, months of the year, the names of all your cousins and siblings. Do it consciously. Pay attention the detail in each letter and stroke. This will help you decide what you think is more aesthetically pleasing and also what feels the most right to you.
A great way to ensure you’re getting in your time is to prioritize your time. Arrange your schedule and make time every day to practice your lettering. This may mean cutting out some activities or waking up earlier. Then, set a timer and write until the timer goes off. If you only have 5 minutes, use it wisely. If you can squeeze in 2, great. I know it can sound more like a punishment than a skill-building activity, but it’s crucial to your success.
Studying the Work of Others
I find a lot of my inspiration while on Pinterest or Instagram. Look at different artist’s work on social media. Pay more attention to the typography on products. Really look at billboards and brochures. You never know where inspiration will strike. Focus on the angles of the letters, the thickness of the upstrokes and downstrokes, the spacing between the letters, etc. Think of it like studying a picture for a clue. What interests you about the script? Is it fairly legible or is more abstract and artistic? Everyone will have a different preference for what they think is attractive.
If you are looking for inspiration on Instagram try these accounts: @TypeGang, @brush_type, and @letteringleague. Each of these accounts features a variety of lettering artists. You may even find a few artists whose work you really admire, and follow them through these accounts. You can also try hashtags like #brushlettering #thedailytype #brushtype, #moderncalligraphy, and #ligaturecollective
Once you have found a few styles you like, try to imitate them. It’s totally acceptable to do this as a practice technique. However, don’t copy someone else and they try to pass it off as your own work.
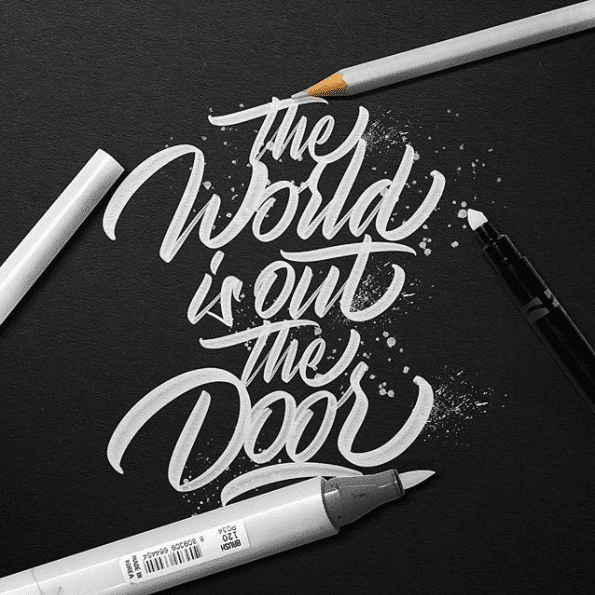
Photo Credit: @luislili
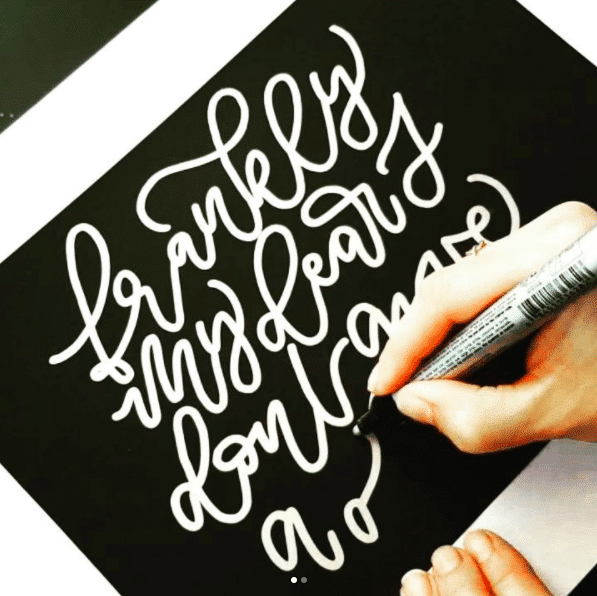
Photo Credit: @kaosyoga_lettering
Create a Vision Board
This tip builds off of the previous one. You can do this in more than one way. I prefer a digital vision board so I’m not limited to space. The easiest way to do this is to use Pinterest and pin images of brush lettering inspiration that you love from around the web. You can also use Dream It Alive, an online community of vision board users. The other option is to use a photo service like PicMonkey to create a collage of images you can save as your desktop wallpaper or send to your phone.
However, if you want to create a physical vision board, you can do it on a budget with a cork board and some push pins. Just print off the pictures that inspire and motivate you, and pin them to your cork board. Hang it in a place you will see often, preferably while you are practicing your lettering.
Break the Rules
The rules of brush lettering are more like a framework. They are the basics to help you learn. However, all rules in art are made to be broken. Play around with your strokes. Push harder on some of your upstrokes, or apply even pressure throughout. Make your own rules and try new techniques, even if they don’t fit the norm. This is how masterpieces are created.
Repetition and Variation
Much like practicing, it’s important to write words repetitiously. I find myself writing the day of the week or the month over and over. But, with each time I make variations. I vary the width of the strokes, angles, and heights of the letters, and change up the embellishments. Sometimes one style will stick out more than others and I will go back and practice it over and over, making very slight tweaks.
Patience
You aren’t going to find your style in brush lettering overnight, or even in a week or two. If it’s something you are passionate about, you will give yourself time. You will have patience and allow the creativity to come to you. Stick with your practice routine and be completely absorbed in your work for that time. When it’s right, you will have a style of your own. You will be the master of your style. And who knows, you may inspire someone else to take up brush lettering with your style.
Other Parts in the Series
Did you enjoy this blog series? Is there anything I didn’t cover that could be made into an additional post? Let me know in the comments below, and I’ll be sure to take all suggestions into consideration.