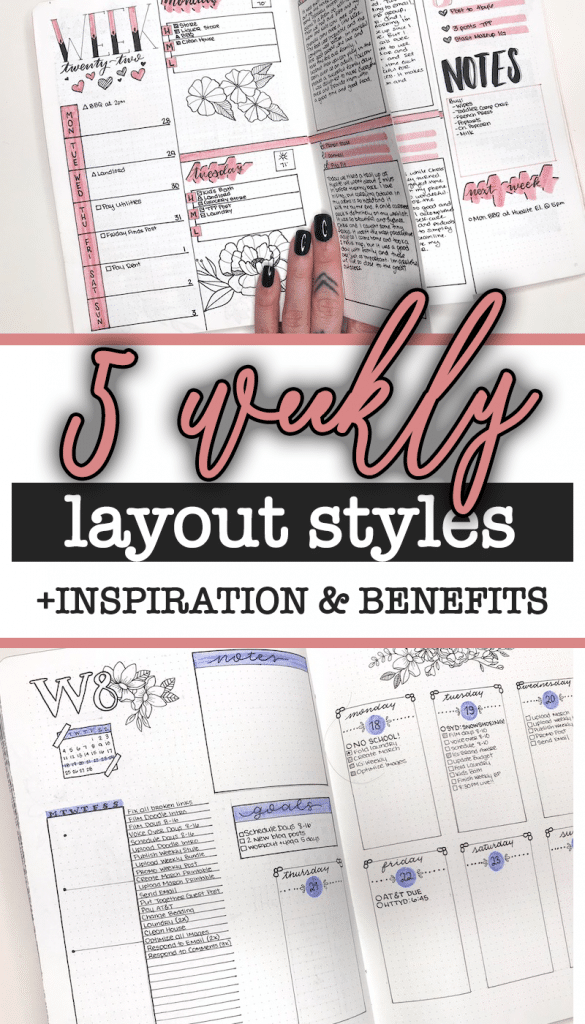
Finding a bullet journal weekly layout that works for you is key to your success and happiness in your journal. Let me help you find a style and layout to fit your needs.

This post may contain affiliate links. Please see my Disclosure for more information.
Since the beginning of time, err, the beginning of my bullet journal journey, I have been a quest for the perfect weekly layout.
When I first began bullet journaling and searching Pinterest for ideas and inspiration, there wasn’t a lot of variety. Most weeklies were standard horizontal or vertical boxes spanning two pages.
Since then… oh how times have changed.
Now, if you search bullet journal weekly layout on Pinterest, you are going to get millions of hits. You’ll see masterpiece artworks with tiny handwritten dates. You’ll find this curious wonder called the dutch door layout.
Minimalism takes many forms, with monochromatic spreads and printed fonts. Then, there’s something called a running task list (hallelujah, I have found my match!).
But, looking at an aesthetically pleasing weekly layout and finding one that fits your needs are two different things. So, in this post, I want to give you as much information as I can about the different styles of weekly layouts to help you find one that works for you.
Supplies for Creating a Weekly Layout
Before you get started creating your dream weekly spread, you’ll need some supplies.
Disclaimer: I don’t like to push the idea that you need to go out any buy any sort of art supplies to use the bullet journal system. However, if you want to create something colorful or want to use something other than a ballpoint pen, you may need to do a little shopping first.
The good news is that there are tons of great steals and affordable bullet journal supplies. I prefer shopping on Amazon Prime as I typically find the prices to be lower and it includes Free Two-Day Shipping.
You can also check out this post on the best alternative to expensive bullet journaling supplies.
With that said, let’s get into some of my favorite supplies to use when making weekly layouts in my bullet journal.
Fineline Pens
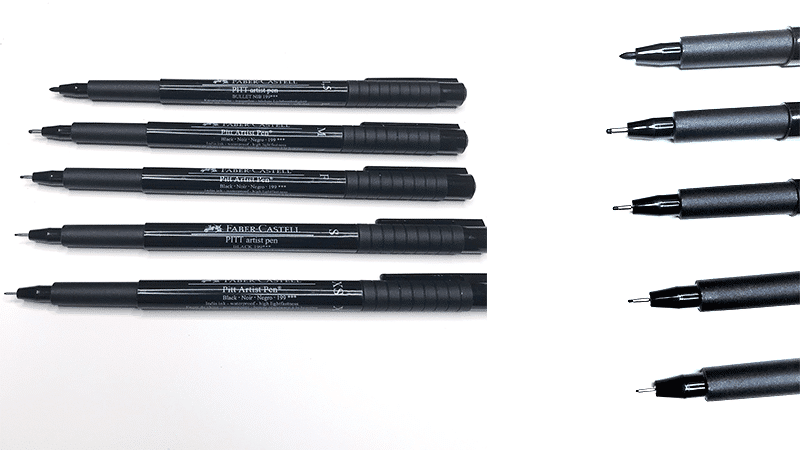
I am a fineline pen hoarder! I, Erin Demoney, am addicted to black fineline pens.
Fineliners are my favorite because they typically dry faster than gel pens and some rollerball pens. Depending on the brand, they have the richest, blackest ink. And, they are archival and can be used with watercolors without bleeding.
My current favorites are the Faber-Castell Pitt Artist pens. I buy mine on Amazon, as I find they are cheaper there than my local Michael’s.
When it comes to colored fineliners, I really like the Stabilo Point 88s. They have a a 0.4mm nib and, in my opinion are truer to the cap color than other colored fineliners.
If you want to try colored fineline pens but don’t want to invest a bunch of money, check out this 48-pack of Arteza fineliners.
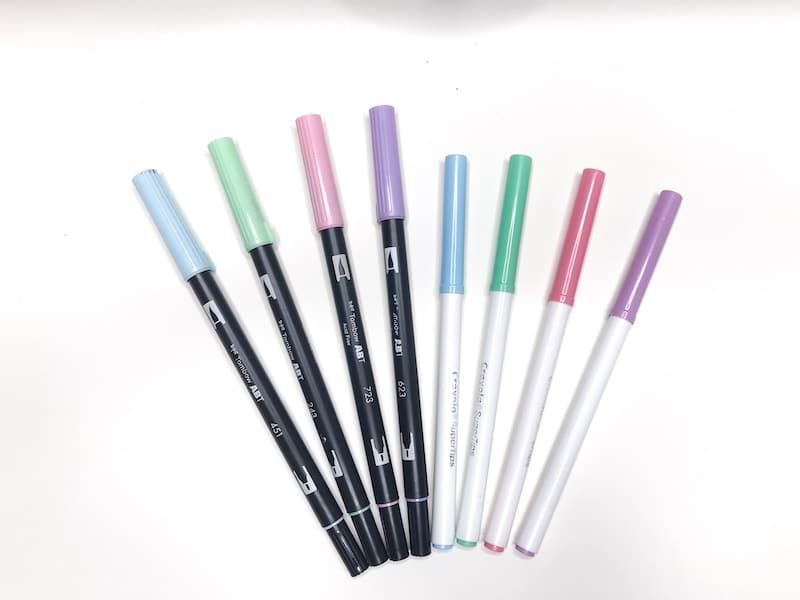
Markers
In the past, I was a colored pencil girl through and through. When I was about 10-years-old, I would spend my summer days drawing making my own paper dolls and paper doll clothes, coloring all of them with colored pencils. My poor electric pencil sharpener was toast after that summer.
But, enter the bullet journal scene and I was peer pressured into buying Tombow Dual Brush Pens. Initially, I just wanted them to do brush lettering with.
But, as time progresses, I find myself using the finepoint side just as frequently for coloring and drawing.
Markers are so easy to use and they produce such vibrant colors. They are my favorite medium to color with in my bullet journal and I use them in almost all of my weekly layouts.
My must-haves are definitely the Tombow Pastel Set and the 50-Pack of Crayola SuperTips.
Rulers and Stencils
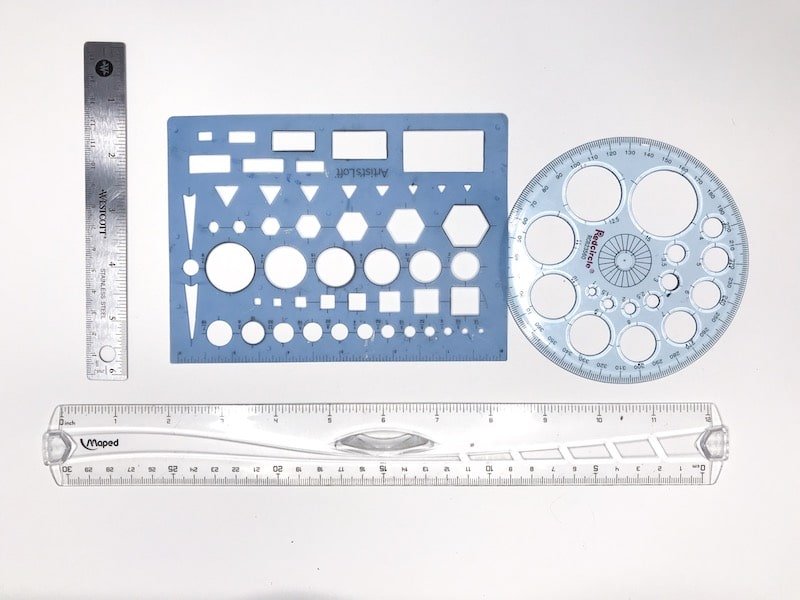
I remember when I didn’t have a ruler. And instead I used a DVD case to draw straight lines. And it works, so no shame if you don’t have a ruler.
However, once you are ready to get one, my favorites are the six inch cork-backed ruler and the twelve-inch see-through ruler.
Being honest, I think most of the stencils specifically marketed at bullet journaling are junk. The little cutouts are often too small and produce a less than appealing icon.
But, I do really like using shape stencils for drawing boxes, circles, and other shapes. This pack has a little bit of everything and would be a great addition to your weekly planning supplies.
Other Supplies You Might Enjoy
Finding Your Weekly Style in Your Bullet Journal
There are many different styles and as much as I wish I could, I cannot capture them all in this one post. However, I will cover 5 common and efficient weekly layouts and the benefits of each to help you find something that is in line with your lifestyle and goals.
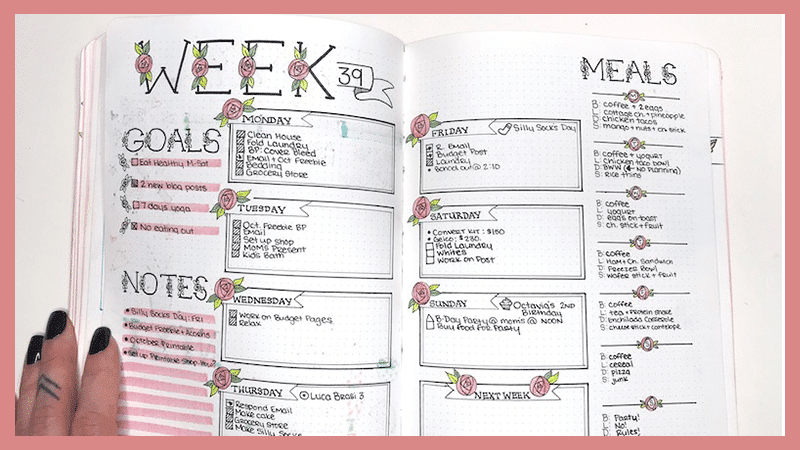
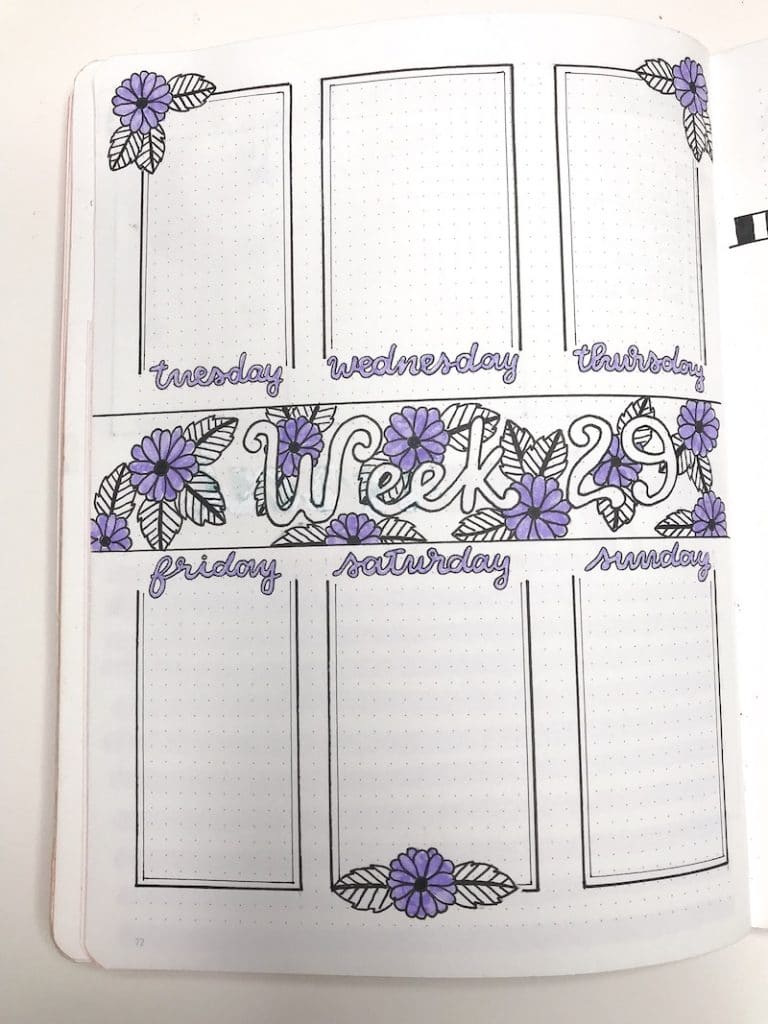
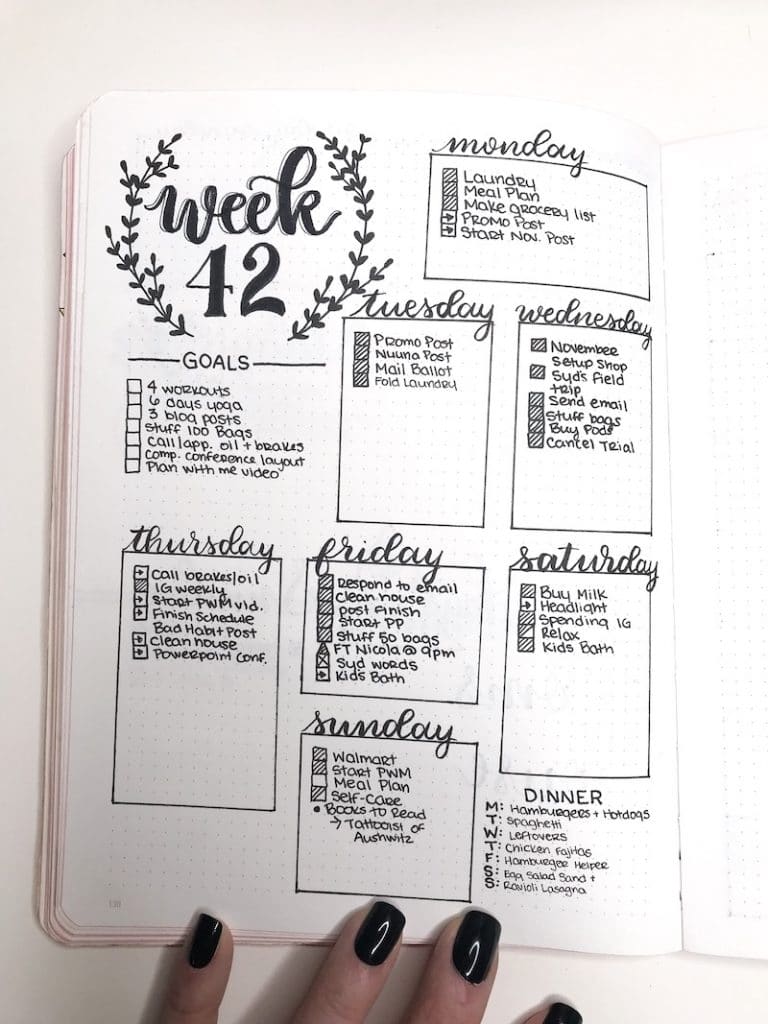
Basic Boxes Layout
These bullet journal weekly layouts are the most common. They often span 2-pages and include either 5 weekday boxes and a single weekend box, or 5 weekday boxes and 2 boxes for Saturday and Sunday.

The sizes of the boxes can vary greatly. Making larger boxes will reduce the amount of space left over on the page. This might mean no notes, habit trackers, goals, etc. in your weekly layout.
Or, if the daily boxes are smaller, you have room for other information, tracking, goals setting, etc.
Benefits of this weekly layout:
- Lots of inspiration on Pinterest and Instagram because it’s very common.
- Can change size of daily boxes based on the average size of your task list for a given day.
- Beginner friendly. Use a ruler to draw 6 or 7 boxes for your daily boxes and leave room for a weekly header.
- Boxes can create a sense of organization that a more open spread may not.
Time to create this style spread: 15 minutes – 1 hour+
Plan as You Go Weekly
Do you prefer to set up each day as the week progresses? This style ensures you don’t waste space in your journal. You simply add each day as it comes, allowing for days with little to no tasks as well as days that have 10+ tasks.
View this post on Instagram
In this style of weekly, you would create the header for the current day or the following day. Then, fill it in with tasks, events, notes, etc. When you are done for the day, you would create the header for the following day, not wasting space between days.
Benefits of this weekly layout:
- Doesn’t require a lot of time upfront
- No wasted space on days that have minimal tasks
- Able to vary the layout. Days can be side by side, up and down, alternating sides of the page, etc.
Time to create this style: 2-10 minutes daily
Dutch Door
Over the years I have been drawn to the dutch door weekly layouts. Aside from the fact that they take much longer to create, they offer a lot of benefits.
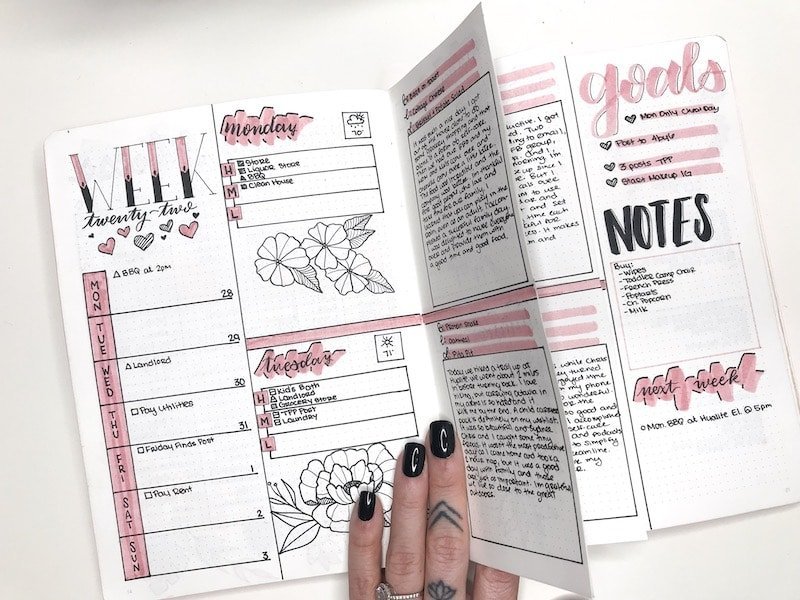
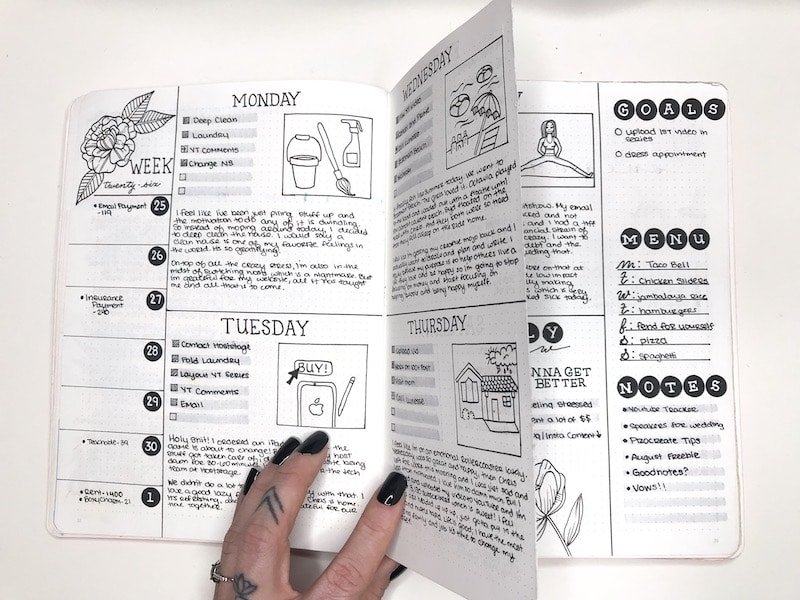
They allow very large daily entries and room for extra information while still being able to see an overview of the week. This is great if you want to include journal entries, gratitude, prayer, notes, etc. into your daily planning.
The biggest downfall of this style is that it does take a very long time to set up and you have to be willing to do some cutting in your bullet journal.
The benefits of this style:
- Lots of room for whatever you want to include in your weekly.
- Tons of designs and creative opportunity
- Add trackers, practice daily gratitude, and keep a journal right along with your daily planning.
Time to create this spread: 1 hour+
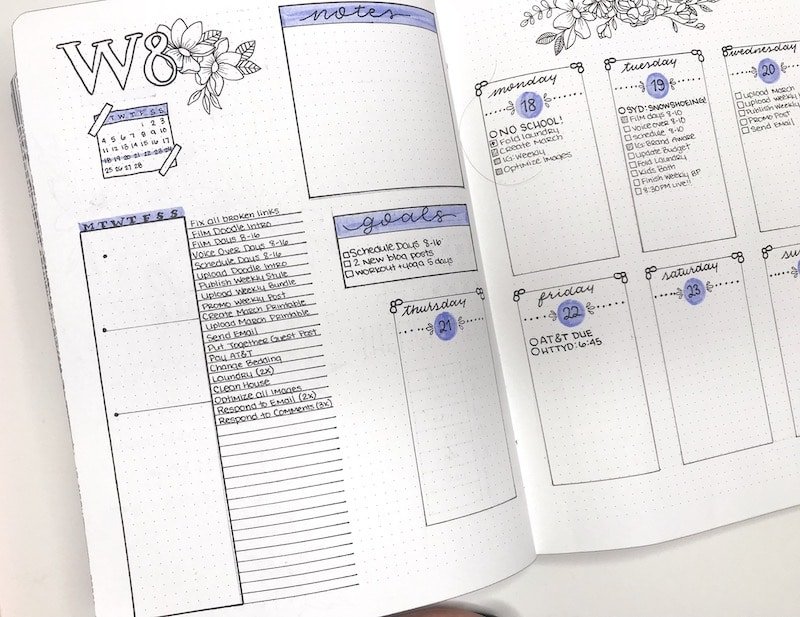
Minimalistic Weekly Layout
Keeping a minimalistic weekly layout keeps your spread clean, simple, but still organized. Plus, if you are crunched for time, this style will prove to be majorly efficient.
Minimalistic is a relative term. It means different things to different people. But, for the sake of this post and keeping things simple, I’m going to refer to minimalistic as monochromatic weeklies with little to no doodles and those that take under 15 minutes to set up.
Benefits of this style:
- Super quick to set up
- Clean layout
- No doodling or brush lettering skills required
Time to create this spread: 15 minutes
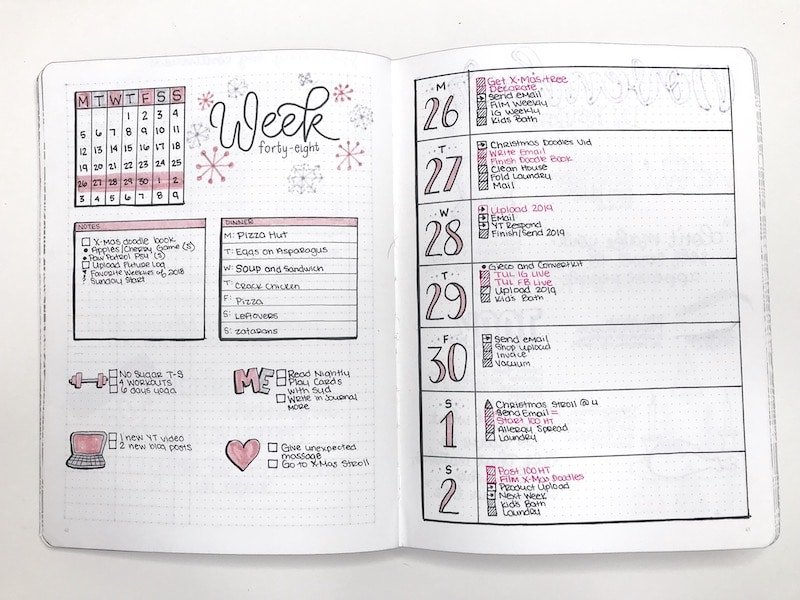
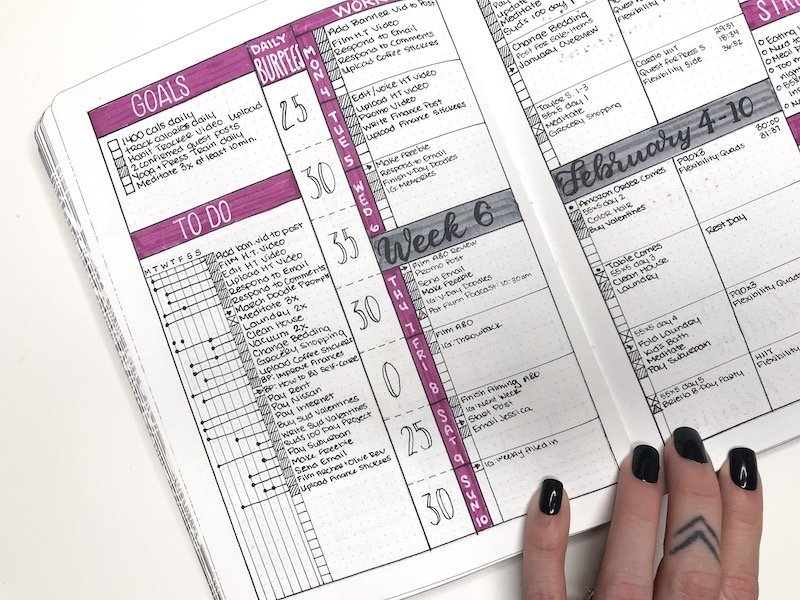
Running Task List
The running task list has become my favorite weekly layout style. It allows me to plan out my entire week’s worth of to-dos in advance which gives me a good idea of how productive I need to be.
The running task list can be made into a stand-alone spread or incorporated into one of the above-mentioned layouts.
Making a running task list is very simple. Start by writing the first letter of each day of the week horizontally, side by side in boxes leaving plenty of space underneath.
On the left or right-hand side, start writing out your tasks. Then use small open circles to assign each task to a day. Once you complete the task, color in the box. If you need to move it, add a small arrow and then draw a box in the following column for the next day.
You can also rewrite the tasks in your weekly log boxes if it makes you comfortable. For me, this solidifies the idea that I have to do the task and it motivates me.
Benefits of this style:
- Great for pre-planning a week worth of tasks
- Can increase productivity
- Simple to set up
Time to create this spread (standalone): 15 minutes
Still Not Sure
Are you still unsure of what weekly spread will work for you? It’s okay and completely normal.
I’ve been bullet journaling for almost 3 years now and I still change my style constantly and find things I like and dislike.
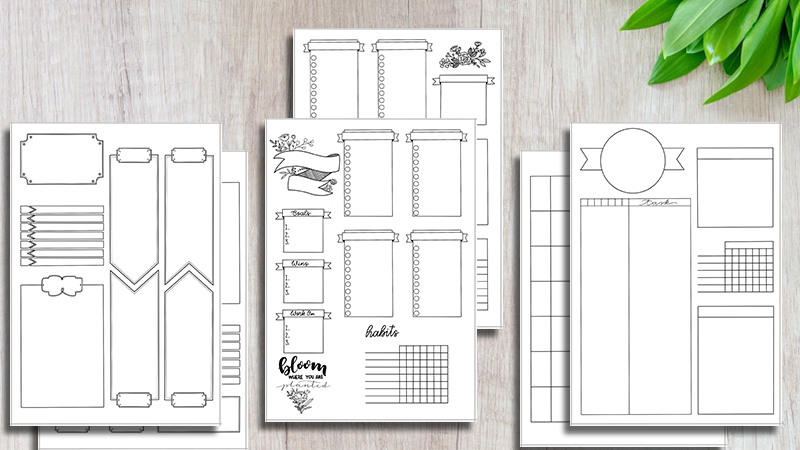
If you want to try out some of these without having to draw them all, check out my printable weekly layout bundle in my shop. These are completely undated, can be used with either a Sunday or Monday start, and will give you 5 different weekly styles to try out.
Let me know what your favorite style of weekly layout is in the comments below.