
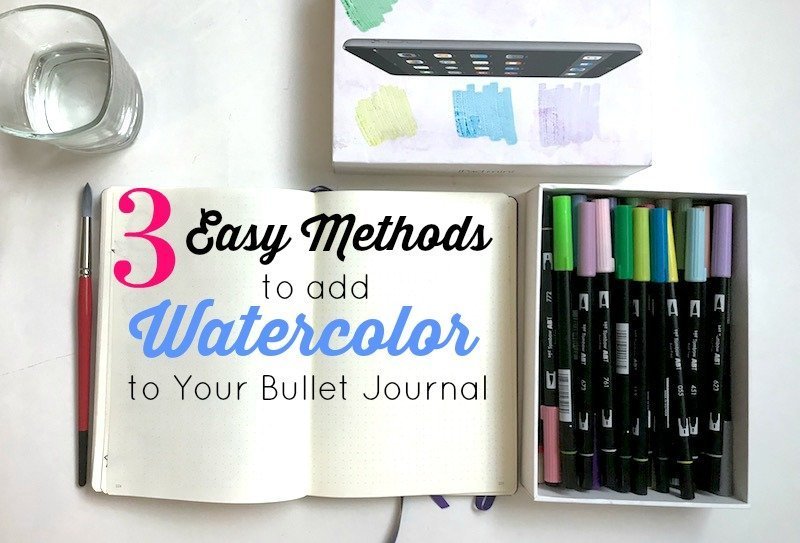
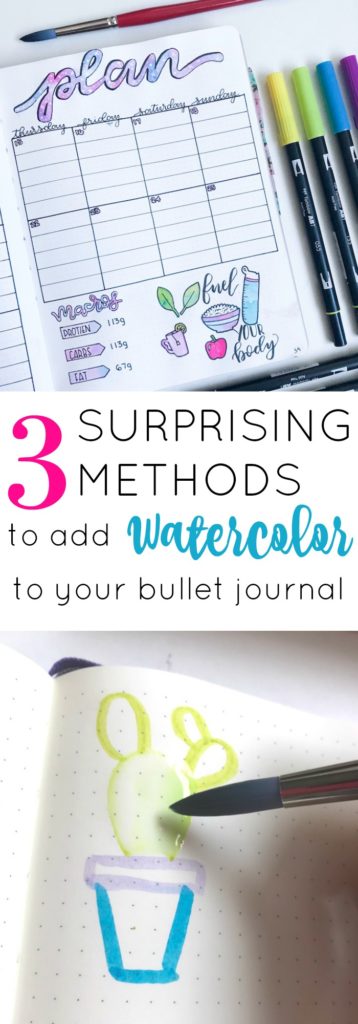
You’ve likely seen people using watercolor in their bullet journal. But do you know how they do it without tons of bleeding? This post will show you 3 easy methods to add watercolor to your bullet journal.
 *This post may contain affiliate links. Please see my Disclosure for more information.
Watercolor has become extremely popular in the last 6 months-1 year. You see it all over Instagram and Pinterest. People are using watercolor to write beautiful galaxy brush lettering and paint soft flowers. I fell into the trend recently and decided it was time to work on my watercolor skills.
It’s probably been 10 years or more since I last tried to watercolor. So, I didn’t jump in head first and buy all the watercolor supplies. I was lucky enough to receive a really nice watercolor brush in my Well Inked Box Subscription. And then, as a newbie, I just purchased a cheap watercolor palette and a small pack of tube watercolor paints at my local Micheal’s.
But, the methods I’m going to show you to add watercolor to your bullet journal don’t require you to buy any watercolor paints. Because, there is an easier, less messy, and more cost-effective method.
The materials I use throughout this post include:
- Tombow Dual-Brush Pens
- Watercolor brushes
- Watercolor Paper
- Tombow Permanent Adhesive
- A cup with some water
- A palette of some sort (I use an iPad box)


Where’s the Watercolor Paint?
Hold up, don’t you need watercolor paint to add watercolor to your bullet journal? The simple answer is, no. You can use standard watercolor paints in your bullet journal, but I prefer this method.
Tombows blend just as smoothly as other watercolors and it’s a much quicker and less messy way to do watercolor. Plus, it’s cost-effective. Now, you’re probably wondering how that can be true? You can get a cheap watercolor palette online or at a local craft store. Meanwhile, Tombow’s can cost upwards of $4-$5 per pen. But, the Tombows are multi-purpose. You can use them for coloring, brush lettering, and now watercolor.
Related: Brush Lettering and Beyond: Basic Strokes and Materials
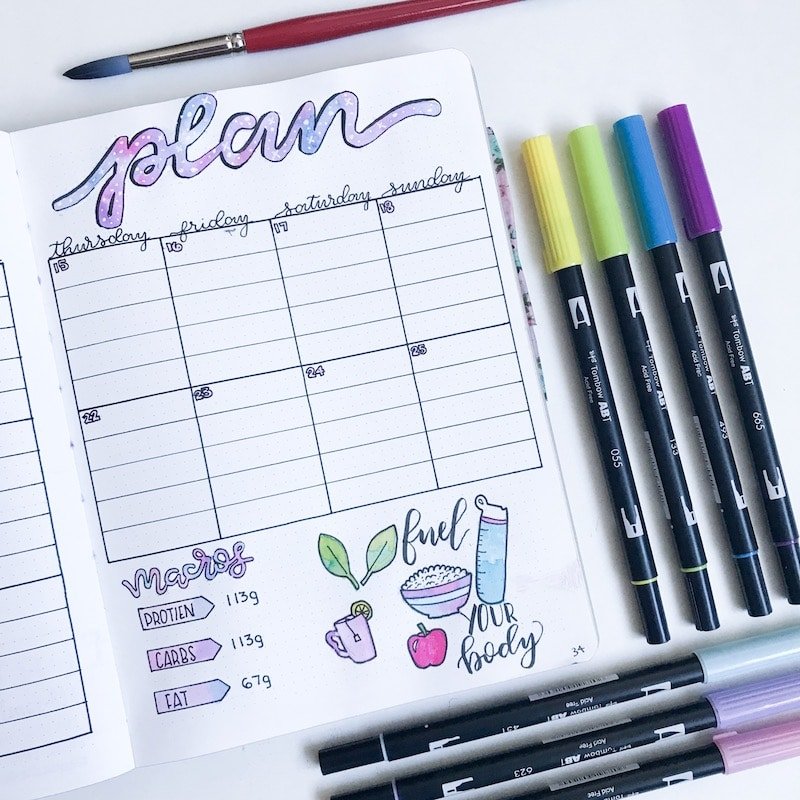
How to Add Watercolor to Your Bullet Journal with Tombow Markers
I’m going to show you three methods I’ve experimented with and use on a regular basis. Two of these methods involve adding watercolor directly to your bullet journal pages. And the third method includes adhering watercolor paper into your bullet journal.
Method 1: Use a Palette
The first method in this tutorial is coloring your Tombow markers onto your palette and then using a wet watercolor brush to pick up the color. This has been my preferred method. Tombow makes a blending palette
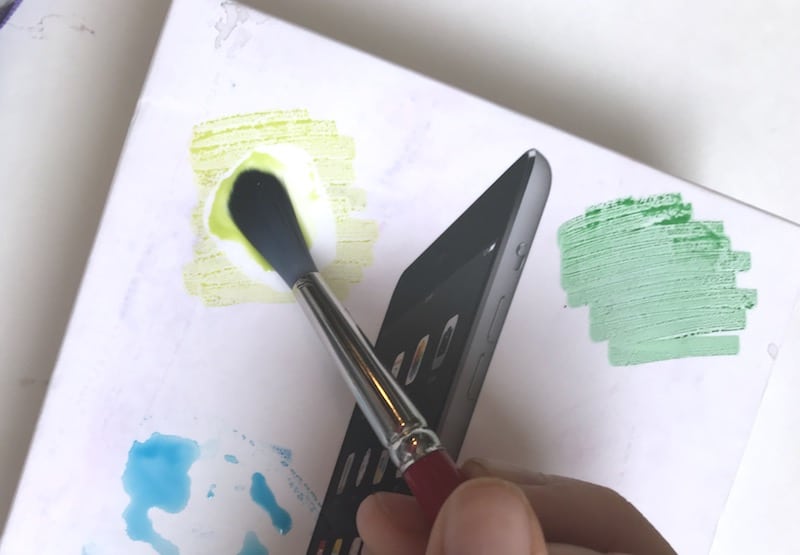
Once you have your palette, color your Tombow markers directly on the palette. Then, get your watercolor brush wet and mix it around in the color on the palette. Then, use the brush to paint directly into your bullet journal.
This method is preferred if when you want to add multiple colors to a single design. For example, if you are painting a leaf with multiple shades of green, this method is easier than Method 2.

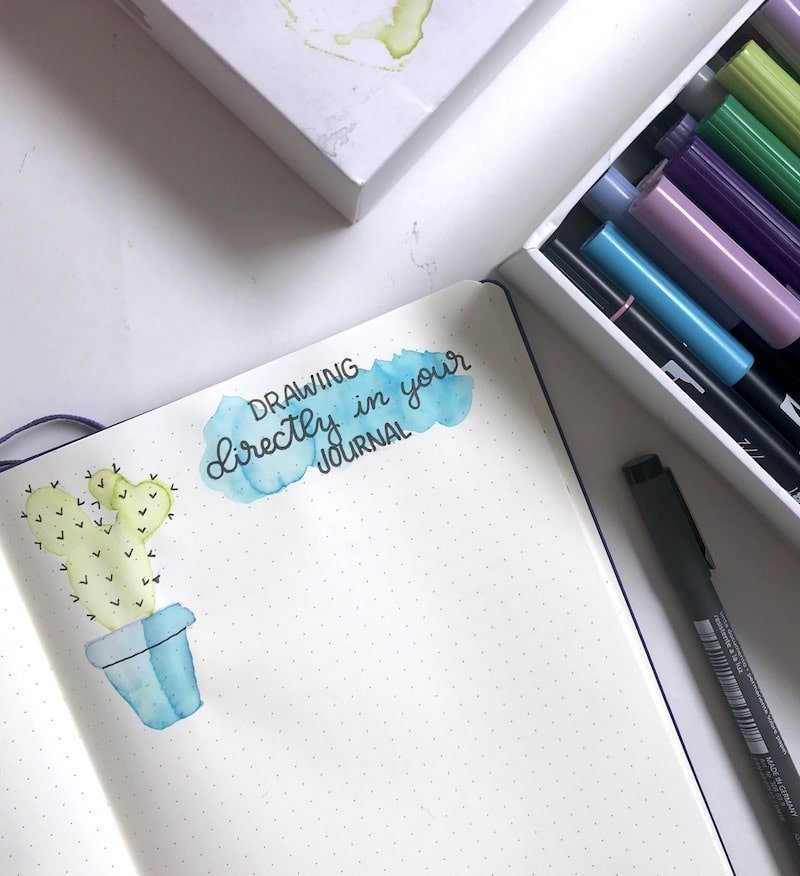
Method 2: Color Directly in Your Bullet Journal
The second method to add watercolor to your bullet journal with Tombow Dual Brush Pens is to color directly in your journal and then add water. I suggest using the first method over this method because with this method you can end up with a lot of bleed through or even torn pages.
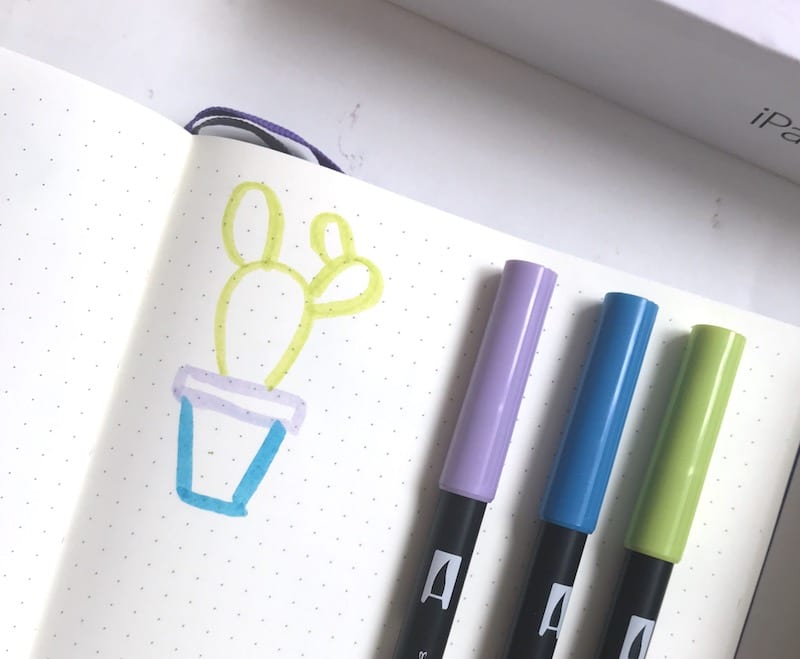
First, draw out your design, whether it be lettering or a doodle. First, use the brush of the Tombow Dual Brush pen to draw a semi-thick outline. Then, get your watercolor brush wet and gently paint over the outline, dragging the color around to fill in your design.
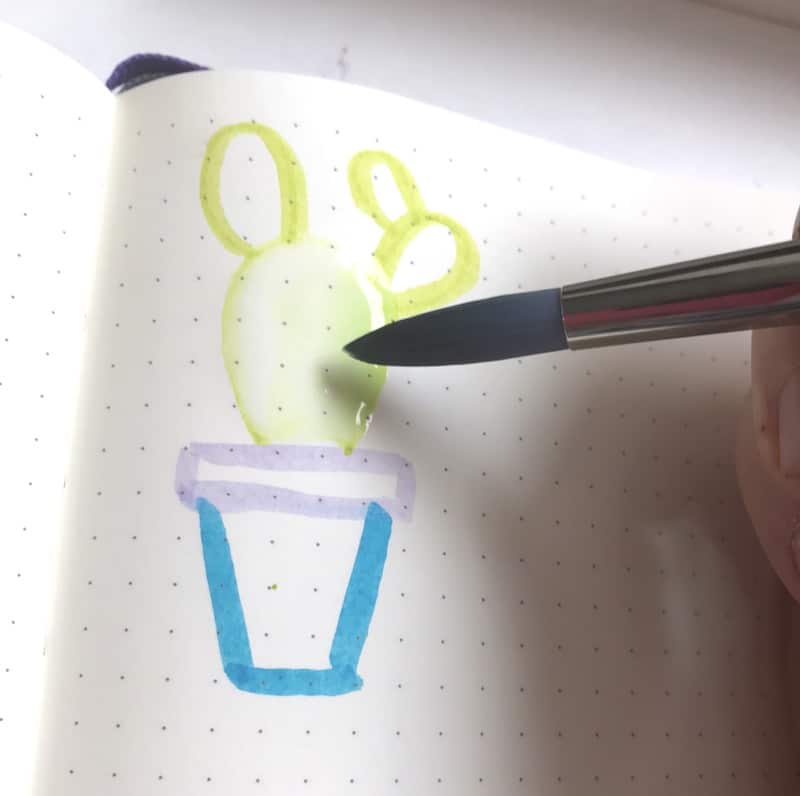
If you want to add multiple colors to your design, you will have a little pre-planning to do. For example, in my cactus painting, you would want to draw the outline in multiple shades of green first. Then, while you are painting over the outline, the different colors will start to blend together to create a multicolor wash.
Method 3: Use Watercolor Paper
This is the safest way to add watercolor to your bullet journal. With this method, you don’t risk your color bleeding through or having warped pages. It also allows you to practice as much as you need before committing to adding a design to your journal.
Simply choose one of the two methods above to use to create your design. Then, instead of painting or drawing directly in your journal, do so on a piece of watercolor paper. You can cut your paper ahead of time to fit in your journal. In the example below, I cut a piece of paper wide enough to span my page and tall enough to add my header with a small watercolor illustration.
Once you have painted your design on your paper and it’s the right size for your journal, add adhesive tape or glue to the back of the paper and adhere it into your journal where you wish. Now you have a piece of watercolor art in your journal without the risk of bleeding or warping. The only downside to this is that your journal can become bulky if you add a lot of watercolor paper to your it over time.

Have you tried using watercolor in your bullet journal? If you have any tips or tricks, feel free to share them in the comments below. And if you want bullet journal design tips and inspiration delivered to your mailbox, make sure to sign up for my newsletter. I’ll send you ideas each month for your monthly setup and give you tips for creating beautiful and simple spreads.

Christine says
I like to use Derwent Inktense pencils and a waterbrush to apply color. The Inktense are not water soluble after drying and I can layer colors without getting muddy color
erinnichols91 says
I haven’t heard of those. But I will look into them now. Thank you for sharing.
TaMara says
Water color pencils are always fun! You can get them at hobby lobby or art supply stores.
erinnichols91 says
I have yet to try watercolor pencils but I would love to. Thanks for the tip.