The weather is warming up and school is out! That means summer has arrived! If you’re looking for something easy and creative to do this summer, try some of these step-by-step summer doodles!
I’ll take you through a few easy steps and you’ll be making cute summer drawings before you know it! These doodle tutorials are perfect for people at any level of their doodling journey!
Scroll down to find written directions and a step by step video tutorial of some of my favorite summer doodles!
*This post may contain affiliate links. Please see my Disclosure for more information.
Summer Doodles for Your Journal
I don’t consider myself the best doodler in the world, but I do have hundreds, if not thousands of hours into this hobby. And over time, I have learned a few techniques that help you doodle better.
I get messages on Instagram almost daily with people asking me how I doodle and telling me how they can’t. And I want to be like the guy in Twilight, touch the person’s hand and allow them to see into my past. I haven’t always been a great doodler. It didn’t always come naturally.
When we allow ourselves to compare our work, body, skill level, etc. to someone we think is better than us, we are ultimately degrading ourselves. Something that almost all of my students remember from the confidence lesson of Rock Your Journal is this:
Stop comparing your Chapter 1 to someone else’s Chapter 15.
From Instagram or Pinterest, you can’t see into someone’s past. You don’t know how long they struggled to draw that one flower or how frustrated they got. You don’t know how many pages they tore out or how many hours they spent watching tutorials on Youtube. So, try to keep your ability in perspective. And instead of being envious or feeling defeated when you see stunning drawings, find inspiration and motivation.
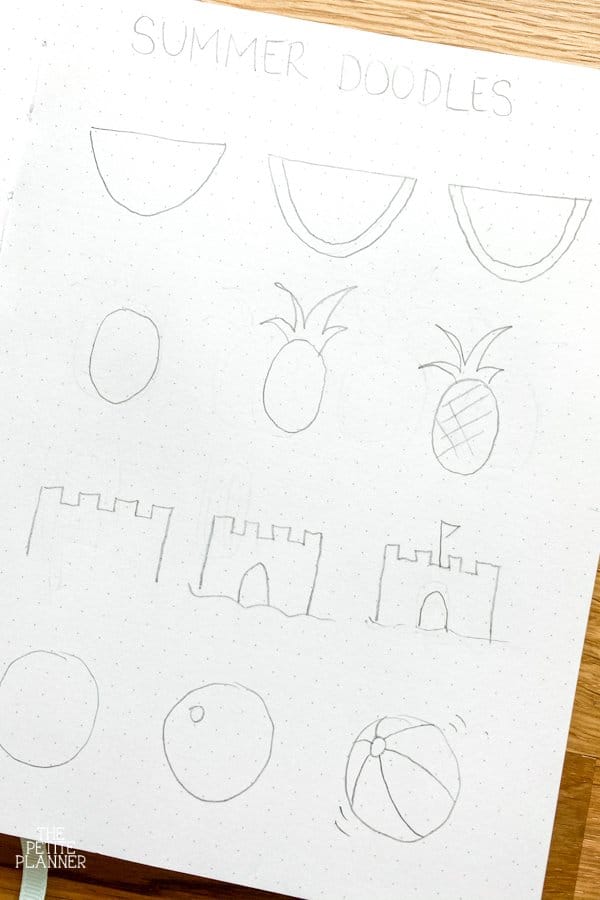
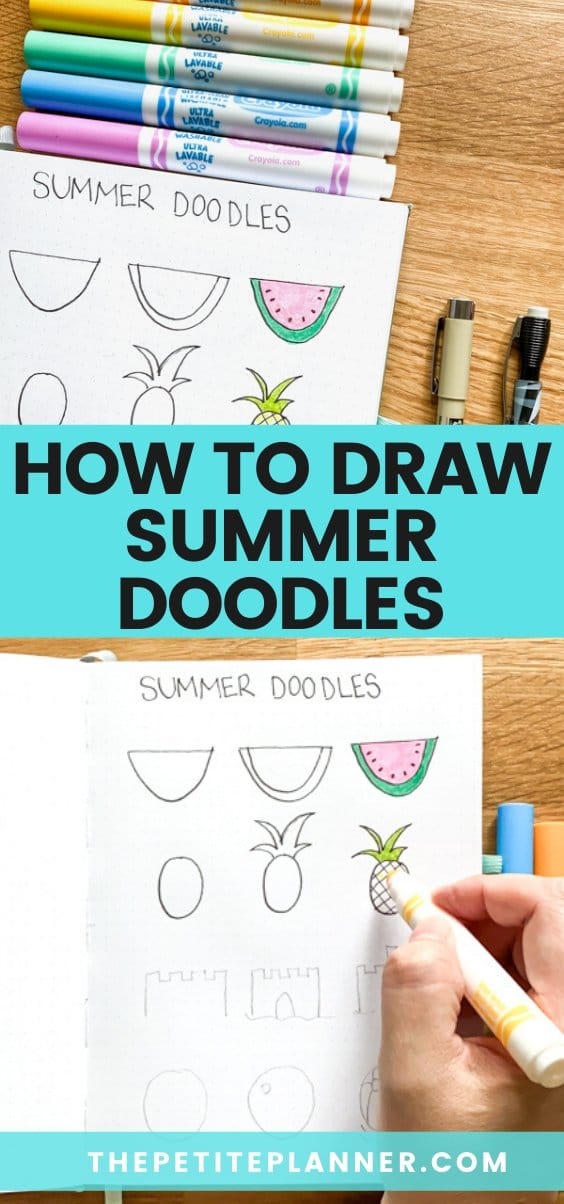
Step-by-Step Summer Doodles
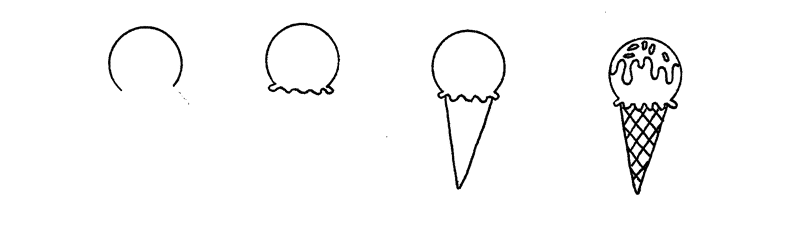
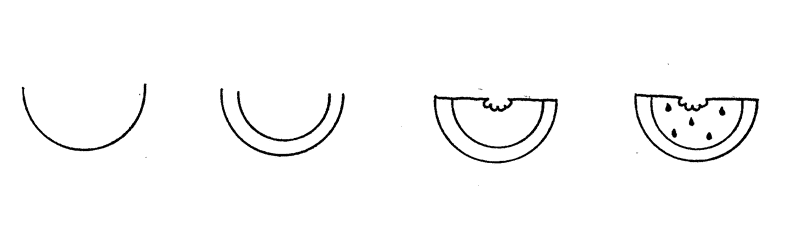
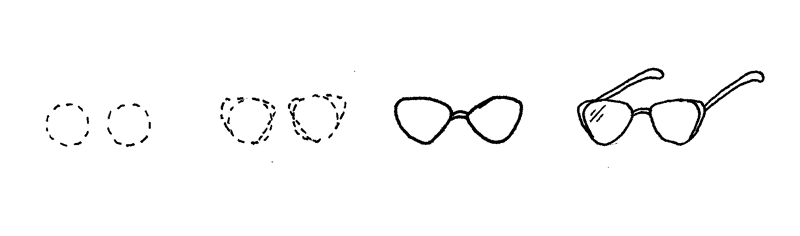
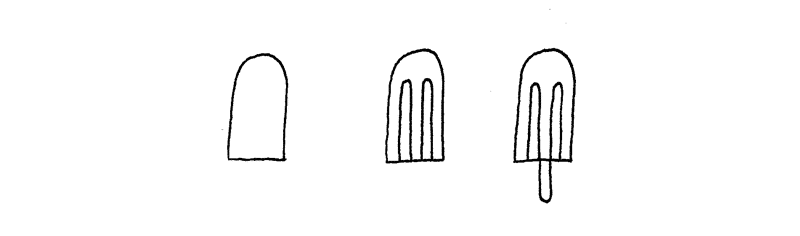
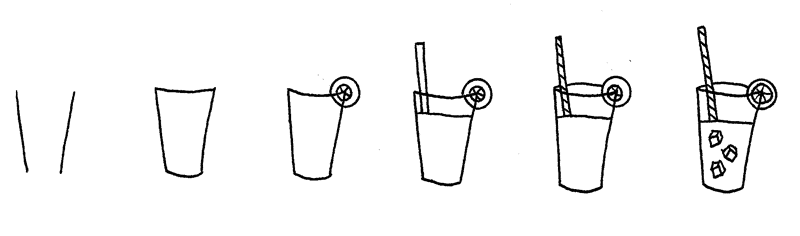
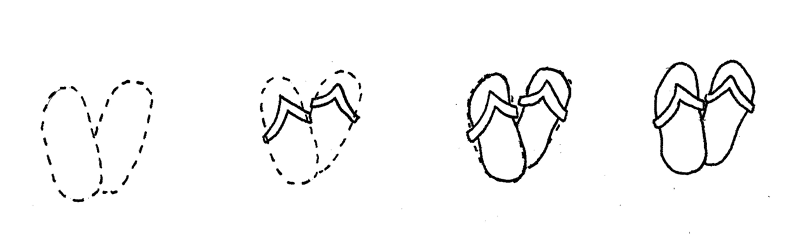
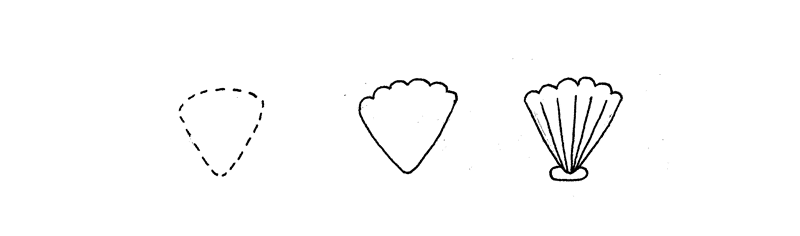
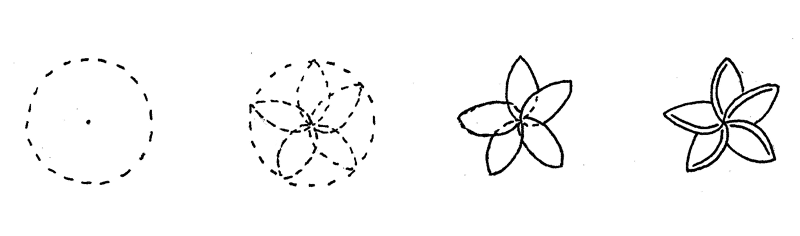
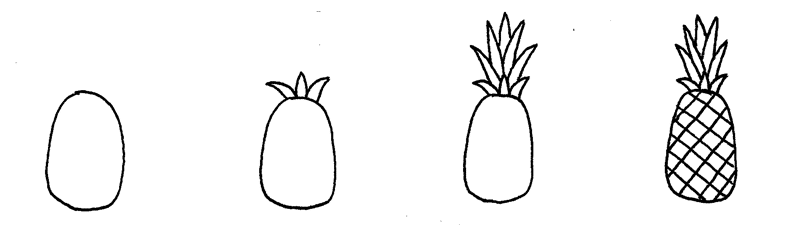
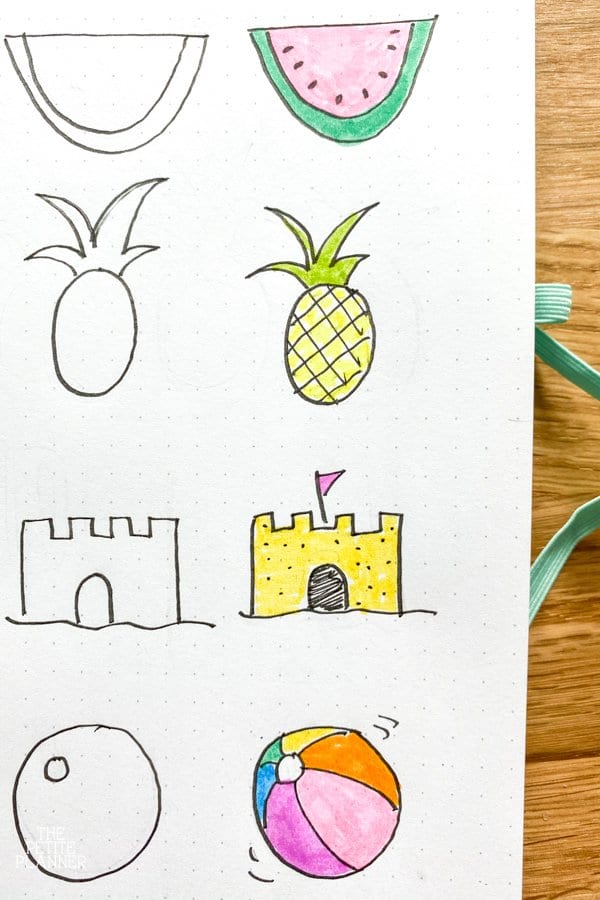
In the following images, you will learn how to draw simple step-by-step doodles you can use in your bullet journal. Dotted lines indicate that the step is done in pencil, while solid lines are steps done in pen. However, you are welcome to use pencil for every step and then trace over your finalized doodle when it’s finished.
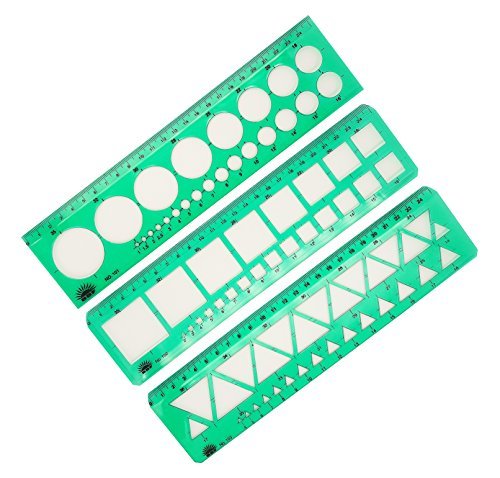
Many of the doodles shown below start with very basic shapes. Many of them are circles. One of my favorite tools of all time is this Helix Circle Maker
Related: Free Printable Bullet Journal Doodle Practice Sheet
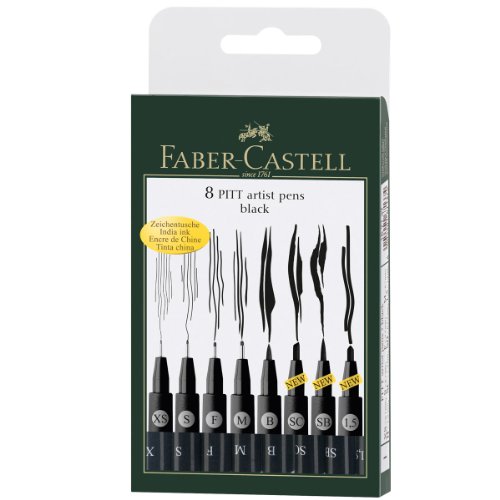
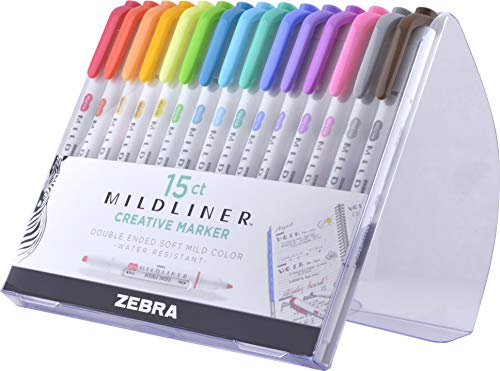
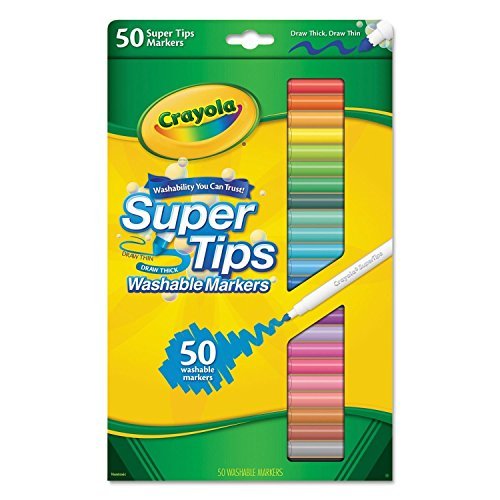
Paperage Dotted Bullet Notebook Faber Castell 8 Pitt BlackZebra Pen MildlinerCrayola Super Tips MarkersDrafting Tool Templates
ICE CREAM CONE DOODLE
WATERMELON DOODLE
SUNGLASSES
POPSICLE
LEMONADE
SANDCASTLE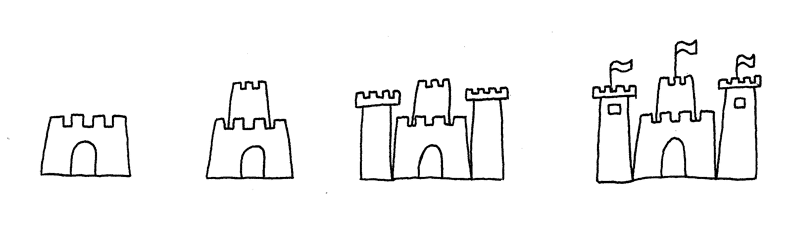
BEACH DOODLES – FLIP-FLOPS
SEASHELL
PLUMERIA
PINEAPPLE
CUTE SUMMER DRAWINGS
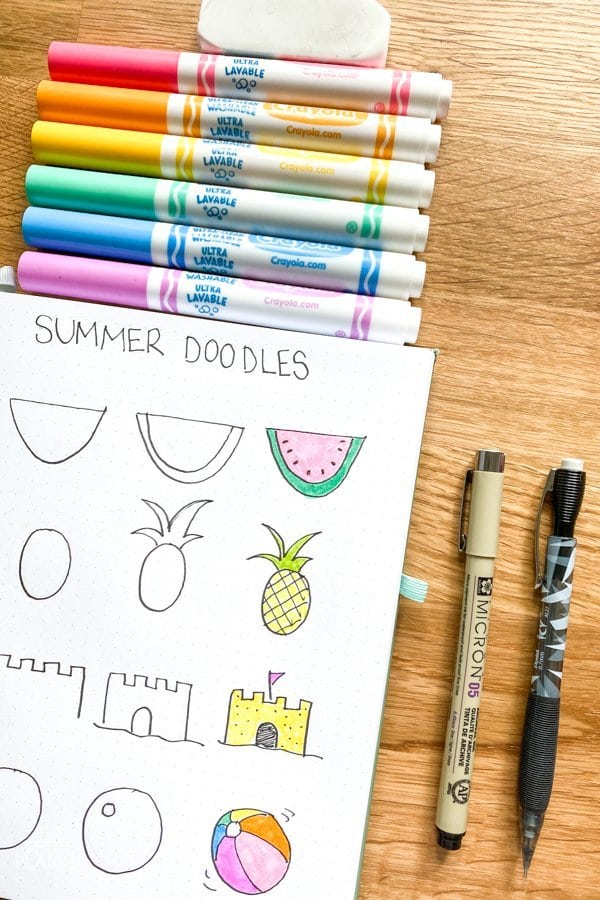
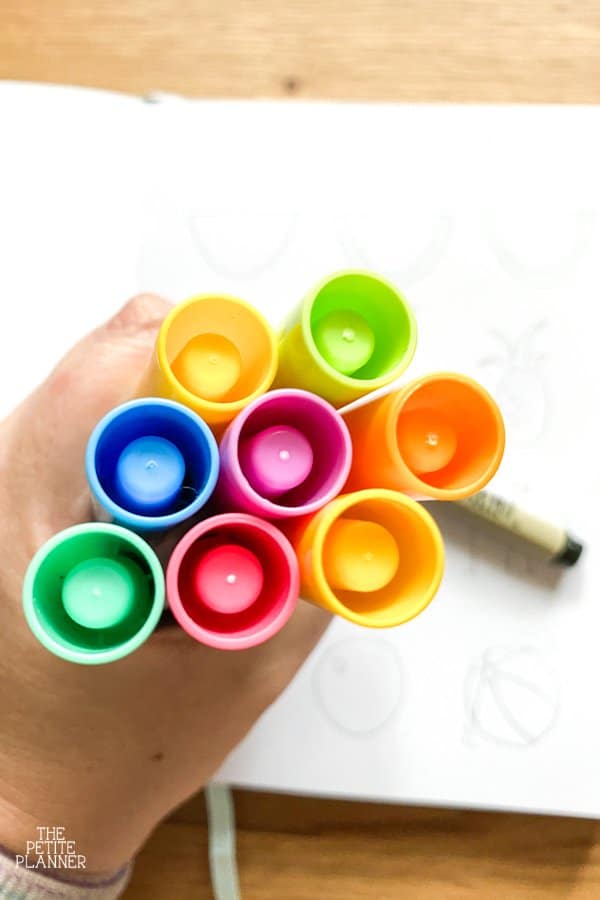
For the four summer doodles I did in these photos, I used some very basic supplies from my collection.
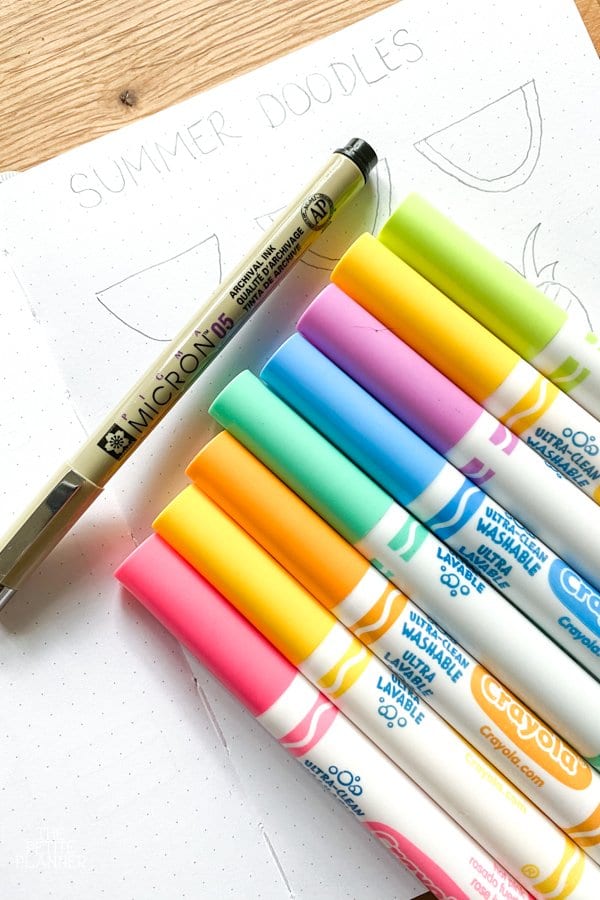
For these doodles and the video doodle tutorial below, I used:
- Crayola Broadline Markers (Colors used: hot pink, golden yellow, yellow, sea foam green, blue lagoon, wild orchid, laser lemon, and palm leaf)
- Sakura Pigma Micron pen
- Pencil
- Pentel Hi-Polymer Block Eraser
Another great marker option for coloring in your doodles are Crayola Super Tips!
You don’t have to color in your doodles but it’s one of my favorite things about doodling!
SUMMER DOODLE TUTORIAL VIDEO
Want to doodle with me? Watch this doodle tutorial video to learn how to draw the watermelon, pineapple, sandcastle, and beach ball! You’ll learn how to draw each of them in three easy steps! Four steps if you count coloring them in!
MORE SUMMER BULLET JOURNAL PROMPTS
If you’re looking for more summer drawing ideas, check out the June doodle challenge that is full of doodles for summer! It also has a free printable with all of the summer bullet journal doodle prompts listed for you!
Some of my favorite cute summer pictures to draw (and ones that work great for your bullet journal summer spread) are:
- Beach doodles – beach ball, beach umbrella, sandcastle, shells, waves, surfboard, fish, palm trees, sea horse
- Pool doodles – pool float, swimsuit, flip flops, goggles, sunglasses
- Succulents and Cactus
- Food & Drink – popsicles, ice cream, S’mores, snow cones/shaved ice, lemonade, tropical drinks, hamburgers, hot dogs
- Travel – suitcase, airplane, cruise ship, anchor, mountains, tent
You can turn pretty much anything that reminds you of summer into a doodle!

Summer Doodle Wreath
As a last little bit of inspiration, I want to show you how I combined these summer doodles to create a fun and colorful summer wreath for a weekly spread in my bullet journal. While this may look difficult, it’s doable. Start in pencil and sketch out each doodle, overlapping some of your doodles to create a tighter wreath. Then, go back in and carefully outline your doodles in pen. Take your time and be sure to outline the doodles on top if overlapping occurs.
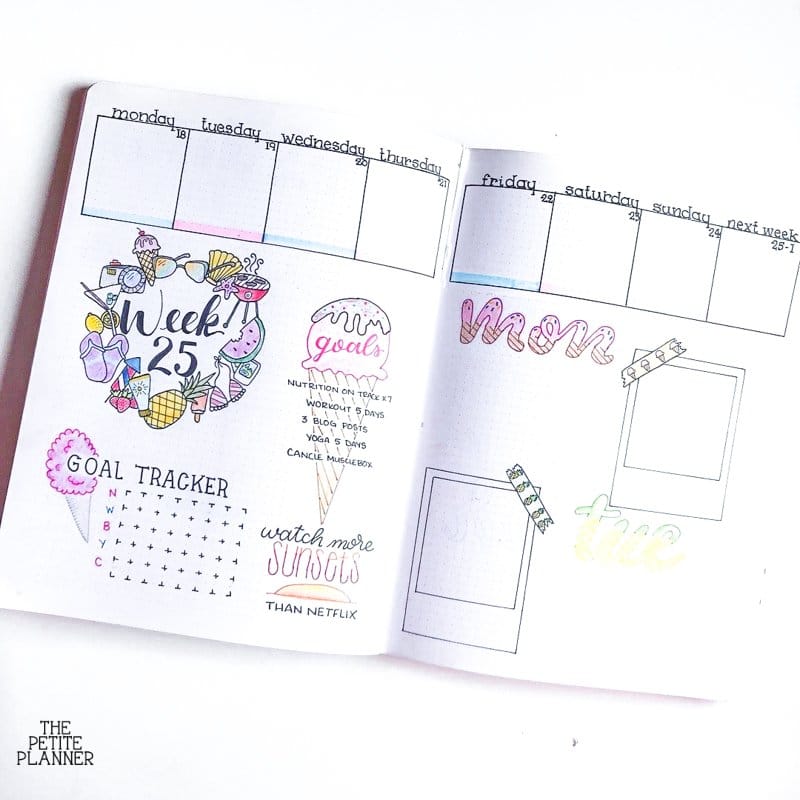
I like to start by just outlining the outer shapes of the doodles before going back in to fill in the details. For this piece, I used Unipin Fineliners in 0.3 and 0.1 and Crayola Colored Pencils
Want to learn more creative skills like doodling, lettering, photography, etc? Use my link to get 2 months of Skillshare for Free! They have an amazingly large collection of online classes you can take for free. I’ve used these classes to improve my own skills in drawing, lettering, Photoshop, and blogging.