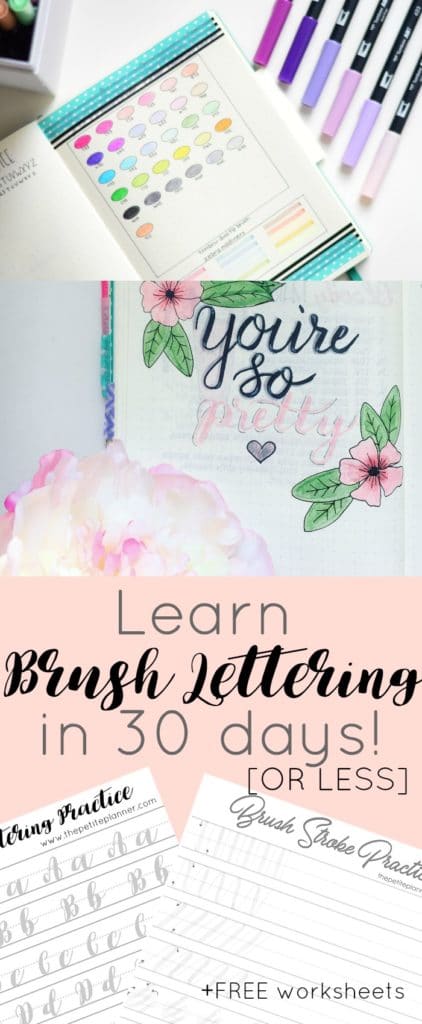
You’ve seen stunning brush lettering on Instagram and Pinterest. Perhaps you want to learn how to do calligraphy add fancy headers to your bullet journal or design your own wedding invitations. This post will show you how to learn brush lettering in 30 days.
**This post may contain affiliate links. Please see my Disclosure for more information.
Before You Start Brush Lettering
I’m a huge advocate for making do with what you have. In my Bullet Journal Blog Series, I reiterate that while there are beautiful drool-worthy markers and pens on the market, it’s not 100% necessary to buy them to make your journal artistic.
However, brush lettering is a slightly different story. You will need a specific kind of calligraphy pen or marker.
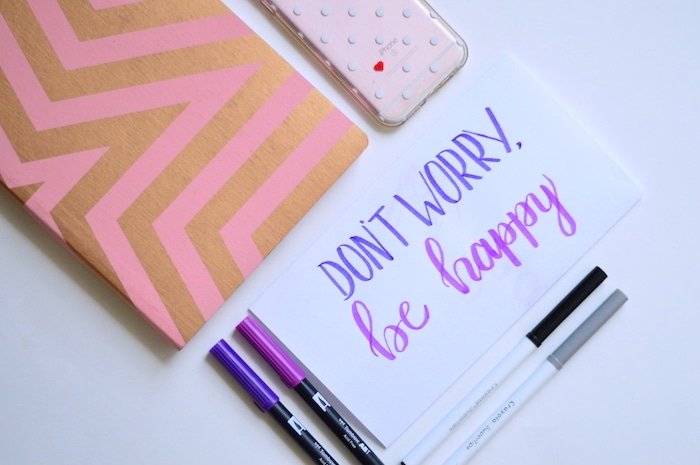
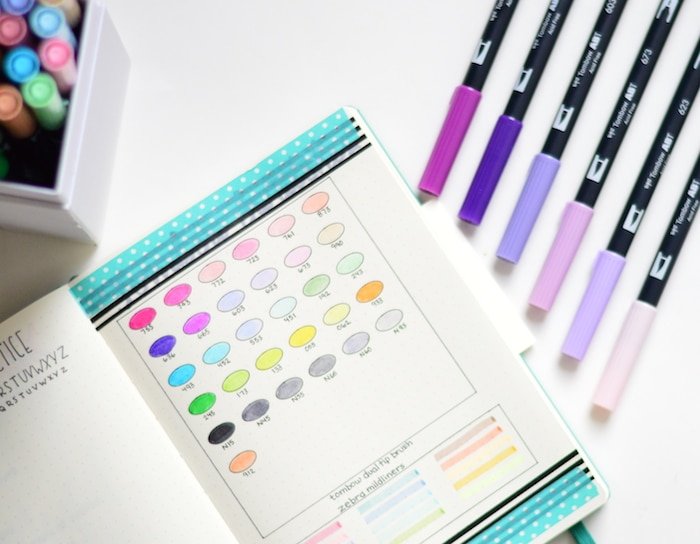
If you can, I highly suggest investing in Tombow Dual Brush Pens
- Crayola SuperTips
– I have the 50 pack of these, and in all honesty, I use them constantly for lettering. Because there is a huge range of colors, they are affordable, and you can find them in your local superstore, they are my second recommendation.
- Shuttle Brush Pens
– These are another affordable option. I can’t personally vouch for this brand, but they have a 5-star rating on Amazon. One reviewer, who claims to be an artist and own more than 2000 pens says they surprised her. She notes that they go on smoother and ‘juicier’ than Prismacolors and that not one pen was dry.
- Tombow Fude
– Another personal favorite. These are great pens for standard calligraphy and advanced brush lettering. They aren’t as thick as the Tombows or Crayolas. But, they are easier to work with and great for adding smaller titles or signing your name.
You’ll also want to grab a practice notebook or sketchpad, as you will be doing a lot of repetitive practice.
 The First Step
The first step is to get your brush strokes down. Before you can really practice making letters, you need to have a good grasp on this. Trust me! The idea is to press harder and create thicker lines on the downstroke, and then lighter pressure and thinner lines on the upstroke. Remember, thick and thin.
 One of the most important tricks to get these strokes down is how you hold your pen. You need to hold it at an angle. Not straight up! The more angled your pen is, the thicker your downstokes can be. So, find your grip, angle your pen, and keep it consistent.
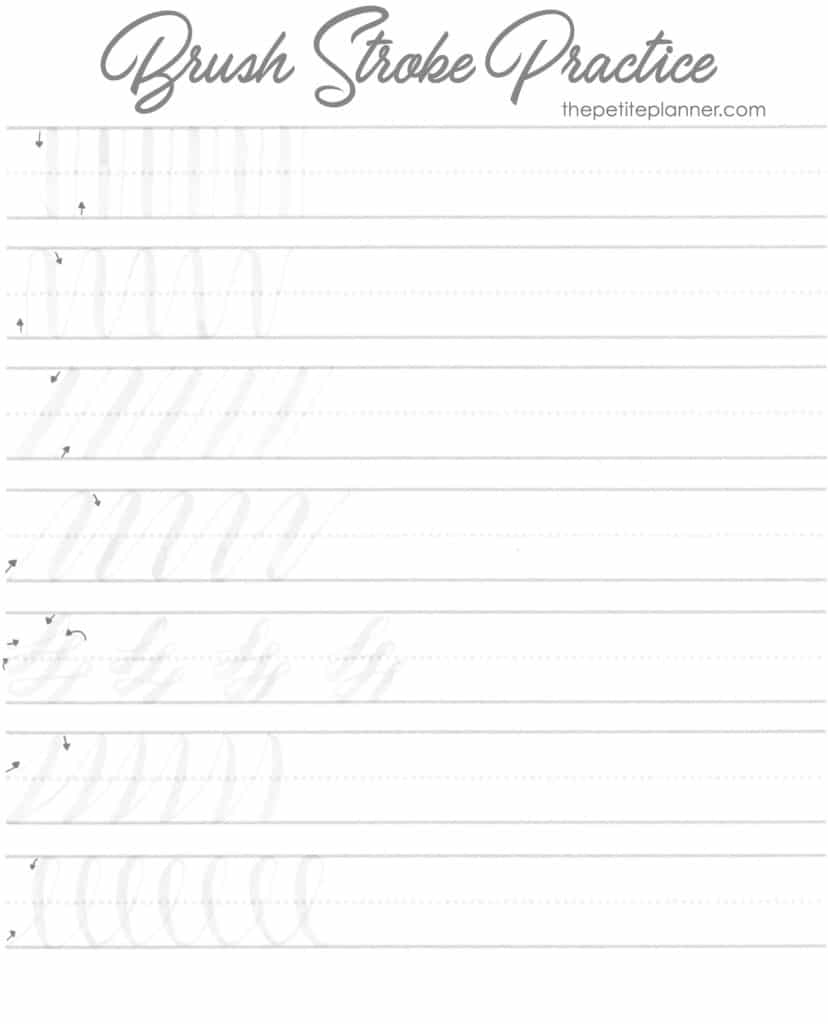
To help you get this technique down, I’ve added some hand drawn brush stroke worksheets to my VIP Library. Click the link to sign up and download the worksheet and have access to more brush lettering worksheets.
Practice each of these strokes until you are creating thick downstrokes and thin upstrokes naturally. You may want to print out the page more than once.
This takes practice, so be patient and go slow. Really focus on how much pressure you are putting on the pen.
For more information on grip and creating thick and thin lines with your brush pen, check out my Complete Guide to Bullet Journal Lettering.
Practicing Your Brush Letters
After you have your strokes down, it’s time to move on to letters. There are a number of ways to do this.
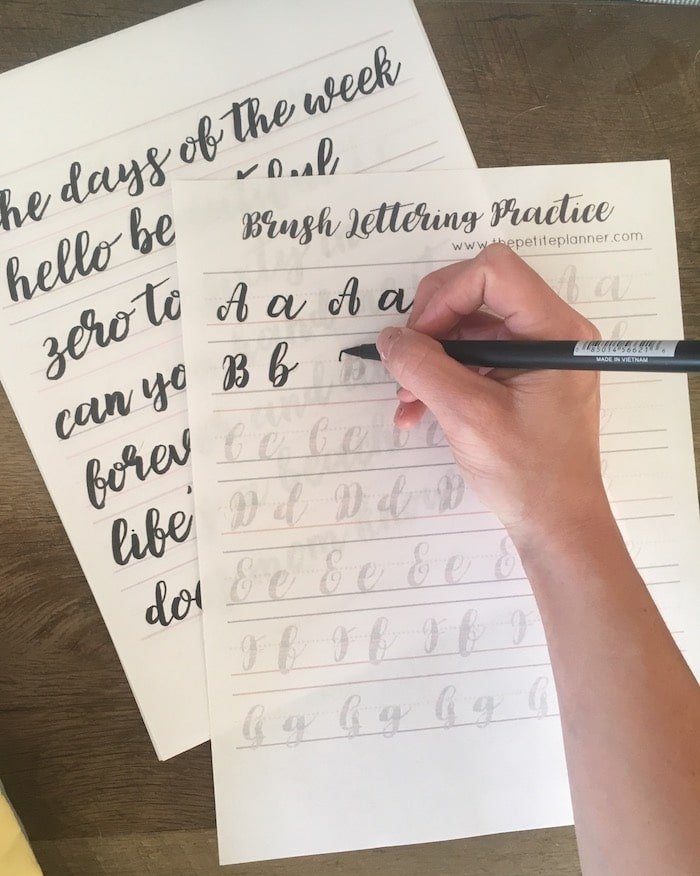
Practice Worksheets: I have a 9 page PDF in my VIP Library that includes the alphabet, days of the week, months of the year, and practice phrases. You can also check my Pinterest Board, Brush Lettering and Beyond. I add worksheets, tips, examples, and posts from bloggers and artists. You’ll find everything you need there.
After you print any of these pages out the final step is to practice, Practice, PRACTICE! Once you feel comfortable going over the letters and words on the practice sheets, try to write them on a separate piece of paper.
Copying From Font Websites: Another, less traditional method of improving your brush letters is to go to a font website and try to replicate the letters of a specific font. I use DaFont.com. Then browse through the ‘calligraphy’ and ‘brush’ categories until you find a font you like. Click the font name and then scroll down. You will see that they show each of the letters in the alphabet in both capital and lowercase.
Some of my favorite fonts from DaFont.com are: Amarillo | Watermelon Script | Lauren | Carolina Hills
Try writing out each letter 5-10 times, going slowly and being very intentional with your strokes. Continue to practice individual letters before moving on to words and sentences.
Want to Learn How to Do Calligraphy Faster?
Want to learn brush lettering faster? Are you too busy to dedicate 20 minutes a day to brush lettering practice? No problem! Head over to Creative Live, and check out the Brush Lettering Basics Course. It’s a video course with 13 short video lessons. The course is taught by Laura Worthington, a typeface designer and previous graphic designer. She has published more than 80 typefaces, almost all of which are based on her own handwriting.
When you get the course, you’ll also receive a complete resource guide, practice worksheets, tools and materials list, and much more. You’ll have lifetime access to the course, and can either stream or download the videos after purchase. She also offers two other, more advanced classes once you complete this one.
Even if you don’t want to purchase this course, head over to Creative Live and register an account. The always have FREE live courses, and often offer steep discounts and sales on video classes.
Final Tips
The number one takeaway here is, practice is your key to success. Don’t give up because it’s hard. It is hard! It’s going to be tough, and you’re probably going to have some pretty ugly letters and words in the beginning. Maybe not, but it’s very likely. Mine looked like kindergarten scribbles for a while beforeI felt confident with sharing my lettering.
Also, be sure to check YouTube for tutorials. Tombow’s Channel is updated regularly and has extremely helpful and informative lettering tutorials. Amy Tangerine also does some in-depth videos on brush lettering; you can check out her videos here.