
Learning bullet journal lettering has never been easier. This guide will give you all the resources, tips, and tricks you need to start brush lettering and hand lettering like a pro.
This post may contain affiliate links. Please see my Disclosure for more information.
Are you intimidated by lettering? There’s all these strange words like X-height, serif, descenders, cap height, etc.
And then trying to get the letters to look similar and be the same height and at the same angle can be frustrating. But it doesn’t have to be.
Once you have a basic understanding of a few simple terms paired with a couple tips and tricks and a few a good resources, you’ll be diving into the world of bullet journal lettering with confidence.
This article will illustratively cover some of the basic vocabulary associated with typography and lettering, give you some tips and tricks you can use to improve your lettering right now, cover the basic and the best materials, and send you on your way with some of the best books, courses, and learning materials to further your practice.
Basic Typography Terms and Definitions Illustrated
When you start to dive deeper into lettering and typography, you are going to see the words below pretty frequently. So, it helps to know what they mean.
The image below is your illustrative guide. I encourage you to copy it down into your own notebook or sketchbook
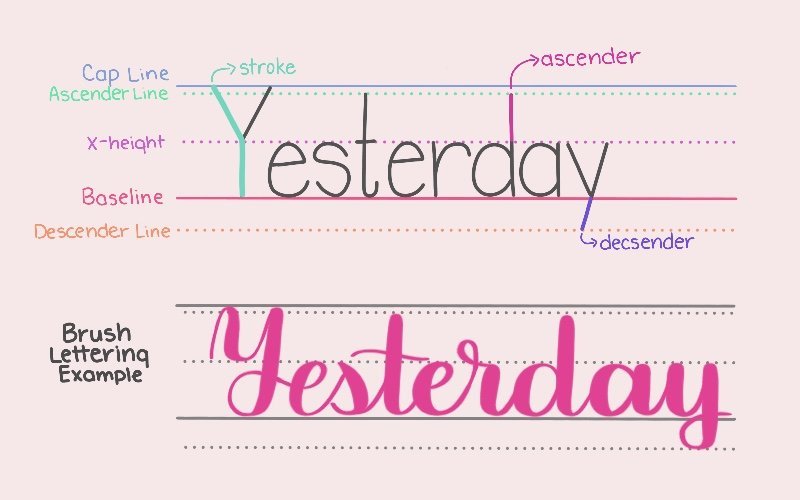
Baseline: This is the imaginary line at the bottom that your letters rest on. This is the line that keeps your letters and words straight.
X-Height: This is the distance between your baseline and the top of your lowercase letters or crossbars on capital letters like H and A.
Cap Line: This is the imaginary line at the top where all of your uppercase letters touch.
Ascenders: This is a part of a letter that extends above the x-height.
Descenders: This is a part of the letter that extends below the baseline.
Ascender Line: This is the imaginary line where all of your ascenders extend to.
Descender Line: This is the imaginary line where all of your descenders extend to.
Stroke: These are the lines that make up letters. They can be straight or curved.
While typography practically has an entire dictionary of terminology, the above are the basics of what you’ll need to get started without overwhelming yourself.
However, you may also want to know some of the words below.
Kerning and and Tracking both refer to the spacing between letters. With kerning, you may offset just one letter, or chance the spacing based on the size of the letter. But with tracking, all of the letters are spaced evenly irregardless of size.
Embellishments and Flourishes are both extra elements in lettering that add character and aesthetic. They can be connected to letters or placed as standalone designs. These are going to be the curly lines you might see at the beginning or end of a letter.
Serif and Sans-Serif are two classifications of lettering and typography. A serif is simply the little bar you see attached to the ends of letters. Think typewriter font. San-Serif just means letters without the little bars.
*The above terminology has been summarized and interpreted from a variety of blogs and books. I give a lot of credit to Caroline from Hand Lettering for Beginners for teaching me these basic terms and how they are used. Be sure to check out her article on Typography Terms for the most in depth, yet beginner friendly explanations.
Easy Bullet Journal Lettering Styles
Once you have a basic grasp on the above terms, you can start to make minor adjustments to your lettering that will have a big impact.
You don’t need to have any experience with typography or fancy supplies to start adding unique and beautiful headers to your bullet journal.
Print Lettering Supplies
For the below examples and techniques, you only need a few basic supplies. A pencil is going to be your best friend while you grasp lettering. Always start with pencil.
The only other supply you’ll need is a black pen. I recommend getting a variety pack of fineline pens that has different widths. This makes it a lot easier to add variations to your lettering, color in blocks, and get the look you are wanting to achieve.
All of the supplies I use regularly are listed below and can be purchased on Amazon. You may also be able to find them at your local craft store, although I have had great luck with purchasing on Amazon.
Also, check out this post for some useful tips and tricks to improve your handwriting in your bullet journal.
How to Enhance Your Print Lettering
The image below shows you a few simple ways to enhance your print lettering and give it some charisma. Each of the techniques is further explained below the image.
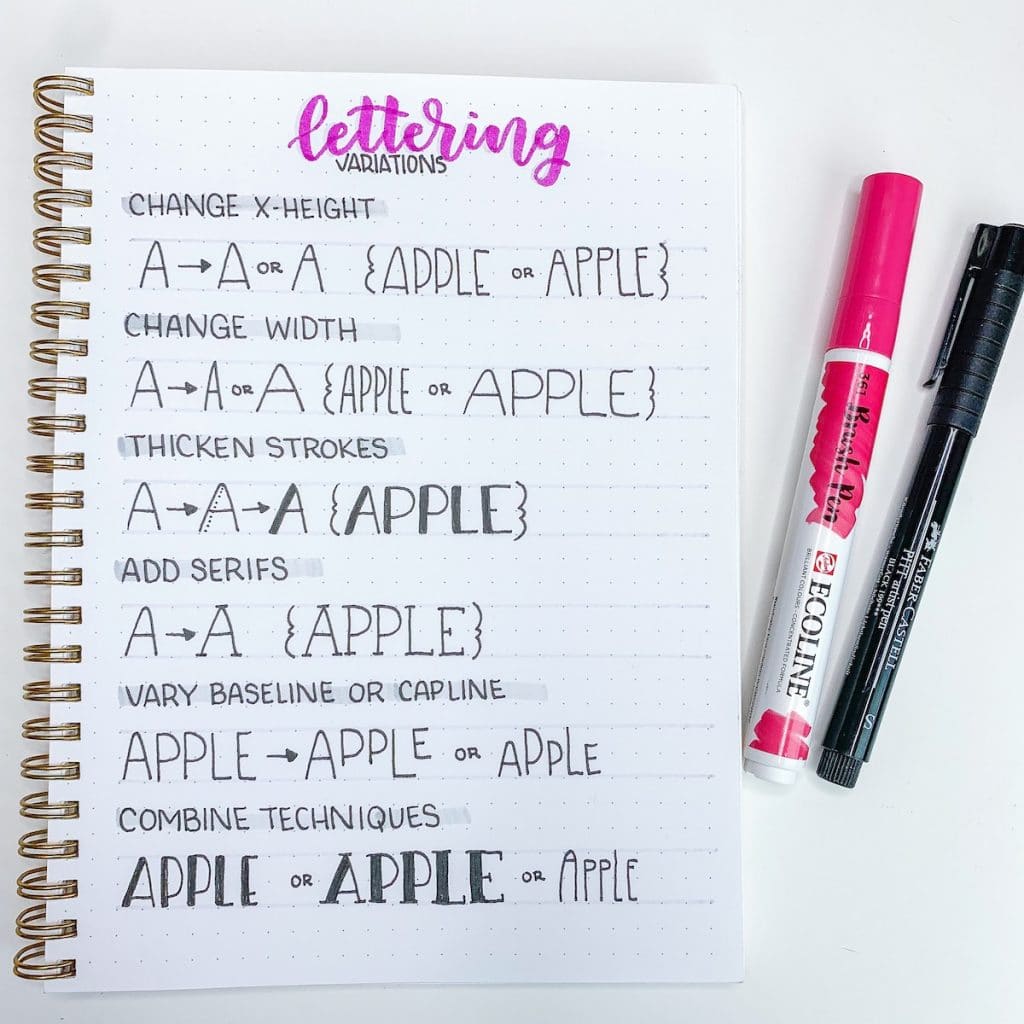
Change the X-Height: One of the most simple ways to change up your print lettering style is to adjust the x-height. With letters like A, E, F, and H move the height of the crossbar either up or down. Then make the remaining letters match up.
Change the Width of Your Letters: Another simple trick is to shrink or expand the width of your letters. Make them narrow or wide to get different effects in your lettering.
Thicken Up Your Strokes: Want to add a bold factor to your lettering? The easiest way to do this is to add some thickness to some of the strokes in your lettering.
In the example above, draw a capital A and then along the lefthand side, draw a second parallel line on the inside of the letter. Color the space in to give the lefthand stroke of the A some thickness. Continue this with your remaining letters, thickening up the lefthand stroke of the letter.
Add Serifs: Most people don’t typically write with serifs. So, adding them can give your lettering a serious or more sophisticated feeling.
Serifs are simply little bars at the ends of your letters. If you need a good reference for serifs, check out this post with a great example of a simple serif font.
Vary the Baseline or Cap Line: This technique is simple but can drastically change the look of your lettering, giving it a playful feel.
To do this, draw alternate the height of your letters within a word. Instead of starting your letter at the regular baseline, move it up a little below the x-height and then draw your letter to touch the cap line. For the reverse effect, draw your letters from the baseline extending them just past the x-height but not touching the cap line.
Combine Techniques: The last step is to start playing around with your variations. Mix and match the techniques above to create new and interesting variations.
In the example above I have combined a lowered x-height with a thickened down stroke in the first word. In the second word, I combined the thickened stroke with serifs. And in the last word, I made the letters narrow and varied the cap line.
There is no right or wrong way to go about this. Play and have fun. Develop your own style and you might just come up with your own font.
Watch the video below for more examples of simple bullet journal lettering styles that don’t require a brush pen or calligraphy skills.
Brush Lettering For Beginners
Now that you have all the basics of print lettering as well as some simple styles to use in your bullet journal, you’re probably ready to embark on the brush lettering journey.
Before we get started, I want you to know just one thing. Brush lettering is a skill that takes time and patience. Don’t expect to be a master of the art overnight or after reading this section of text.
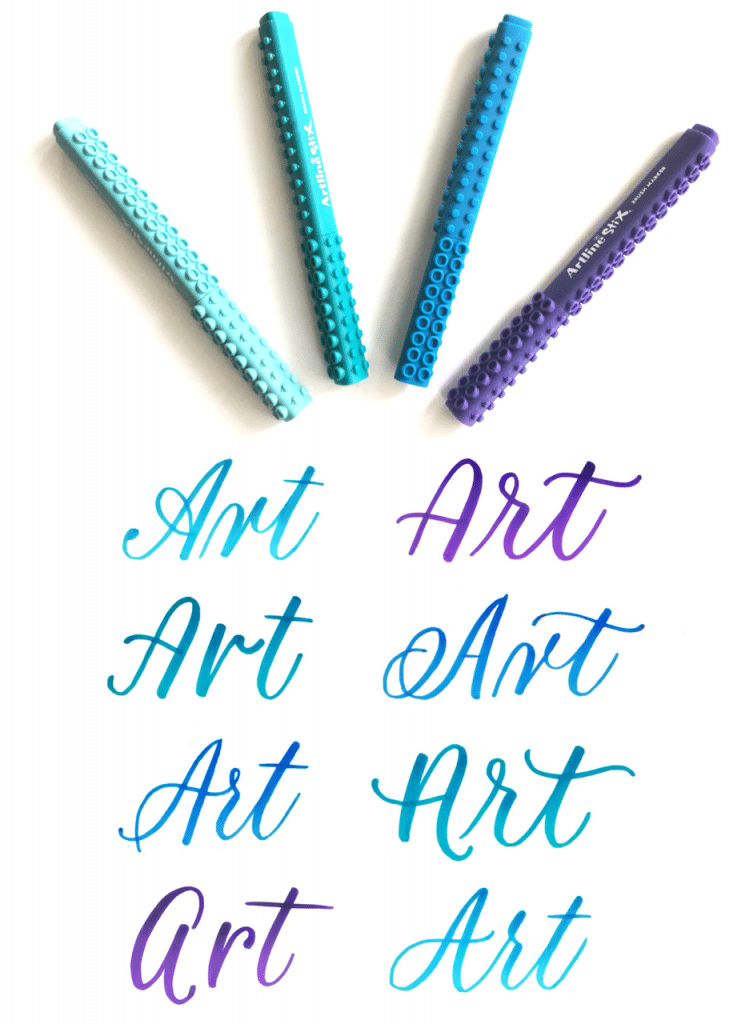
Before we get started with basic techniques and resources, brush lettering does require a few specialty supplies to get you started. I’ll share some of my favorite beginner friendly brush lettering pens.
Brush Lettering Pens for Beginners
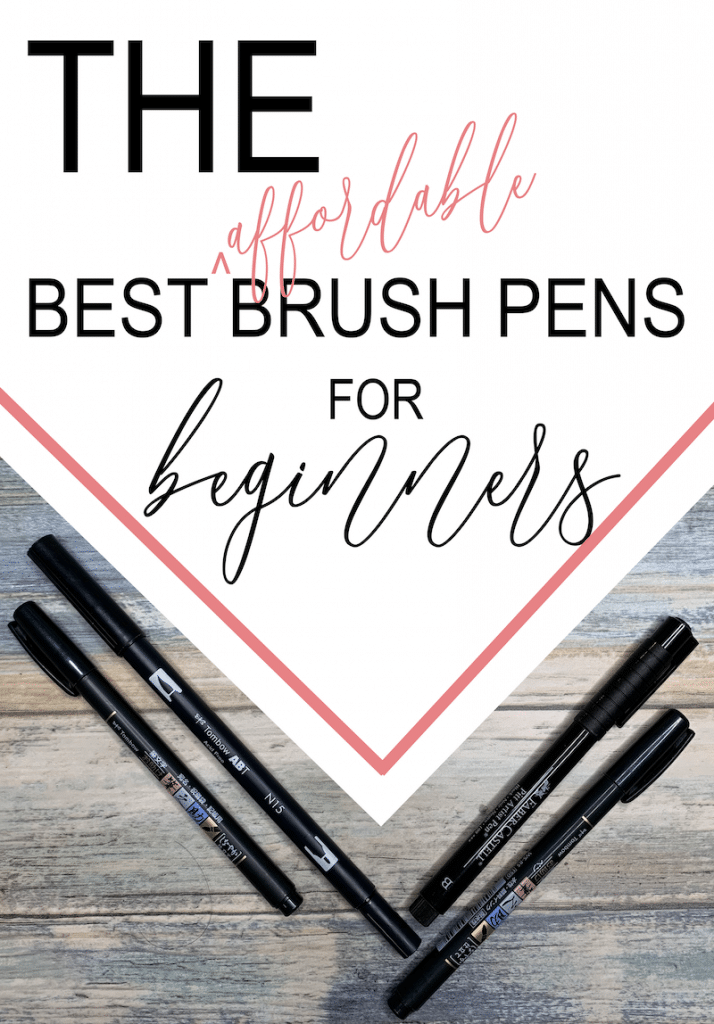
Eventually you may want to move into the world of Tombow Dual Brush Pens, but it’s a good idea to work your way up to the highly-coveted brush calligraphy tool.
Starting out, you want a brush pen that has a slightly flexible tip that requires a medium pressure. This helps in the beginning to get used to applying more pressure on the downstroke and releasing the pressure on the upstroke.
There are a lot of options for brush pens that fit this description. Below are a few of my favorite affordable options.
Tombow Fude Pen: These were the first smaller tipped brush pen I started with and I still use them religiously. They come in two variations.
The hard tip requires more pressure to achieve a thicker line, but also makes creating thin upstrokes very easy. The soft tip requires less pressure and can achieve a thicker downstroke, but needs a much lighter touch on the upstroke.
You can buy a pack on Amazon that contains both the hard tip and soft tip so that you can try both and find the one that fits you best.
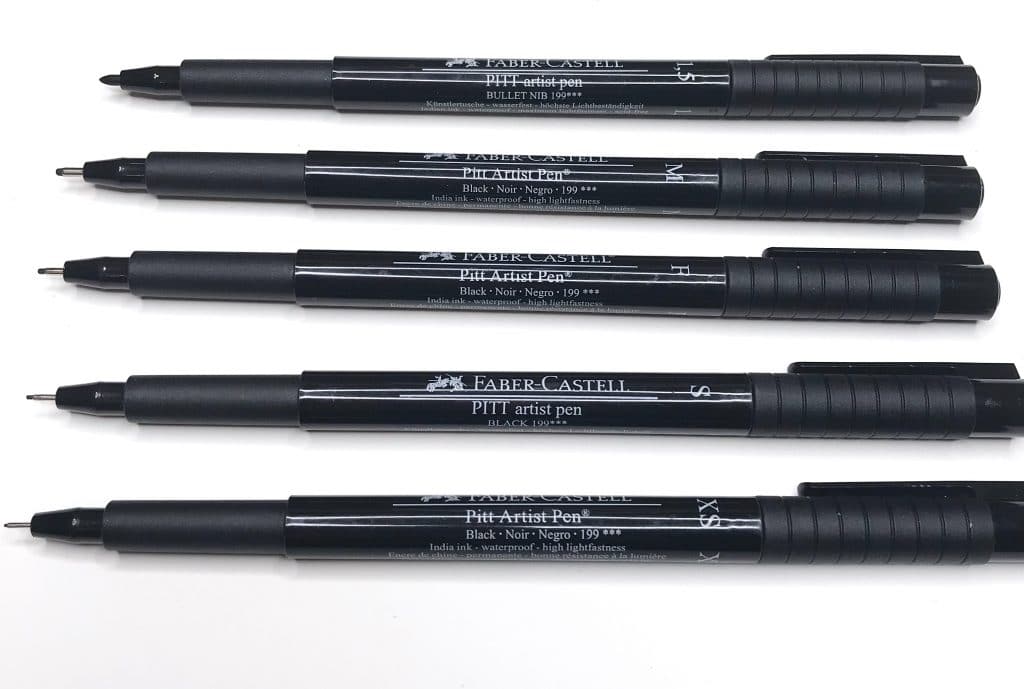
Faber Castell Pitt Artist Brush Pens: Much like the Tombow Fude pens, these have a more rigid tip, perfect for beginners. The brush tip on this pen is slightly longer than the Tombow Fude, which can make it feel less stable.
However, because the tip is still rather rigid, you won’t have to worry about creating strokes that are too thick.
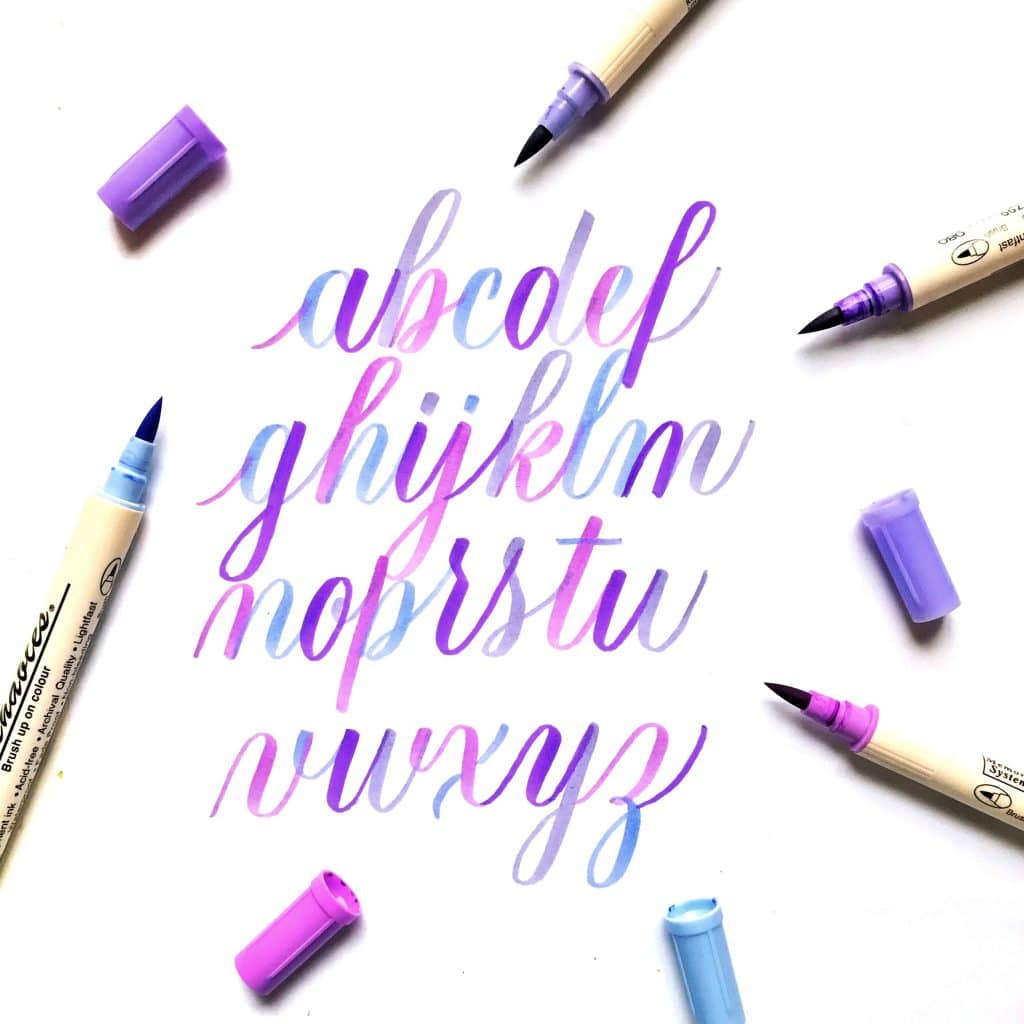
These come in a variety of colors. The grayscale is wonderful for creating shadows on lettering and doodles in your bullet journal. But it’s also nice to have an array of colors to decorate your headers with.
Other Recommended Pens: I have only used the two smaller tipped brush pens mentioned above. However, there are countless articles online that recommend other beginner brush calligraphy pens.
I’ve added a few of the pens suggested by creators in the community below. But please know I have not used these personally, and am recommending them based on what lettering artists have told me and what I have read on my own.
Brush Lettering for Beginners: The Basics
Brush lettering is likely one of the most sought after skills by those starting a bullet journal. And it’s understandable so. Brush lettering is sleek and stylish. It gives character to an otherwise plain list.
But, on the same hand, brush lettering can be very intimidating and frustrating for those just beginning. If you are using the wrong brush pen, holding the pen wrong, or haven’t spent time practicing basic strokes, you might find yourself in this position of frustration.
That’s why it’s so important to learn the basics of brush lettering first.
Learning How to Hold Your Brush Pen
While I’m a huge advocate of doing things in a way that feels comfortable and natural to you, brush pens do work best when held a certain way.
You want your brush pen at an angle. Holding the pen straight up and down prevents the nib from flexing the way it is supposed to.
Find a place near the end of the pen to grip. I like to grip mine about an inch from where the nib is, but this part is up to you. The closer to the nib you are, the more control you will have. But, if you grip it too low you will lose a lot of the angle needed to create brush lettering.
So, after you find a suitable grip that feels natural in your hand, allow the pen to rest on the skin between your thumb and pointer finger. This may feel awkward at first if you are used to holding your pen upright, but it will start to feel more natural as you get used to it.
Practicing Strokes
When I first started with brush lettering, I immediately wanted to practice letters. And I think this is a pretty common thing. But, if you want to perfect your lettering and not end up frustrated, you have to take a step back and start with the strokes.
Upstrokes are thin. Downstrokes are thick. When I was first learning I would say it aloud as I practiced. “Thin up; thick down” for every single stroke.
The best way to practice is to start with the most basic strokes. Do 20 or so upstrokes and try to keep them all similar width. Then, practice doing 20 or so downstrokes. Again, try and keep them all a consistent width.
Once you feel confident with your upstrokes and downstrokes, you can start putting them together. Start with a downstroke and then create a U-turn at the bottom to connect to an upstroke. It’s okay, and in fact, encouraged to lift your pen between strokes.
From here, you can start making more complex turns and connections, like you see in the practice sheet below.
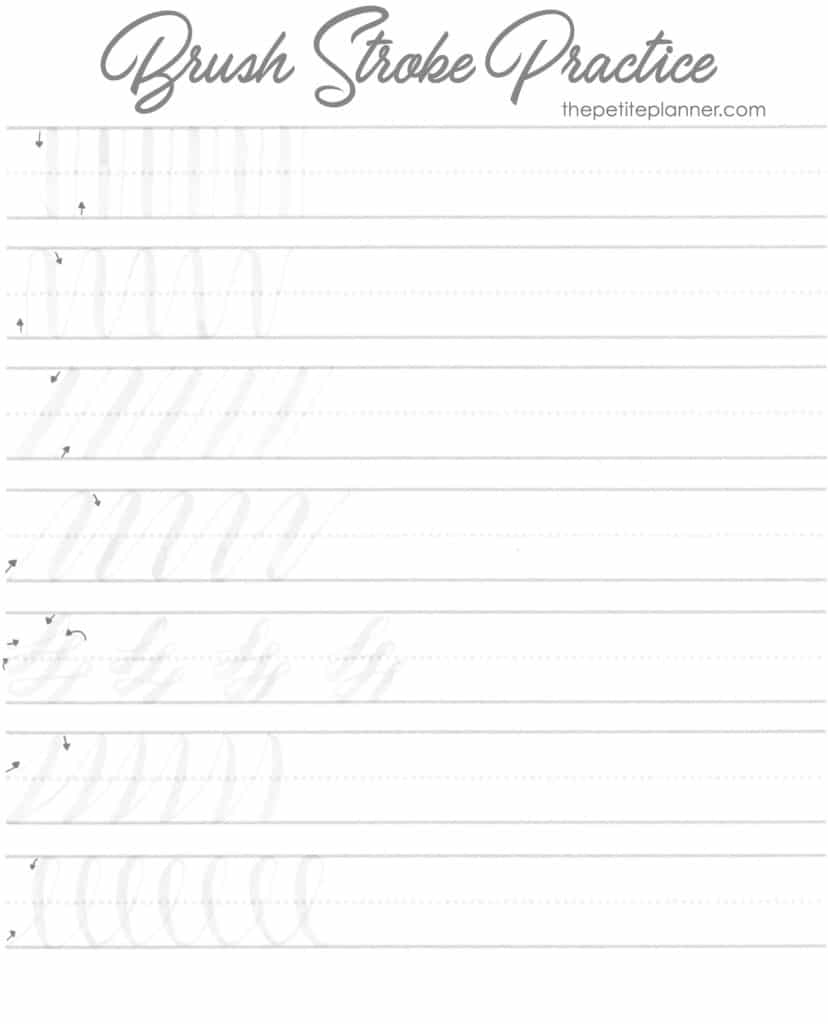
If you sign up for my newsletter, you can get access to my VIP resource library and then download my brush stroke practice sheet and practice sheets for brush lettered letters and words.
The Very Best Brush Lettering Resources
Once you have been practicing your brush strokes for a while and feel a little more confident holding and using a brush pen to create different strokes, you can move forward with lettering.
I love lettering and feel like I’m pretty good at it. But, good is not GOOD ENOUGH to teach you. I want you to have the best of the best resources to kick ass at your bullet journal lettering.
Luckily, I have the hookup!
A little over a year ago I had the opportunity to work with and try a few courses from Loveleigh Loops. If you haven’t heard to Loveleigh Loops, they are two incredible women (twins) who are the best in their field.
Each of them is incredibly talented and has their own area of expertise. Jordan is a master of pointed pens and more traditional calligraphy. Jillian is an expert in modern and brush lettering. Together, they are a lettering powerhouse.
And, they have been generous enough to share their expertise with the world in the form of many specialized online courses. Whether you are just starting out and have no idea what you’re doing or if you feel pretty confident and want to advance your lettering, they have a course that will help you.
Brush Lettering Bootcamp is the ultimate beginner’s course. They walk you through what brush lettering is and isn’t, a variety of pens, how to hold your pen and create basic strokes, as well as letter variations and a troubleshooting guide when you run into issues. There’s even a lesson on brush lettering for lefties.
This class is massive and encompasses everything you need to start your brush lettering journey or advance your practice.
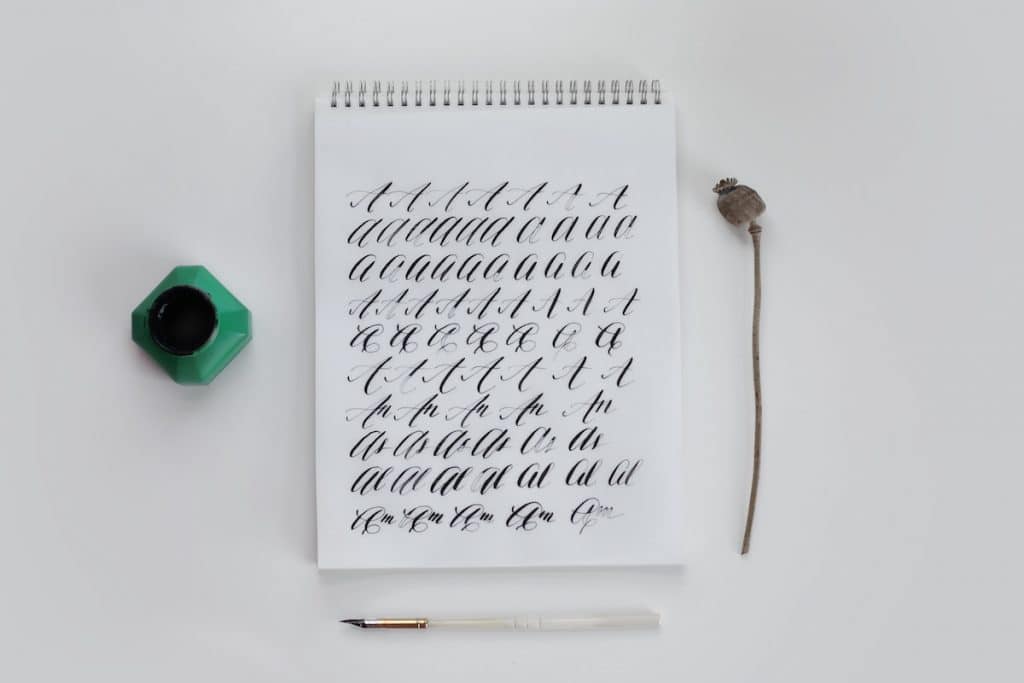
Letter Logic: This is the perfect course for people who have a good grasp on brush lettering but want to learn how to create variation in their style. When I took this course, I could not believe how many different styles there were for each letter.
All of my Ss used to look the exact same, but since taking Letter Logic, I have been able to incorporate a lot of variations depending on what style I’m going for.
And their teaching style is very laid back, relaxing, and welcoming. Never once did I feel like I wasn’t good enough or that I couldn’t do something, because they take you through every step and provide plenty of examples along the way. Ever since taking their courses, Jillian and Jordan have been my go-to resources for all of my lettering questions and concerns.
If you want to enroll in any of Jillian and Jordan’s online courses, click here and use the code petiteplanner at checkout to get 10% off your enrollment.
Lettering For Planners
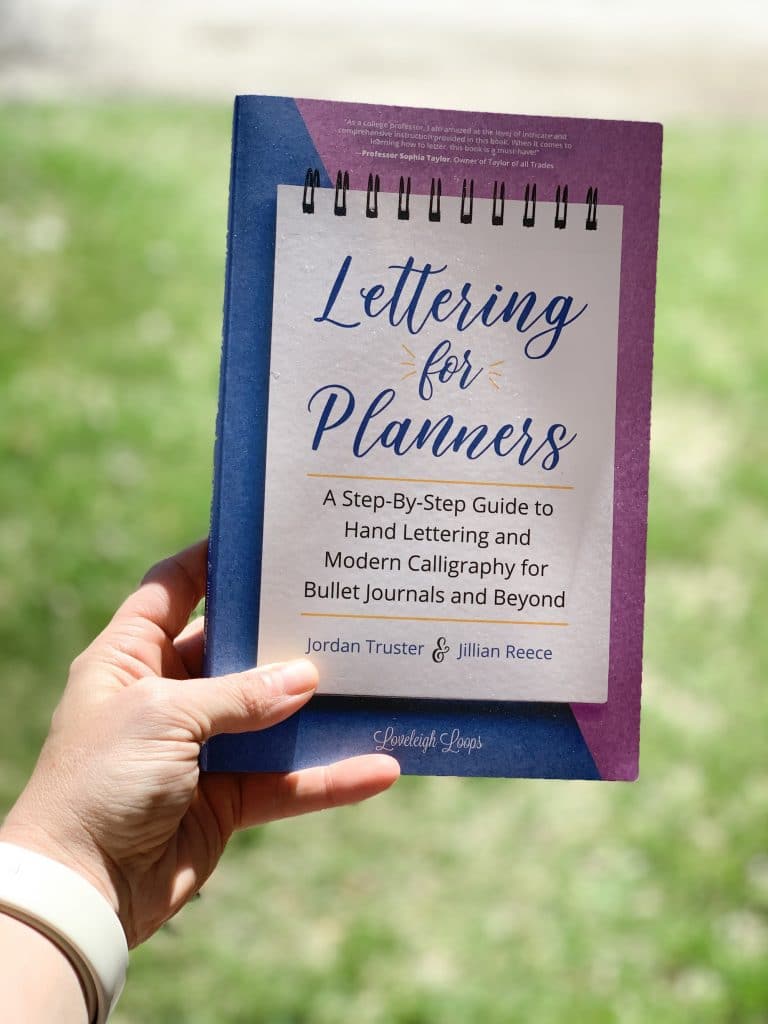
On top of their courses, Jillian and Jordan recently released a lettering book that is absolutely incredible, called Lettering for Planners. On top of brush lettering and calligraphy, this book includes print lettering, doodle flourishes, shading, and composition of hand lettering.
There are tons of dot grid pages for practice throughout this book. You can take and apply everything they teach you in each chapter and put it into practice immediately with these practice pages.
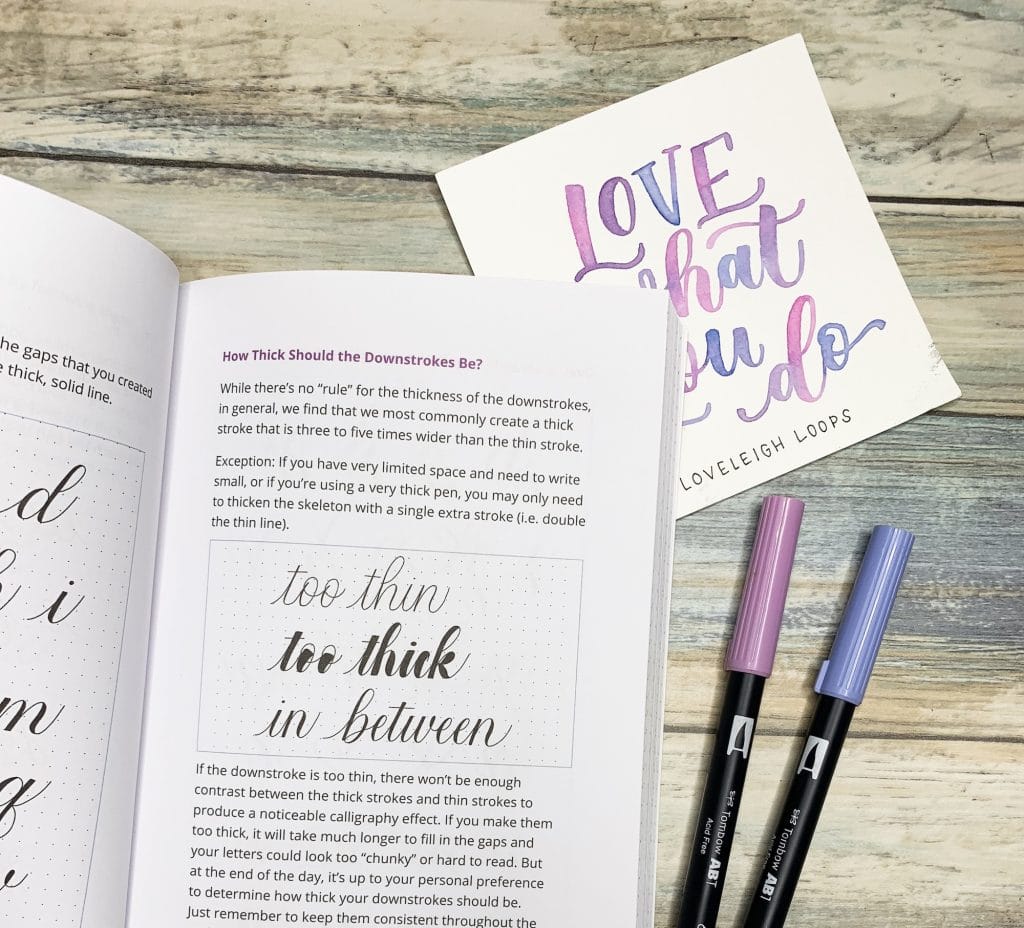
And, there are tons of examples throughout. Not just for what you should do, but also examples of what the “don’ts” are, which is super helpful for me.
In the back, they also have alphabet examples for nearly every style shown in the book. From basic brush lettering to fancy flourishing. And those are in both upper and lowercase.
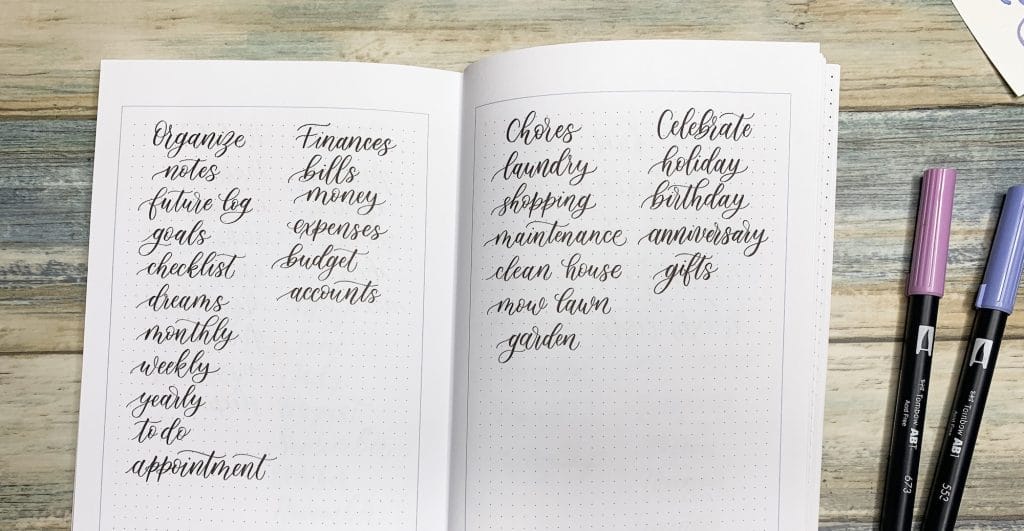
After the alphabet, they have examples of words you would commonly use in your bullet journal or planner. All of the days of the week, months, and even titles of pages like the future log, trackers, groceries, and more.
I am blown away by how much time and effort went into this book. And I believe with all of my heart that it currently tops all of the other lettering books out there currently.
As someone who has some lettering experience, this book still helped me improve my lettering. And for a beginner, it’s perfect. Because, just like their courses, this book is step-by-step, guided, and easy to understand and follow along with.
You can buy Lettering for Planners on Amazon, here.
PS: This post is not sponsored by Loveleigh Loops. I included their work because I thoroughly believe that their teaching method and the work they put out is the best.
The Final Takeaway
Lettering of any form is an art. It takes time and a lot of practice. But, with the right resources, your bullet journal lettering journey doesn’t have to be as stressful.
And, if you practice enough, there are tons of opportunities for hand lettering artists. You could end up doing freelance work as a window painter, create custom signs, or even design and write wedding invitations.
So, don’t let the time and practice deter you. Yes, it will take a while to learn. And you will have some hiccups. But, if you stay consistent and keep pushing yourself to learn new techniques and concepts, your work will continue to improve.
If you were to rate your lettering on a scale of 1-10 right now, 1 being never tried lettering and 10 being uber-confident, what would it be? What do you think would help you get better at lettering? Let me know in the comments below.

