
If you feel like you don’t have an artistic bone in your body but still have the ache to try doodling, this how to doodle guide is for you. We’ll cover the basic fundamentals along with some ways to style your doodles.
This post may contain affiliate links. Please see my Disclosure for more information.
I can remember the exact time I sat down to draw a flower I saw on Pinterest. For over 30 minutes I sat with a pencil and an eraser and struggled. Then, I gave up.
Sound familiar?
You shouldn’t have to struggle for hours on end when it comes to doodling. Drawing hyper-realistic artwork is a different ballgame. We aren’t going there.
But, if you want to 1). learn how to doodle and 2). enjoy and not be frustrated or intimidated by it, then keep reading.
This blog post is going to cover the basic fundamentals of doodling and teach you how to break doodles down into basic shapes. And then you’ll learn how to add a bit of flair to your doodles.
What are my qualifications to teach you this?
- I don’t have an art degree, but I was praised by my small community college art teacher for being a creative problem solver and always putting my heart and soul into every piece I made– even if they weren’t beautiful.
- I’ve been a hardcore bullet journaler for over 3 years. My bullet journal is a compilation of doodles, lettering, and intense planning.
- I’ve taught people around the world to doodle in my online courses, blog posts, and at The Pinner’s Conference.
- My doodles have been in featured in 3 books to date.
So, I’m not an art teacher or a naturally gifted creative. I’m someone who has also struggled with feeling inadequate creatively. For years, I spent my time scrolling through Instagram comparing my own ability to others’.
So, what makes me the most qualified is that I relate. I know your struggles, but I also know how to work around challenges and find methods that make the creative process a lot less stressful.
I hope you will find my how to doodle guide helpful and that it will be the beginning of a long and wonderful doodling journey for you.
How to Doodle: Intro to Doodling
Doodling has a bad rap in schools and workplaces. Bosses and teachers think it makes you lazy and unproductive. But, they could not be more wrong.
According to Harvard Health, doodling can improve your focus and help you relax. They aren’t 100% sure why this happens, but it’s believed that doodling can help you stay awake and alert when you have lost interest in a subject. It also acts as a way for your brain to make connections between ideas and even memories.
So, doodling isn’t just a mindless task that eats up time. It’s a (somewhat) researched technique to help you remember more and be more productive.
I Can’t Draw Well
One of the most common misconceptions about doodling is that if you aren’t an artist you can’t do it. This statement is so far beyond false.
When I started doodling, I could barely draw a simple flower or a stick person. Today, I teach students online how to doodle and have my work featured in major publications.
Like anything, doodling take practice and patience. But, if you can draw a square, a circle, and a triangle, you can doodle.
Doodling is simply a combination of shapes and lines. Once you can see images as shapes and have the mindset to break them down into simple lines, you will be a doodling champ.
Doodling With Shapes
All doodles are a combination of shapes and lines. I want to help you start to see doodles as a more minimalistic design that can be broken down and then rebuilt.
Basic Shapes
First, let’s talk about the basic shapes you will come across in doodles and objects you are going to be drawing. What you will find is that not everything is a perfect version of the shape. So, you will have to play around with different variations of the basic shapes.
Our basic shapes are as follows:
- Square and Rectangles
- Circles and Ovals
- Triangles
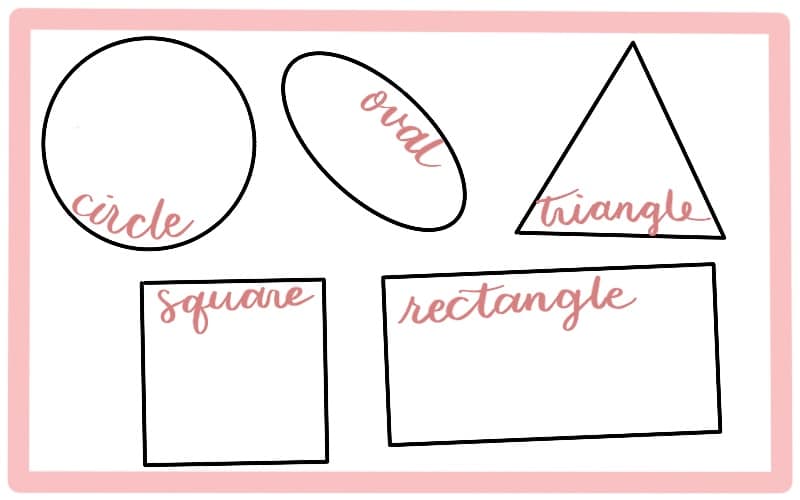
This list seems small and like there can be no way that THAT’S IT?!
And, to an extent, that statement is true. Each of these basic shapes is very often refined to create new shapes. But, we start with these basic shapes as a guide. And from there we can build out and start to create shapes and lines that otherwise might be hard to replicate.
So, now that we have a list of basic shapes, let’s put that knowledge to practice. We will start breaking basic shapes and doodles down into simple shapes we can replicate.
Seeing Doodles as Shapes
Let’s start with some easy ones. What shape does a donut, a basketball, a clock, and a compass all have in common? A circle.
That was super easy.
Now, let’s think about items that have more than one shape, but are still relatively easy to pick out and see as shapes.
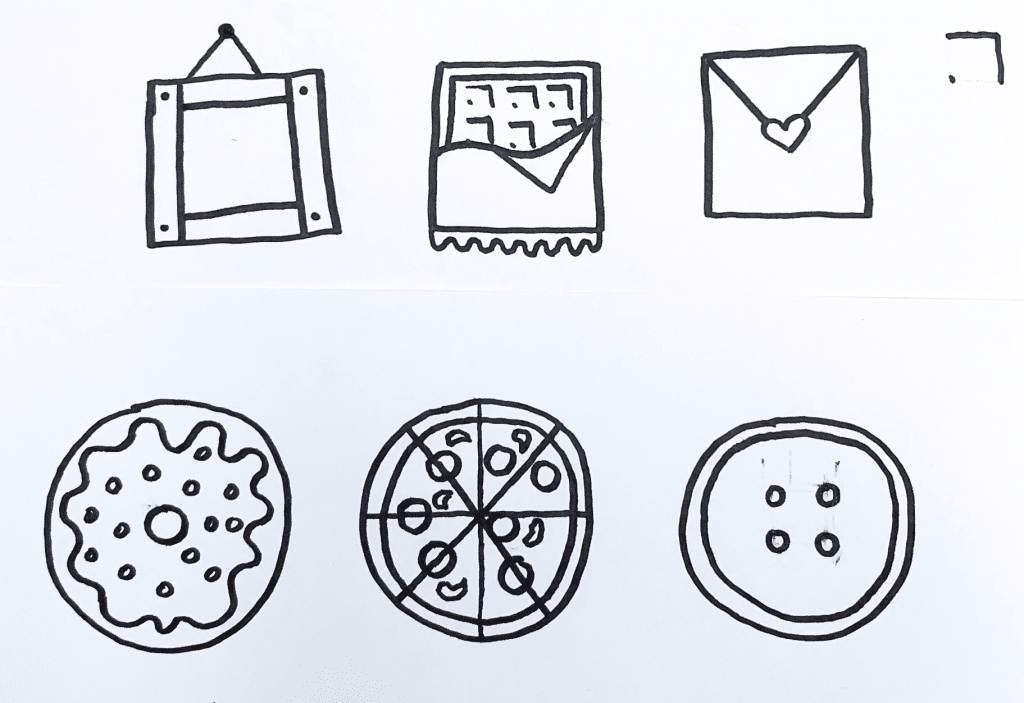
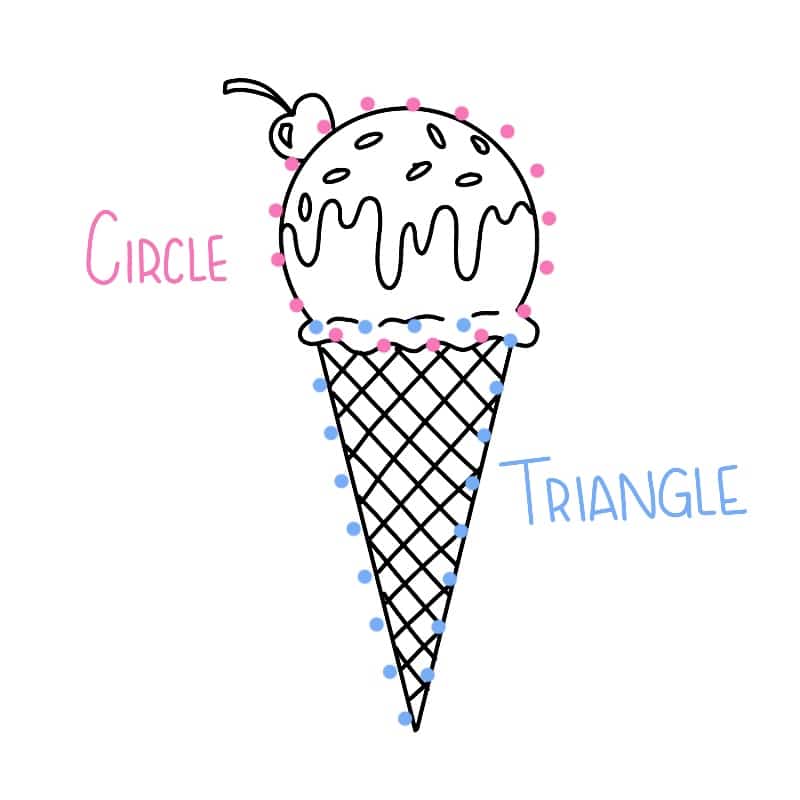
An ice cream cone is composed of an upside-down triangle for the cone and a circle for the scoop of ice cream. See the image below for the breakdown.
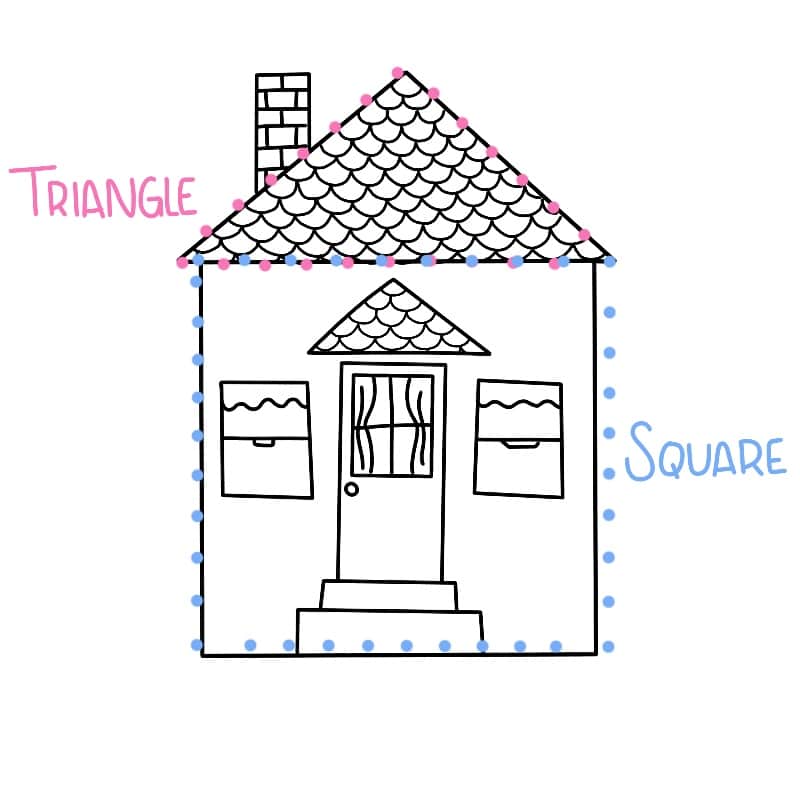
Next, a simple house doodle can be broken down into a square for the building structure and a triangle for the roof.
Still pretty easy.
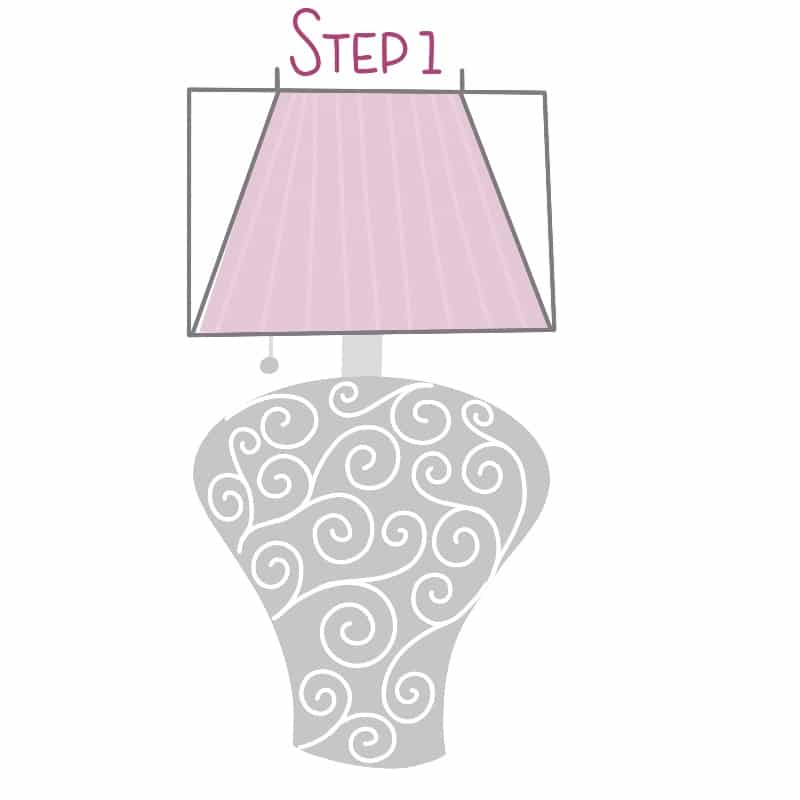
But, what about something that isn’t so obvious. Let’s take this lamp doodle below and start to chop it up into basic shapes. Look at the image and think about what simple shapes you see.
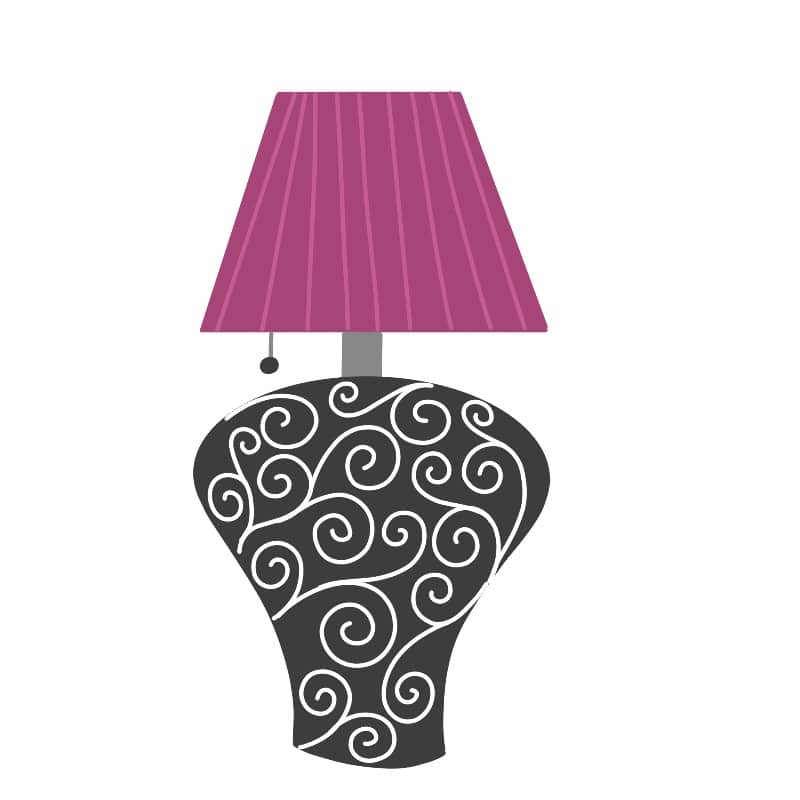
The Breakdown:
- The lampshade can be drawn and seen as a rectangle– we will refine and reshape our basic shapes very soon.
- The piece between the shade and the base is a small vertical rectangle.
- The base of the lamp can be broken down into two shapes, an oval and a rectangle.
*NOTE*: you may see different shapes than I do, and that’s okay. There is no right or wrong way to break images down into shapes. As long as you can draw the basic shapes and then build it back out from there, you are golden.
I encourage you to practice this over and over again with all the doodles, drawings, and even photographs you see. This will help you get the hang of seeing things as shapes and not a series of complex lines.
From here, we can start to put doodles back together and create doodles from basic shapes which we refine with a few tweaks.
Refining Basic Shapes
In the lamp example above, the lampshade is not a perfect rectangle. In fact, it’s just a quadrilateral with diagonal sides. But, starting it as a simple rectangle is often much simpler.
So, instead of seeing the shapes and breaking down the doodles, this time, let’s start to rebuild them. You will need a pencil, eraser, and a black pen for this.
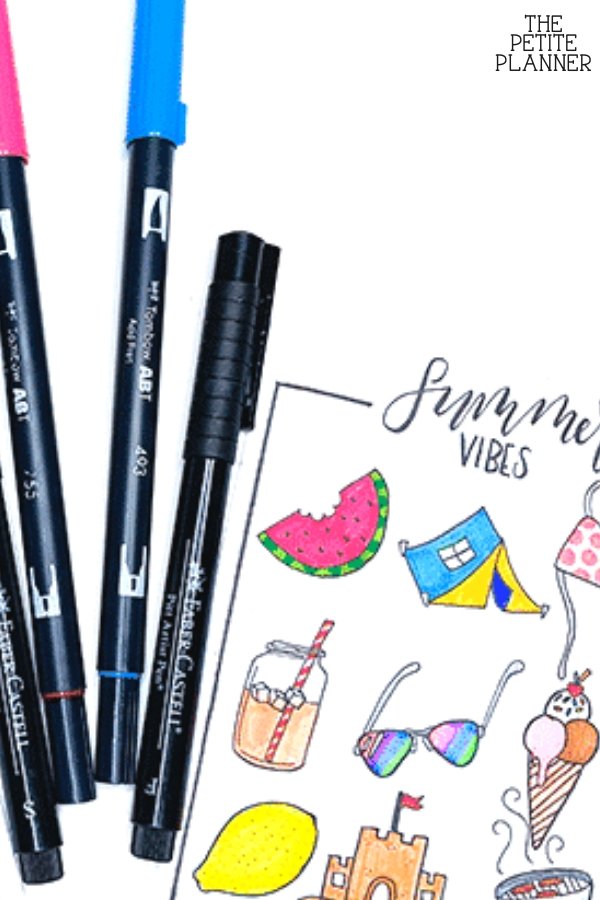
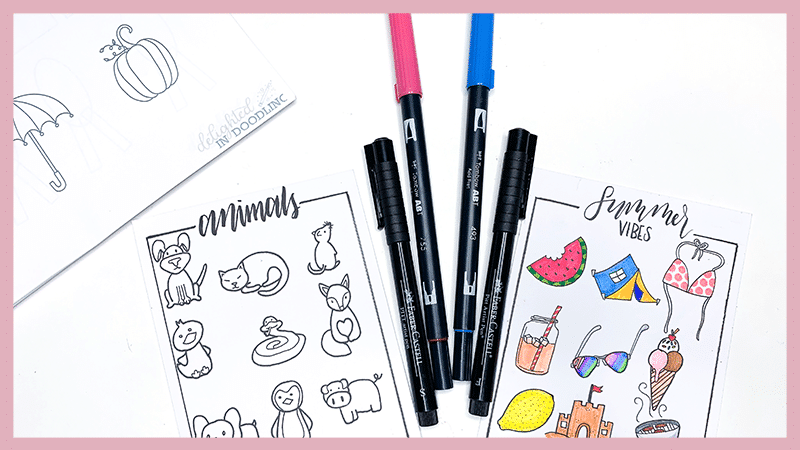
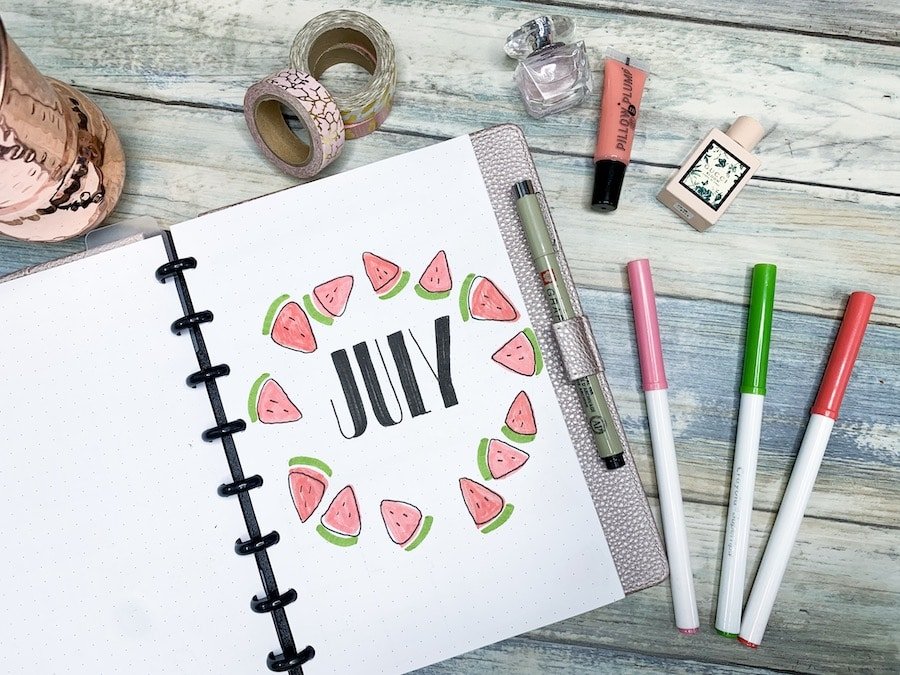
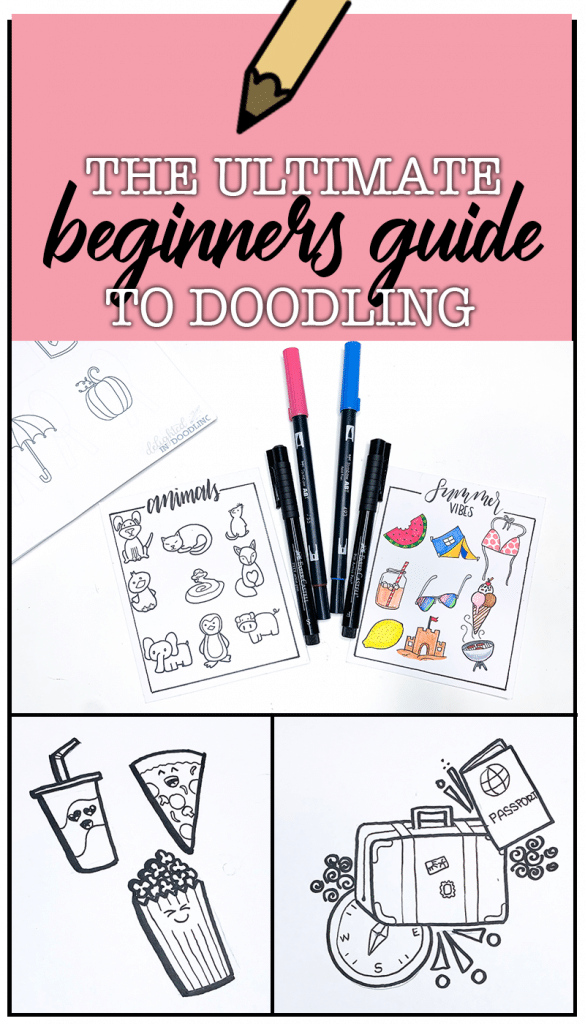
Here are my favorite doodling supplies:

We are going to learn how to doodle the lamp from above. To start we will draw the rectangle and then we are going to refine the rectangle to make it look more like a natural lampshade.
To do this, start at the bottom of the righthand corner of the rectangle and draw a diagonal line up and to the right.
Then, repeat on the other side, starting at the bottom lefthand corner and drawing a diagonal line up and to the left. Try to keep the diagonal lines at a similar angle.
One trick to make this easier is to look at the space between the top corner of your rectangle and the endpoint of your diagonal line. Both sides should have the same distance between the two points.
Now let’s move to the base. In pencil, draw out the oval shape a little below where the lampshade ends. Leave room for the rectangle connecting piece.
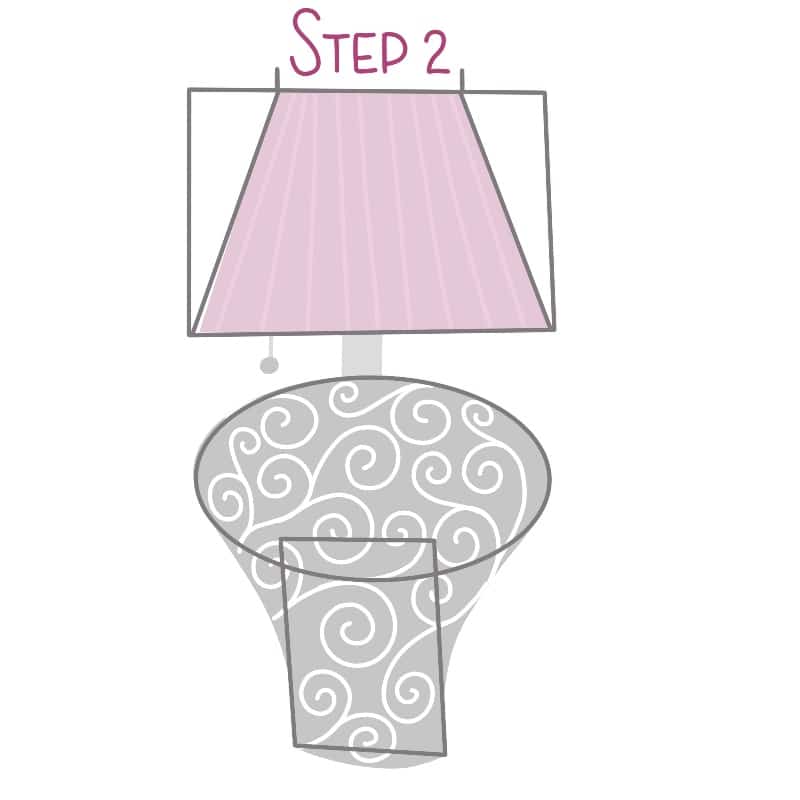
Then, overlapping the oval, draw a vertical rectangle in pencil as well. The next is to connect the oval and the rectangle together to create a seamless base for our lamp.
Starting at the top of the oval, use a pen to follow the sides of the oval. When it starts to round below, draw an angled line down from the curve of the oval to meet a midpoint on the rectangle. Finish the line along the vertical line of the rectangle. See the image below for an example.
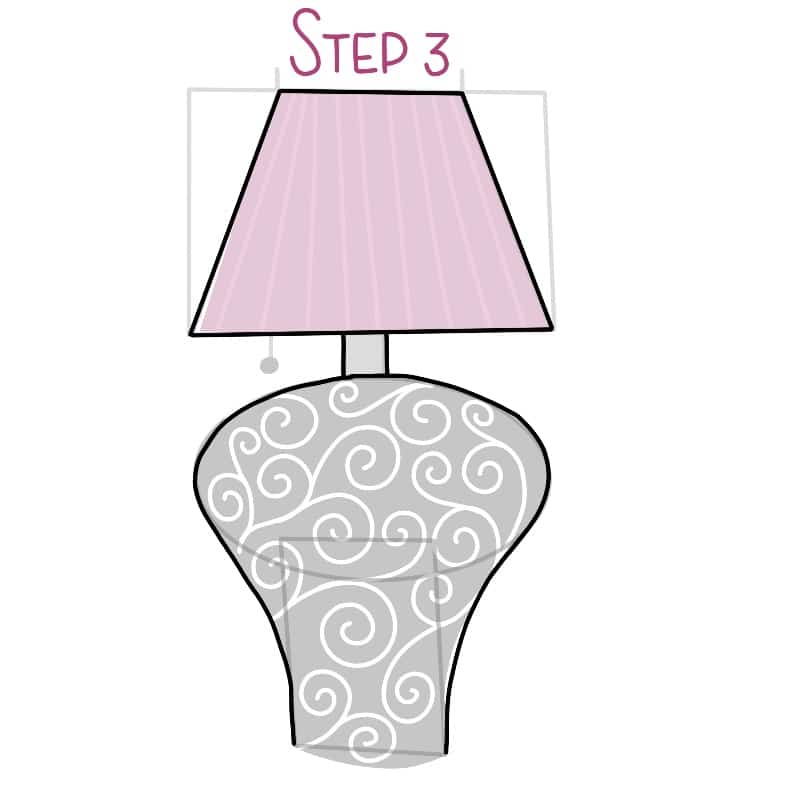
Now, rather than create a straight line across the bottom, draw a slight upside-down arch at the bottom of the rectangle. This gives the base some roundness and creates the perception that the object is not just flat.
Now, repeat the line around the oval and rectangle on the other side of the lamp base.
Finally, connect the base of the lamp to the lampshade with two vertical lines. This completes the basic lamp. The last step is to add any fine details such as the vertical lines on the lampshade and the design on the base.
Styling Your Doodles
Learning how to doodle is only half the battle– don’t worry, though, this isn’t a battle you should be afraid to fight. It’s totally worth it.
After you have the basic fundamentals down and feel pretty confident in creating the shapes and lines that make up a doodle, it’s time to add some flair and bit of your own style.
There are so very many ways to go about this, including adding patterns and embellishments, changing up your line width, adding shading and shadows etc.
And as much as I would love to share it all here in this blog post, I would be giving away a nearly half of my new course’s content for free. And a girl needs to make money in today’s world…
So, this is where I get to give you my pitch and ask that if you enjoyed this post and found it useful that you sign-up to my new online doodling course.
Ok, so that’s not my pitch. I think over the years I’ve gotten better at pitching. So, here’s a bit more info on this course!
Delighted in Doodling
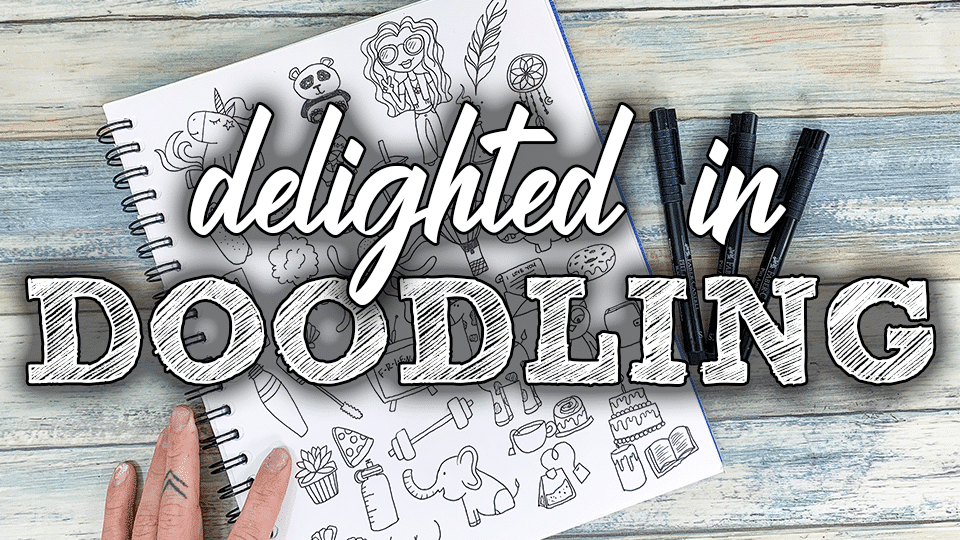
The course is named Delighted in Doodling and was honestly not thought through for more than 20 minutes. But, that’s because as soon as I came up with the name, it fit.
Doodling should not be a high pressure, high-stress activity. It’s Delighting!
For years I’ve suffered from day-to-day anxiety and stress. Financial issues and controversy between family members sends my anxiety through the roof. Being overbooked with work and chores will send me into a crying panic where I get nothing done.
But, doodling has been my escape. I sit down with my headphones on and nothing but a sketchbook and a pen in front of me and I leave my problems behind for a while.
It’s become my favorite hobby. I can do it in my pajamas with no makeup on. I can do it out in the middle of the mountains or at my desk or sitting on my bed.
Yet, for many people, doodling is terrifying and they truly believe that because they aren’t artists that they can’t enjoy doodling.
I want to change that mindset. First, with the fundamentals of doodling. I’ll teach you how to see objects as shapes with real-life examples and doodle examples.
Then we will start with simple one-shape doodles before moving to more advanced drawings. You will get ample opportunities to practice these doodles with 4+ hours of video instruction that you can do at your own pace and guided worksheets to help you along the way.
After the fundamentals, I will assist you in finding your own doodle style. With everything from patterns and embellishments to shadows, shading, cross-hatching, and line width. I want you to leave this course not just knowing how to doodle, but having confidence and a deep-rooted passion for your own style of doodling.
There is no timeline. This course is 100% self-paced. I want you to be able to go back to lessons as often as you like. And I want you to take your time and not overwhelm yourself with trying to rush through lessons.
So, you get lifetime access with your one-time enrollment fee. AND, with that, you will also have access to all future updates and bonuses added to the course… which I have about a million ideas for.
This course has turned into my passion project to help people find their creative potential, express their ideas in their own way, and open up a way to destress and relax.
So, here’s the breakdown:
- 4+ hours of guided, real-time video instruction (pre-recorded)
- Learn the fundamentals and basics and have ample time and opportunities to put what you learn to practice
- Style tips and tricks to help you develop your own style
- Final projects to put it all together and get you doodling on your own
- Guided worksheets to help you through the lessons
- Lifetime access to all content
- Access to all future updates and bonus lessons
- Only pay one time
This class opens for enrollment on August 1st. If you want to be one of the first to enroll and get special discounts, head to the course page and be sure to click the link below the video to get added to my list.
I hope you will join me for this fun online course. And if you haven’t yet, be sure to head over to Facebook and join my Group. There are a lot of students in there and we often do Live Demos and share projects.

Muriel says
The link you posted for the mechanical pencils has 3 different sized leads. Do you use all three? I already have the .9 and possible a .7 and have limited funds. So if I need all three I will invest, but just wanted to check first if there was one mainly used. Thanks for your help!
erinnichols91 says
Hi Muriel,
I don’t think it matters. Any pencil you have will do. And lead size is, again, mostly whatever you feel comfortable with. A thicker lead is helpful if you have a heavy hand. But, if you can sketch lightly you can use any of the three sizes.
Muriel says
Oh, and I’m really looking forward to Doodling Delight starting… I can’t draw but have always wanted to learn how.
Kerry says
Thank you!
Always love your help & advice, you make each topic you cover understandable & a lot more approachable.
I’m trying to use creative time as a way to create healthy coping strategies. Doodling is always good, but is great because it’s so portable outside of home.
I’m a perfectionist, so I can get down on myself, so the way you simplify & go logically makes it more achievable for me, not only in general but getting started with it too.
Have a lovely summer & always know that your readers & viewers around the world are always so grateful for your time, effort & kindness in sharing your talents & skills with us all.
Kerry.