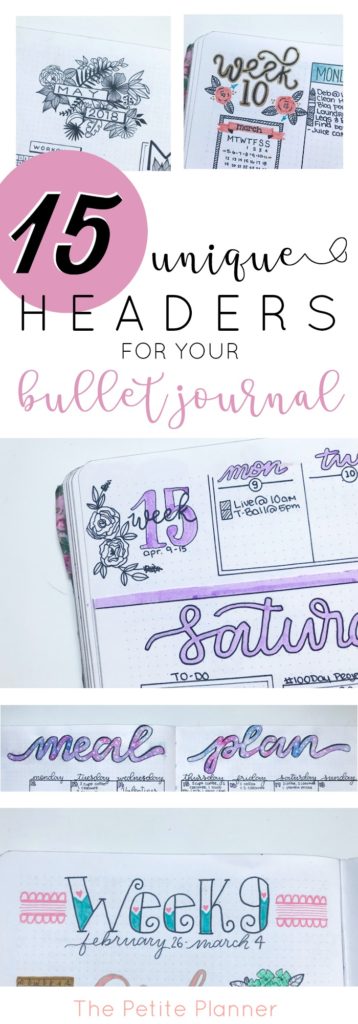
One of the easiest ways to add some creativity, color, and design to your bullet journal is with headers. Learn how to create these 15 unique headers for your bullet journal.
 *This post may contain affiliate links. Please see my Disclosure for more information.
When I started my first bullet journal, I wasn’t aware of how many header options there were or how to use them. Now, headers are my number one technique for adding creativity to my pages. There is an unlimited number of font combinations, colors, and designs to use.
The great thing about headers is that you can learn just a few techniques and apply them in different ways to produce very different results. I’ll teach you these techniques, and then you can practice seeing how many different variations you can come up with.
You May Enjoy Reading:
- 14 Creative Headers for Your Bullet Journal
- Massive List of Monthly Theme Ideas for Your Bullet Journal
My Favorite Supplies for Headers
It’s a misconception that you need to have hundreds of dollars worth of supplies to create unique headers for your bullet journal. In reality, you only need a black pen to create some insanely awesome designs and headers. But, if you want to add color, you don’t need every brand of marker or highlighter.
Pens: In regard to pens, I am a diehard fan of fineliner pens. I love having the varying widths to create different effects. My current favorite is the UniPin set
Markers: I’m a Tombow

But, you don’t have to spend a ton of money for pretty colors and a brush tip. There are alternatives. Besides the Tombows, my runnerup markers are the Crayola SuperTips. You can get a 100-pack
Gel Pens: The last items on my list of favorite header supplies are metallic gel pens
15 Unique Headers for Your Bullet Journal
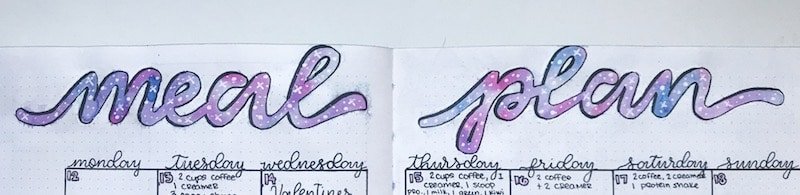
Watercolor Galaxy Brush Lettering
This is one of my favorite headers to date. To recreate this header, you’ll need a watercolor brush, watercolors

Start by writing your header in plain water. Now, you have to move relatively quickly from here. Pick up pink on your brush and touch it to the water letters. The paint will start to disburse. Continue doing this with your blue’s and purples. Go back through and add more color for more pigmented areas. Now, allow your watercolor to dry completely or use a heat tool
When all of the paint is dry, take your white gel pen and start adding small stars and white dots over your watercolor. Finish it off with a black outline. I chose to thicken up the lefthand side of my letters to add a bit of a shadow effect.
Dotted Brush Lettering
This one is very simple. Use either a Tombow Dual Brush Pen

If you struggle with brush lettering, I highly recommend checking into Brush Lettering Bootcamp. Jillian and Jordan are the most wonderful pair of teachers when it comes to this subject, and because they both have a unique style, you get the best of both modern calligraphy and traditional calligraphy. They don’t just show you how to do brush lettering, they support you with worksheets, a community to continue your practice, live videos, and answers to all of your questions. Lefties, this course can take you from frustrated to brush lettering enthusiast. It’s the course I wish I would have taken when I started brush lettering.
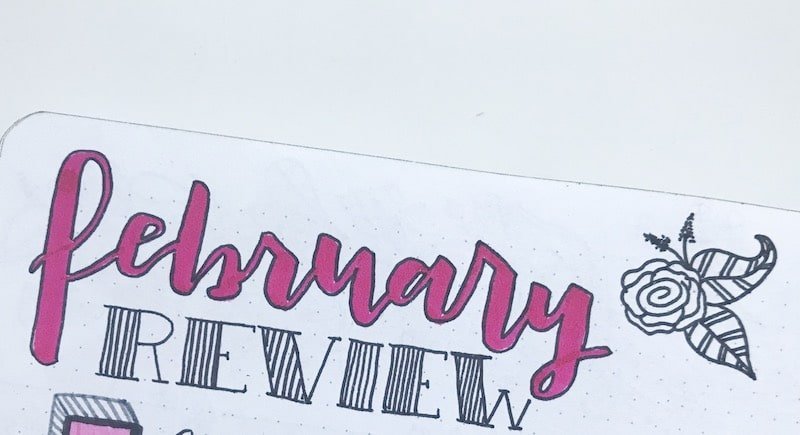
Big and Bold Combination
I love the look of this combination header. I used a sharp and jagged brush font with a big and bold Serif Font. Again, for this header, you will use a brush pen to write the first line of your header. You can add an optional outline around your brush lettering to create a more dramatic effect. Then, below that, write in large Faux Block Letters and fill in the open space with a pattern.
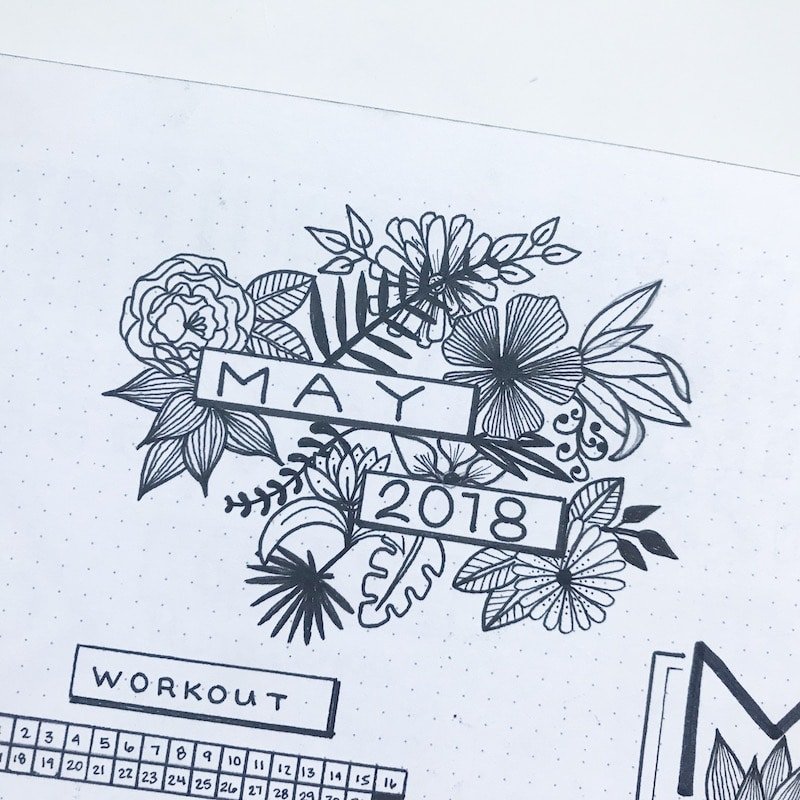
Background Florals
This one is a little more complicated, but definitely not impossible! Take it step-by-step and you will have an amazing floral header when you are finished.
To start, draw out as many rectangles as you need for your header. You can do this part in pen. Think about how big you want your text to be and what words need to be inside to determine the size of rectangles.
Next, pick up your pencil and start sketching in your florals. Sketch directly over your boxes with your pencil, and fill in the open space around your rectangles with floral elements such as flowers, stems, berries, leaves, etc. When you like the design, take your eraser and erase the pencil lines inside the boxes. Then, pick up your pen and trace over the remaining lines in the floral designs.
You can check out this post for floral inspiration, or you can jump in head first with my NEW course, Petite Floral Doodles. You’ll learn more than 60 individual floral elements, plus 5 wreath designs, 9 laurels, 4 arrangements in vases and jars, and 3 floral journal designs. If you want to get a taste of what you’ll learn in this course, you can Enroll in my Mini-Course on Floral Doodles completely FREE, here.
Brush Lettering + Sans Serif Overlay
Can you tell that I love to outline my brush letters? It’s seriously one of my favorite ways to embellish and bolden up my brush lettering. For this simple header, I wrote the month in brush lettering. Then, I wrote the subheading in a wide sans-serif print font, directly over the lower portion of the brush lettering. Finally, I used a finepoint pen to trace over the brush lettering, leaving gaps where the print lettering crossed over.
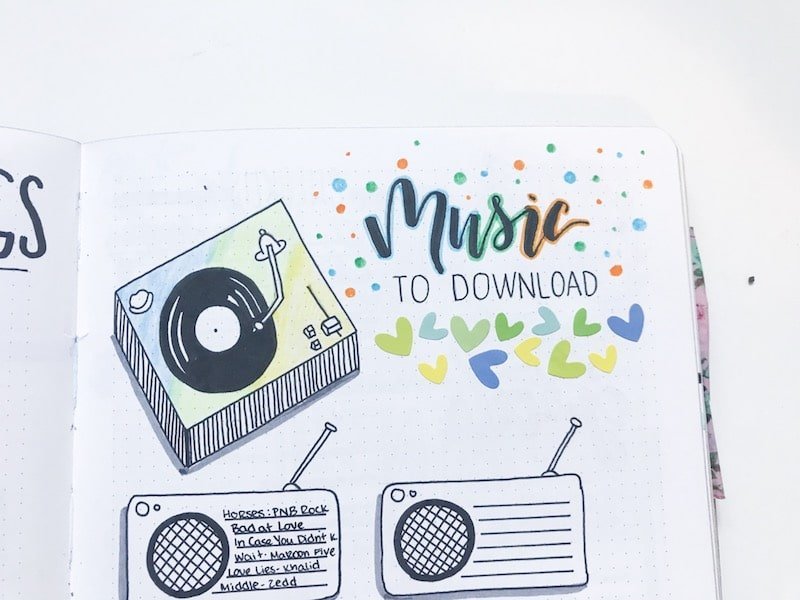
Multi-Color Outline
Here’s that outline again! But this time, we’re switching it up. Start with a black brush pen. For this header, I used the Tombow Fude Soft Tip
Pick a few colors, depending on the length of your header, and start outlining one letter at a time, top and bottom. Then switch colors and continue with this technique until you have finished outlining the header in your bullet journal.
I also added some multi-color dots in a variety of sizes and stickers that I received in my Pipsticks Subscription to add some decoration to my header.

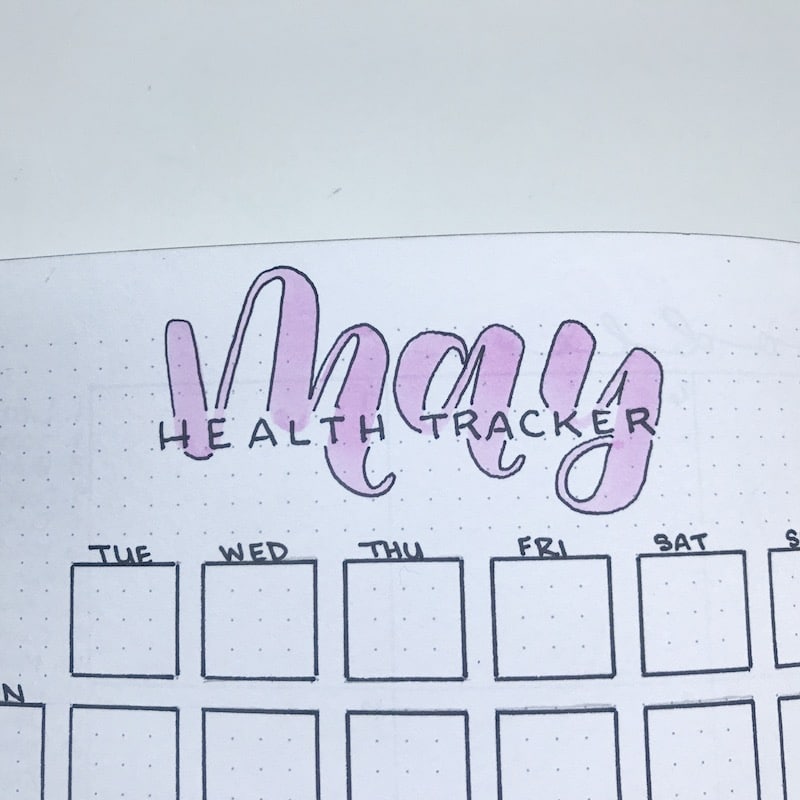
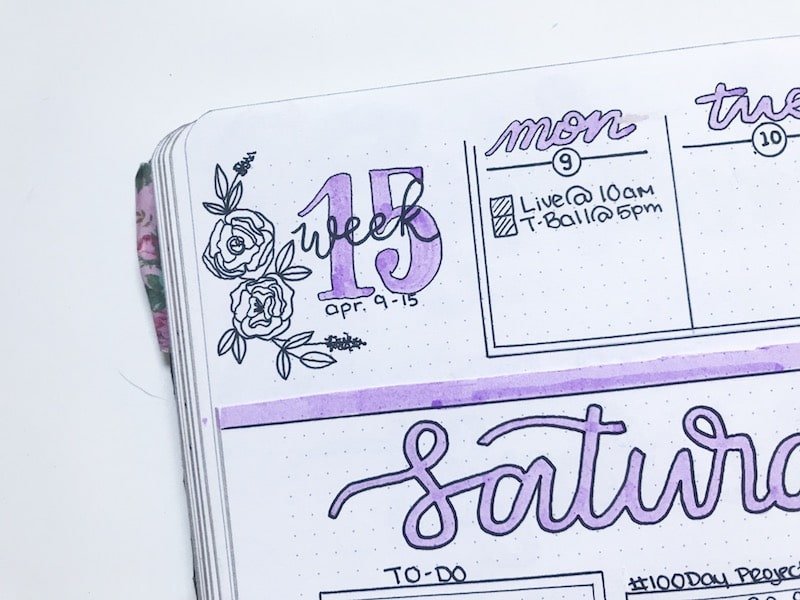
Small and Dainty
This header is small and great for weekly spreads. You’ll need a colored marker of your choice, preferably a light or pastel shade. I used the Pastel Stabilo Boss Highlighters
Again, you can outline your marker header. Then use a thicker black pen to write your subheading over top. Finish off with an angled floral design. (We do one of these at the end of Petite Floral Doodles, along with a number of other cute designs that could be used for headers).
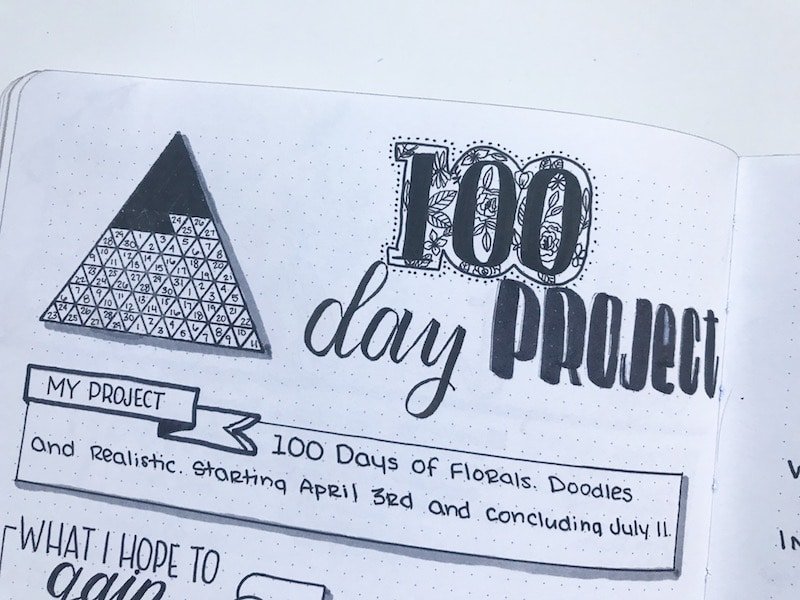
Pattern Fill Outline
This brief tutorial refers to the 100 you see in this header. You’ll start with a printed header, leaving a little extra room between your letters or numbers. Then, draw a single outline around the outside of all the letters. Think of it like you’re creating a sticker. From here, you can fill in the negative space between the letters and the outline with whatever pattern you want. I am addicted to drawing florals, so that was my obvious go to. But you can use any pattern you can dream up.
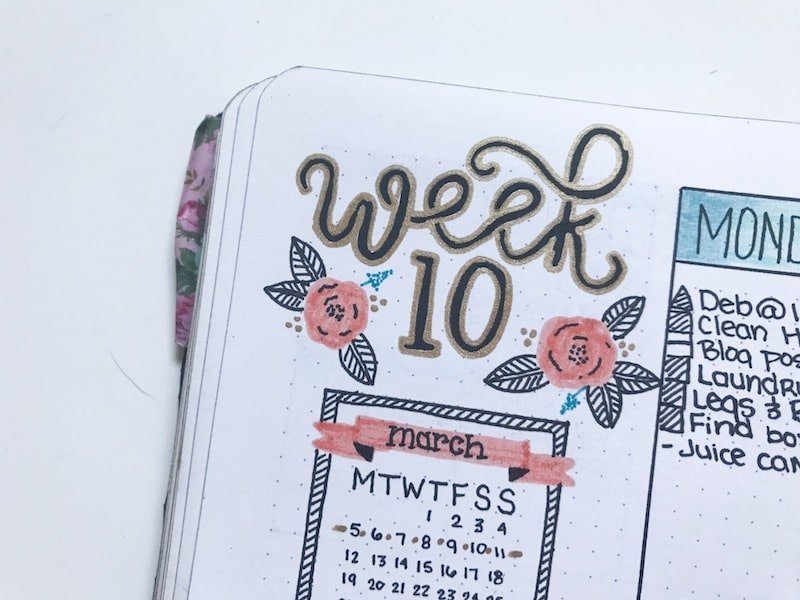
Gold Outline
Use a wide tipped black marker to write out your header in a script or cursive font. I used the 1.2mm side of the Zig Memory System Writer

I like to think of it like a three-dimensional rope. Anywhere that you see a loop, you will have that gold outline crossing over the stroke below it. In this example, the loop at the end of the W loops under the original upstroke. Then in the Es, the downstroke is underneath the initial upstroke.
Curly Faux-Block Lettering
This font was a huge hit with my students in Rock Your Journal. It’s a very simple faux-block font with a curl added to the end of each letter. To create faux-block letters, sketch out your word in print. Then, go through and add a second line to the first stroke of the letter to make it wider. Trace over your letters with a black pen and add a curl to the last stroke of each letter. Add serifs if you want.
Finally, fill in the negative space within the faux-block letters with a design of your choice. I love the look of this header, with the bottom part colored in, a tiny design in the middle, and the top open.
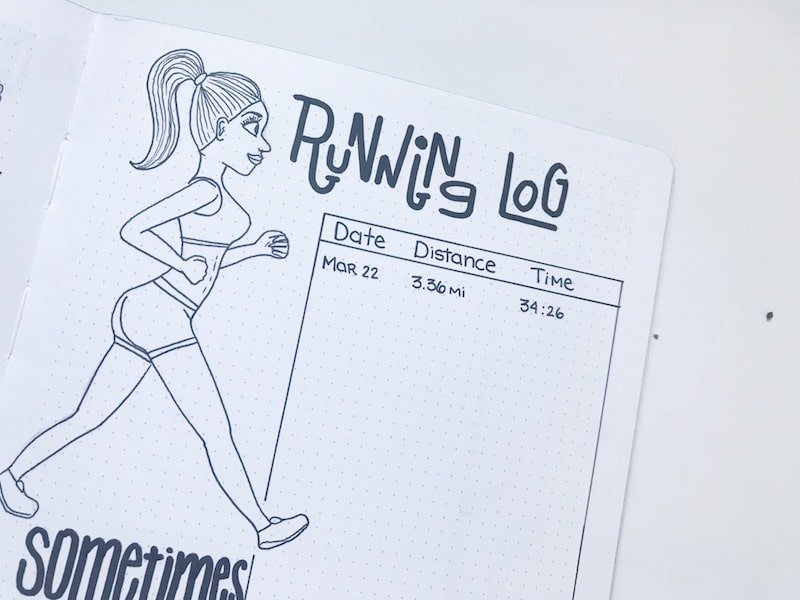
Representational Lettering
This is a fun way to add some creativity and think outside the box with your headers. You can do this in a number of ways. For the example below, I replaced on the Os in Foods with an avocado. Because this list is healthy snack foods, I wanted to represent that with my lettering. So, I chose to doodle an avocado in place of the O. You can still read what it says, but it has a little extra personality to it.
The other way to create representational headers is to draw out block letters and then fill them in according to what the word is. For example, if you had a header for a Birthday Tracker, you could write Birthday in large block lettering first. Then, you could doodle in frosting and sprinkles and add candles to the top of each letter. I teach this technique in the Bonus content of my Rock Your Journal VIP Course, along with an entire Module dedicated to header styles and lettering.

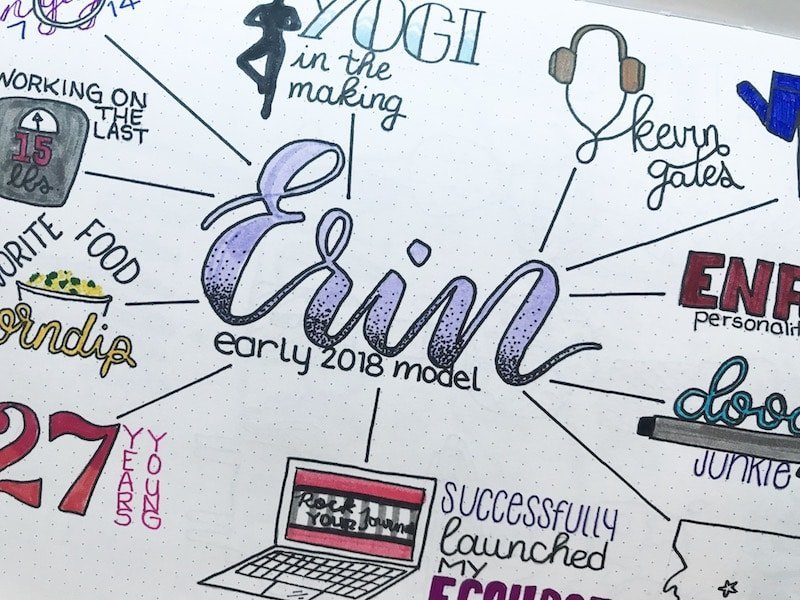
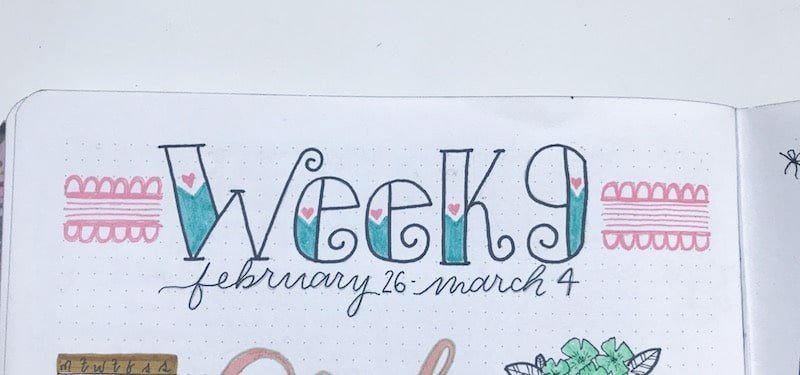
Disproportionate Stacked Lettering
This is such a fun and simple header, but it does take a little practice to nail down the technique. For this, I used a large graphic tip marker. I started with a large and playful R, adding an elongated tail to it. The next letter is stacked directly on top of the tail and is made a quite a bit smaller than the first letter. As you continue, vary the size and height of your letters.
Again, this one just takes some trial and error to find what works. If you’re concerned with messing up, try starting your header with a light pencil sketch.
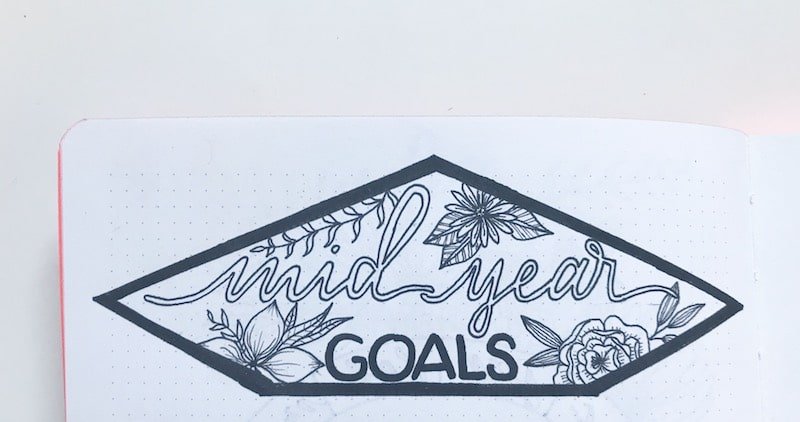
Enclosed Geometric Design with Hollow Script
For this header, I started with a fun geometric shape and created a thick black outline around it. The next step should be done in pencil first. Write out your script lettering in pencil first. Then take your finepoint black pen and trace around the outside of the letters. Go slow so you don’t cross over any lines. You can pair this open and airy lettering with a bold print font. Finally, if you’d like a more intricate look, fill in the open space within your shape with floral designs.
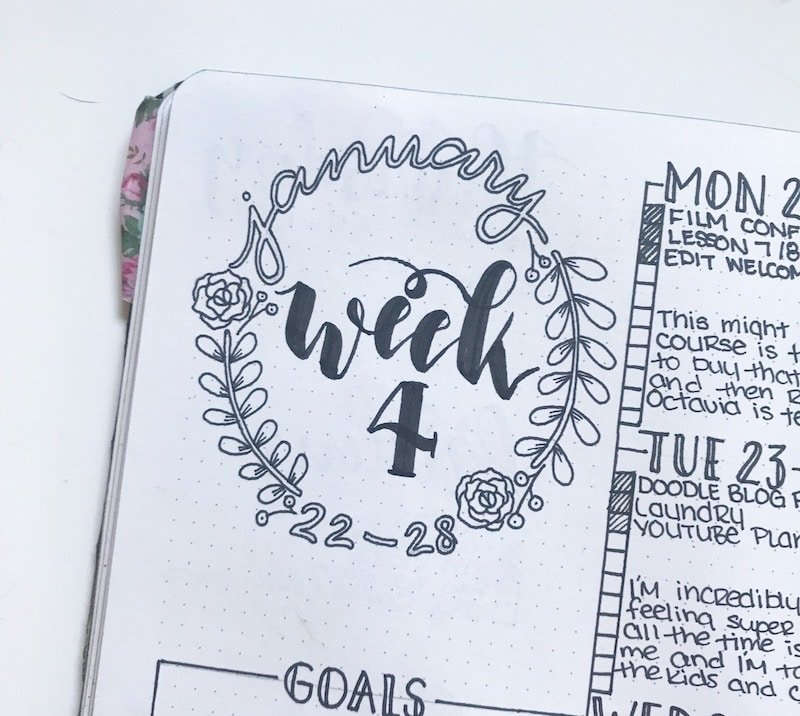
Wreath Wrapped Text
This is the last of the unique headers in this post. It’s a simple floral wreath, with hollow script wrapped around the top of the wreath. To start, you’ll want a compass
The next step is to create the hollow lettering directly over the pencil circle your just created. To create the hollow script, start by writing your word in pencil. Then, use a finepoint black pen to trace around the lettering. To get the best results, go letter by letter so you don’t end up crossing over any areas that aren’t supposed to have a line.
After you have your lettering laid out, fill in the wreath with floral elements such as stems, leaves, and flowers. Then you can add your subheading inside the wreath with brush lettering.
More Headers, Doodles, & More
If you are looking for a spark of inspiration, have 500 pins on Pinterest, but don’t know where to start, or are constantly putting off making a certain spread, I would love for you to check out my Rock Your Journal Course. It’s kind of like the one-stop-shop for creative bullet journaling.
I walk you through every step and answer all of your questions with simple instruction that you can follow along with. I created this course as the course I wish I could have taken when I first started journaling. There were all these crazy ideas floating around in my head, but no way to put them on paper. This course will guide you through building confidence, basic to more advanced creative techniques in lettering, doodling, banners, florals, and more.
I regularly get emails from students thanking me for this course. And honestly, there isn’t much aside from my children and a really good coffee that puts that big of a smile on my face. I love seeing people open up creatively, find their passion, and really embrace their journey. That’s what Rock Your Journal does.