Learn the exact formula I use to take and edit my bullet journal photos for Instagram. You don’t need a DSLR camera or a paid app to create awe-worthy flat lay photography.
 *This post may contain affiliate links. Please see my Disclosure for more information.
I’ve now had my bullet journal Instagram account for a little over a year and a half and have just under 40k followers. I’m constantly asked how I grew my account in such a short time. Want to know my secrets for overall Instagram success? Check out this post on How to Grow Your Instagram Following Quickly.
Now, some of my success was timing. I started my account slightly before the boom of bullet journal accounts on Instagram. Another factor in my success was being featured on a very large showcase account early on. But, I don’t want to discredit the consistent aesthetic of my feed and the editing I do every time I post a photo.
According to Sprout Social, the number one tip for growing your Instagram account is to have a consistent and aesthetically pleasing feed. This means having photos that are consistent (hey, you’re already there with having a bullet journal only Instagram account), and editing your photos. As easy as it is to just snap a picture and post it, this isn’t the key to having a successful Instagram account.
Everyone wants to be successful and stand out, it seems. So, in this post, I’ll show you exactly how I take and edit my photos to get the more likes and follows.
How to Take and Edit Bullet Journal Photos Like a Pro
The first step in taking nice pictures for Instagram is to have the right setup. But, this doesn’t mean you need a fancy DSLR camera. It’s pretty common for most smartphones anymore to have a decent camera that will do the job.
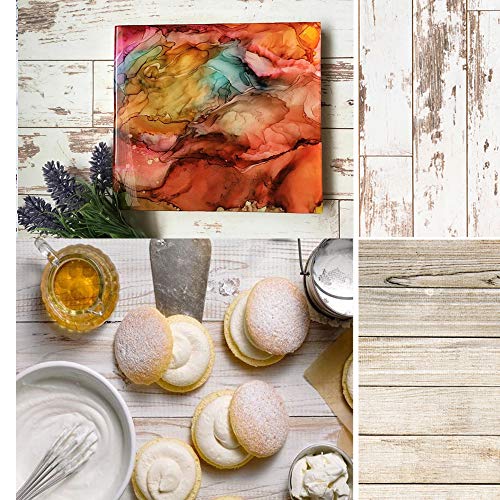
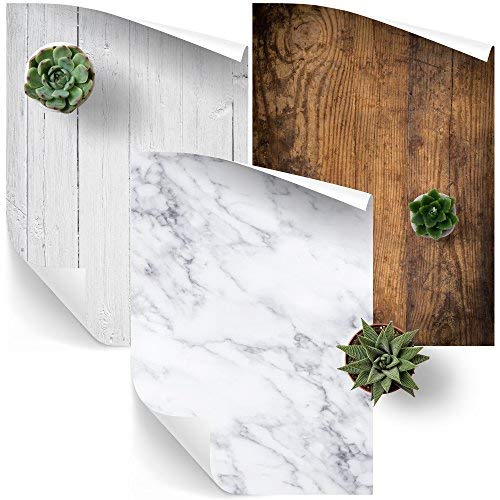
The next thing you’ll need is a nice backdrop. If you have nice tile or wood floors you could take your pictures there. I personally use a large sheet of white poster board. Or, you could use your (clean) sheets, as long as they are in a well-lit room. Which brings me to the final thing you will need.
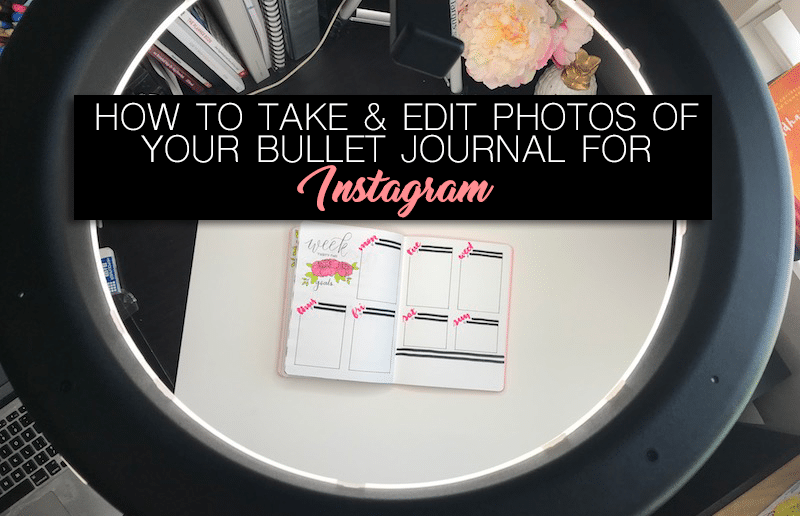
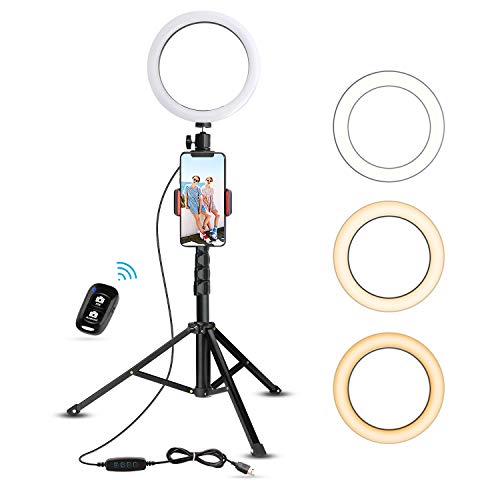
One of the most important factors in taking nice photos is the lighting. For the cheapest option, go for natural sunlight coming through a large window. But if the sun isn’t cooperating or you just want to take your overhead photography to the next level, I recommend getting a Diva Light. This is the one I have
For the skimmers, here is what you need:
- A quality camera/cell phone (iPhone 7+
is what I have and use)
- Backdrop (wood or tile floor, sheets, or poster board
)
- Natural light source (sunlight or diva light
)
Tabletop Photography Backdrop Selfie Light RingVinyl Photography Backdrop
Step-by-Step Bullet Journal Photos: Taking the Photo
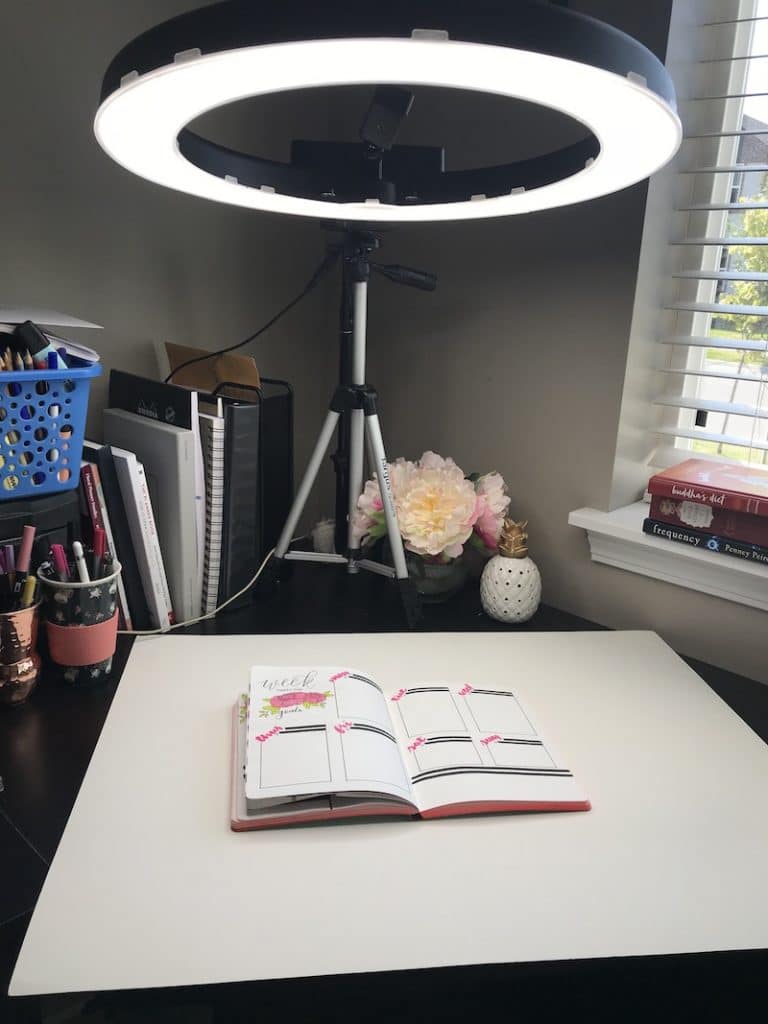
The first step is to set up your subject. If you are using a backdrop other than something that is stationary, you will put your backdrop down first. Remember to place your photography set up next to a window if you don’t have artificial lighting. Then place your bullet journal flat on the backdrop. This is your subject.
From here, choose your angle. This may mean taking several different photos of your layout. Some close up and some that show the entire spread. Some that are straight overhead and some that are at a bit of an angle. This is up to you what looks best and what will most appeal to your audience. It will also be determined by how large your spread is.
If you are using a cell phone, change the size of your capture area to a square. On the iPhone, use the scroll bar at the bottom of the camera to move to Square. Take a few photos just to be certain you get the right one. And then you can move on to editing.
Step-by-Step Bullet Journal Photos: Editing the Photo
For this step, you will need to download a photo editing app on your phone. The app I use is Adobe Lightroom CC, which is a free app on both Android and iOS.
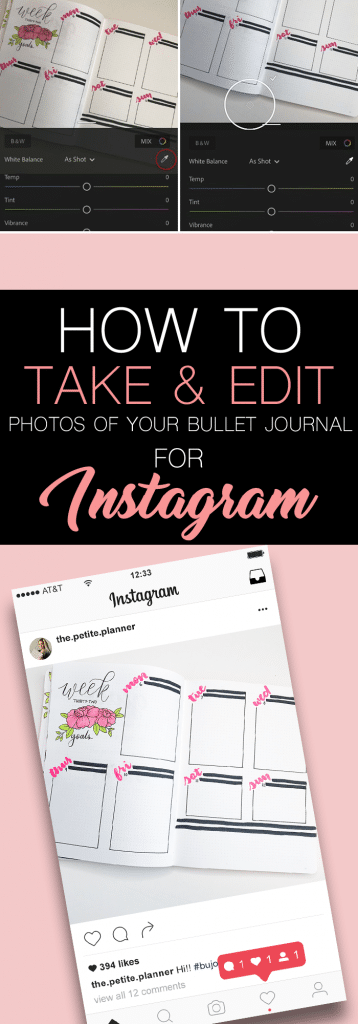
Once you have downloaded the app, open the app and add the photo you wish to edit. From here, select the color tab at the bottom and then click on the little eyedropper. This allows you to set your white balance, meaning you select a place on your photo that should be white. If you are using a white poster board you can drag the eyedropper onto the poster board. If you are using a background that isn’t white, select your journal page.
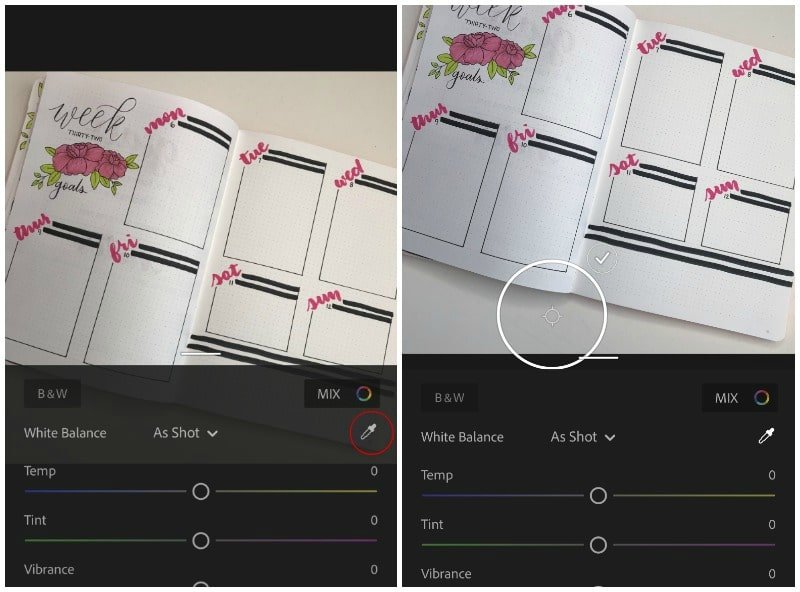
You may need to tweak the color from here if it seems to warm or too cool. You can do that with the first slider, labeled Temp.
After you have your white balance sorted out, open the Light tab at the bottom. Most of the time, even with artificial lighting, you’ll need to increase the Exposure a small amount. Go slow when changing the exposure as a little goes a long way. Once you have reached the optimal brightness of your photo, move to the next slider, Contrast.
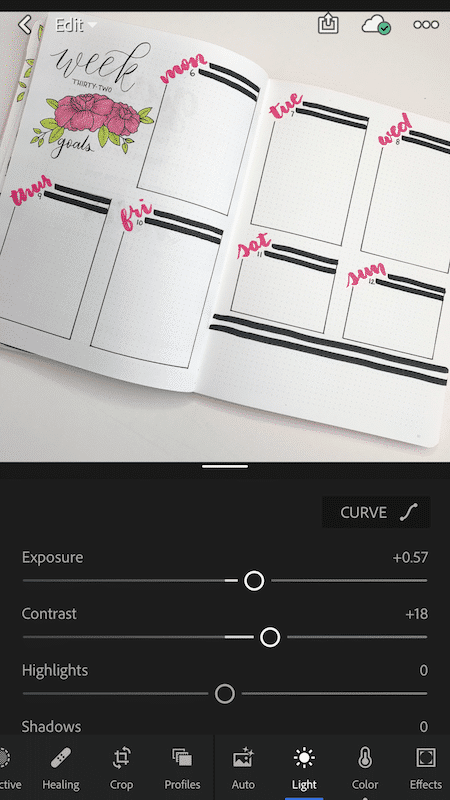 When you adjust your exposure, you can wash out some of your colors and even blacks. To counter that, increase your contrast. Again, go slow with this one.
From here, save your photo to your camera roll by clicking the small box with the arrow in the upper right-hand corner. I always save mine as a maximum available size. After saving your photo, you can bring it into Instagram.
No further edits are needed, but sometimes when my white seems a little off, I will use the Clarendon preset filter and bring the intensity of it down to around 20. To change the intensity of a preset Instagram filter, click on the filter and then click it again. This will bring up a slider where you can adjust the intensity.
Want to know all of my secrets for creating a viral bullet journal Instagram account? I have a post for that too where I share everything from photo taking, editing, hashtags, and more.
Be sure to share this post with your bullet journal friends so they can take better photos and grow their Instagram following, too.