
*This post may contain affiliate links. Please see my Disclosure for more information.
When I first started bullet journaling and was browsing Instagram, I found myself wildly intrigued by fancy brush lettering techniques. It’s beautiful and everyone has their own style.
Right away, I went to my favorite place to shop, Amazon, and ordered a pack of Tombow Dual Brush Pens
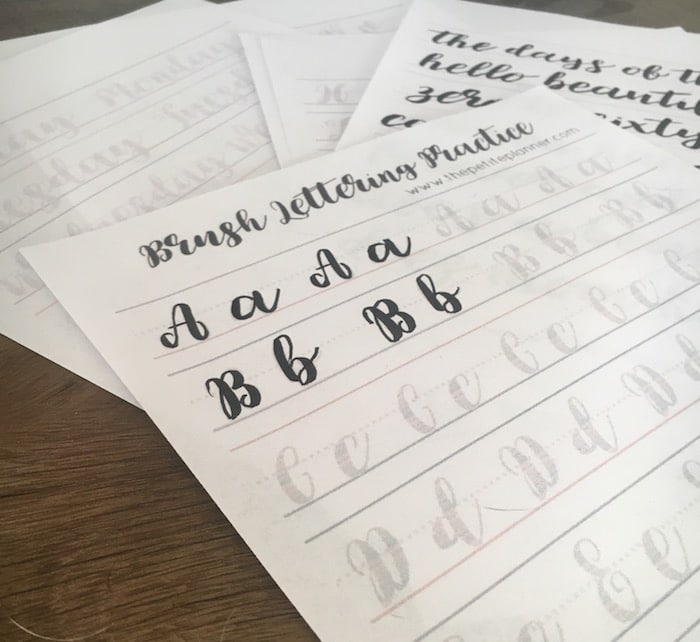
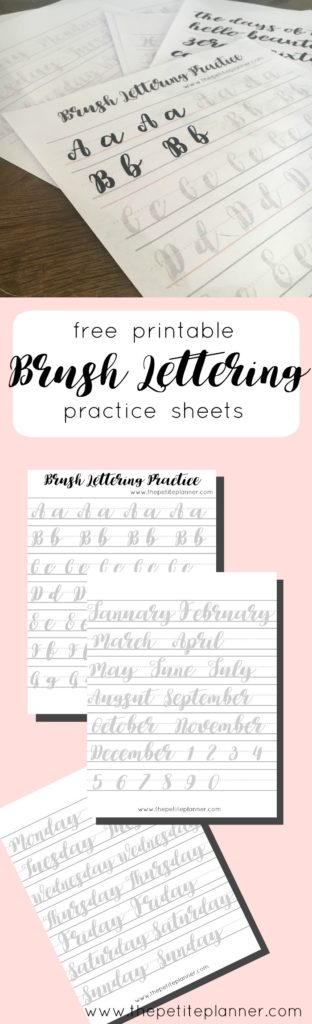
FREE BRUSH LETTERING PRACTICE SHEETS
I’m a pretty creative person. I can sort-of draw. Doodling is pretty awesome, and I’ve always liked my handwriting for the most part. But, brush lettering is a beast of a different nature. I pressed the brush tip down to write ‘hello’, and it came out nothing short of a failure.
That day, my mood tracker would have been blue, for sad and disappointed. I had just spent around $15 for these fancy, highly glamorized pens, and I couldn’t make them work for the life of me. My lines were shaky, my downstrokes weren’t wide enough. It was a disaster.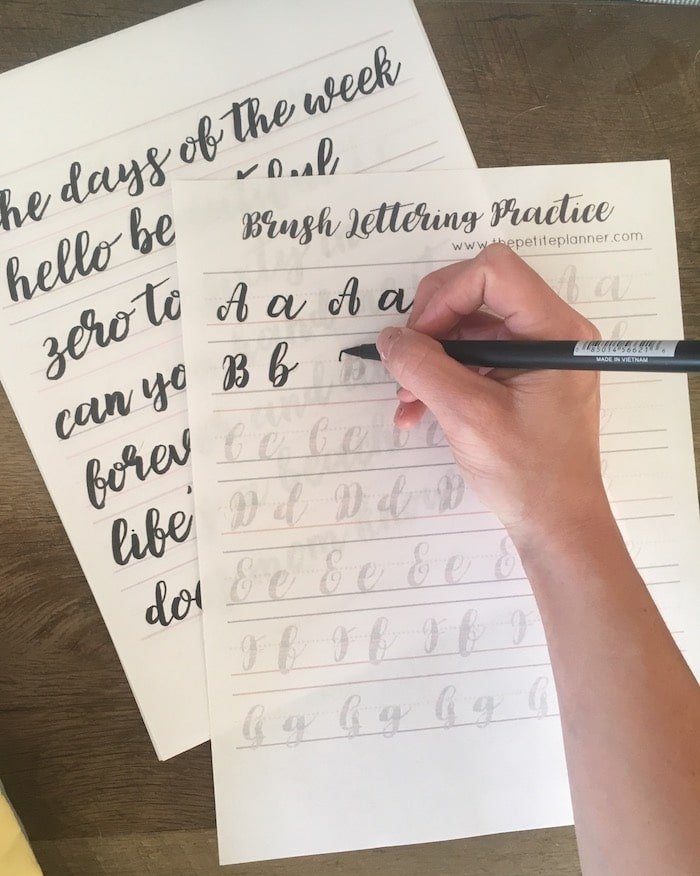
I then took to my favorite online tool, PicMonkey, to create some printable drill sheets. I browsed the calligraphy section on DaFont.com, downloaded a few that I really liked and went to work creating these brush lettering practice sheets. This wasn’t guaranteeing success because, in all honesty, I get really put off doing redundant tasks, like writing the letter ‘a’ over and over again. But, low and behold, it worked.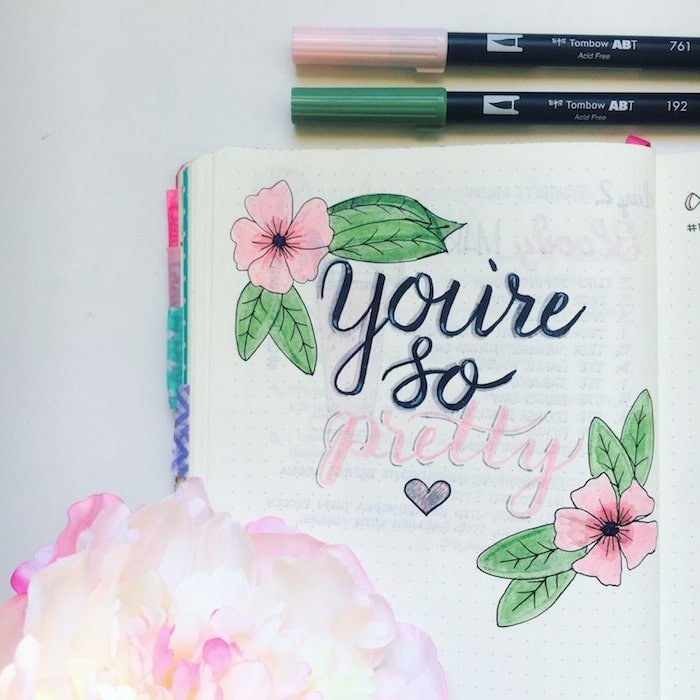
I’m not good enough to hand letter your wedding invitation (give me a year or so), but I’m confident enough to be using my brush pens in my journal regularly. I even ended up investing in more Tombows because I couldn’t resist the big pastel pack. Now, I’m glad I did. They’re artist quality markers that are among the best for brush lettering, and they hold up over time. Like, years and years.
Brush Lettering Tips
- You can start with more affordable brush pens, like these, but I can’t say it enough: I Love My Tombows
, and I think they are one of the better art investments I’ve made. So, if you can afford it, don’t skimp on quality.
- Remember: light pressure and thin lines on the upstroke; harder pressure and thicker lines on the downstroke.
- Try to keep your brush pen at a 45º angle at all times. Consistency is key with brush lettering.
- Try to use the movement of your arm instead of your wrist.
- Practice and be patient. By practice I mean, do it fifty-seven thousand and nine times. And by patience I mean, grab a cup of coffee, or hell, the whole pot, light next year’s birthday candles, and keep going. You got this!
- Follow my Brush Lettering and Beyond Board on Pinterest for more inspiration, tips, and worksheets.
>>Download Brush Lettering Sheets Here<<
Join my mailing list to have access to my VIP Resource Library, which includes brush lettering practice, printable bullet journal layouts and stickers, and tons of other great freebies.
Enjoy! Let me know how long you’ve been lettering in the comments below. I’m eager to see who’s been at it a while, and who’s a newcomer like me.
